
Iris- Pouch

Iris- Lined Zipper Pouch
In this post, you’ll find everything you need to know about this beginner-friendly sewing project — from the story and inspiration behind the design to the fabric I used, the sewing pattern, and the step-by-step instructions to help you make your own.
The Iris pouch is a wonderful little project for using up those leftover fabrics and fabric scraps we all seem to collect. With three sizes to choose from and two style options, you can turn the fabric you already have into something beautiful, practical, and useful.
And let’s not forget how lovely these little pouches are as handmade gifts! Whether it’s for Christmas, a birthday, Mother’s Day, or simply because you feel like making something special for someone, a handmade pouch is a thoughtful gift for just about anyone, at any age. Or, of course, you can make one just for yourself!
Thank you so much for being here and spending a little of your time with me. I truly appreciate it!
You’ll find the table of contents just below, so feel free to jump straight to the section you’re most interested in, or grab a cup of tea, get comfortable, and enjoy the whole journey from beginning to end.
Why I Designed the Iris Pouch
If you’ve been sewing for a while, you might understand this one: sometimes, collecting fabric becomes almost as enjoyable as sewing with it!
At some point, I had to admit that I might just be a fabric hoarder. I love beautiful fabrics, I love designing prints, and somehow, my fabric stash never seems to get any smaller.
So, I decided it was time to do something about it.
I started a YouTube playlist called the Fabric Hoarders Sewing Club, where I’m on a mission to work through my fabric stash, use up my leftovers and scraps, and turn them into beautiful, practical, and giftable handmade items. The goal is simple: to use more of the fabric I already have and, hopefully, make a little more room for new ones!
The Iris Zipper Pouch is part of that journey.
I wanted to create a simple, useful project that would be enjoyable to sew, even for beginners, and that would give those leftover pieces of fabric a new purpose. Something small enough to make without a huge commitment, but practical enough to be used every day or given as a thoughtful handmade gift.
That’s how the Iris pouch came to life, in three different sizes — Small, Medium, and Large — so you can choose the one that works best for you and make the most of the fabric you have on hand.
And because we all have different tastes and sometimes feel like trying something a little different, the pattern includes two style options: a simple pouch and a quilted pouch. So you can create two different looks from the same sewing pattern, depending on your mood and the fabric you want to use.
For me, this is what sewing is all about: creating things that are meant to be used and loved.
So, if you’re a fellow fabric hoarder, consider this your invitation to join the club! Let’s see what we can make from those fabrics waiting patiently on our shelves. 😉
The Story Behind the Wildflower Print
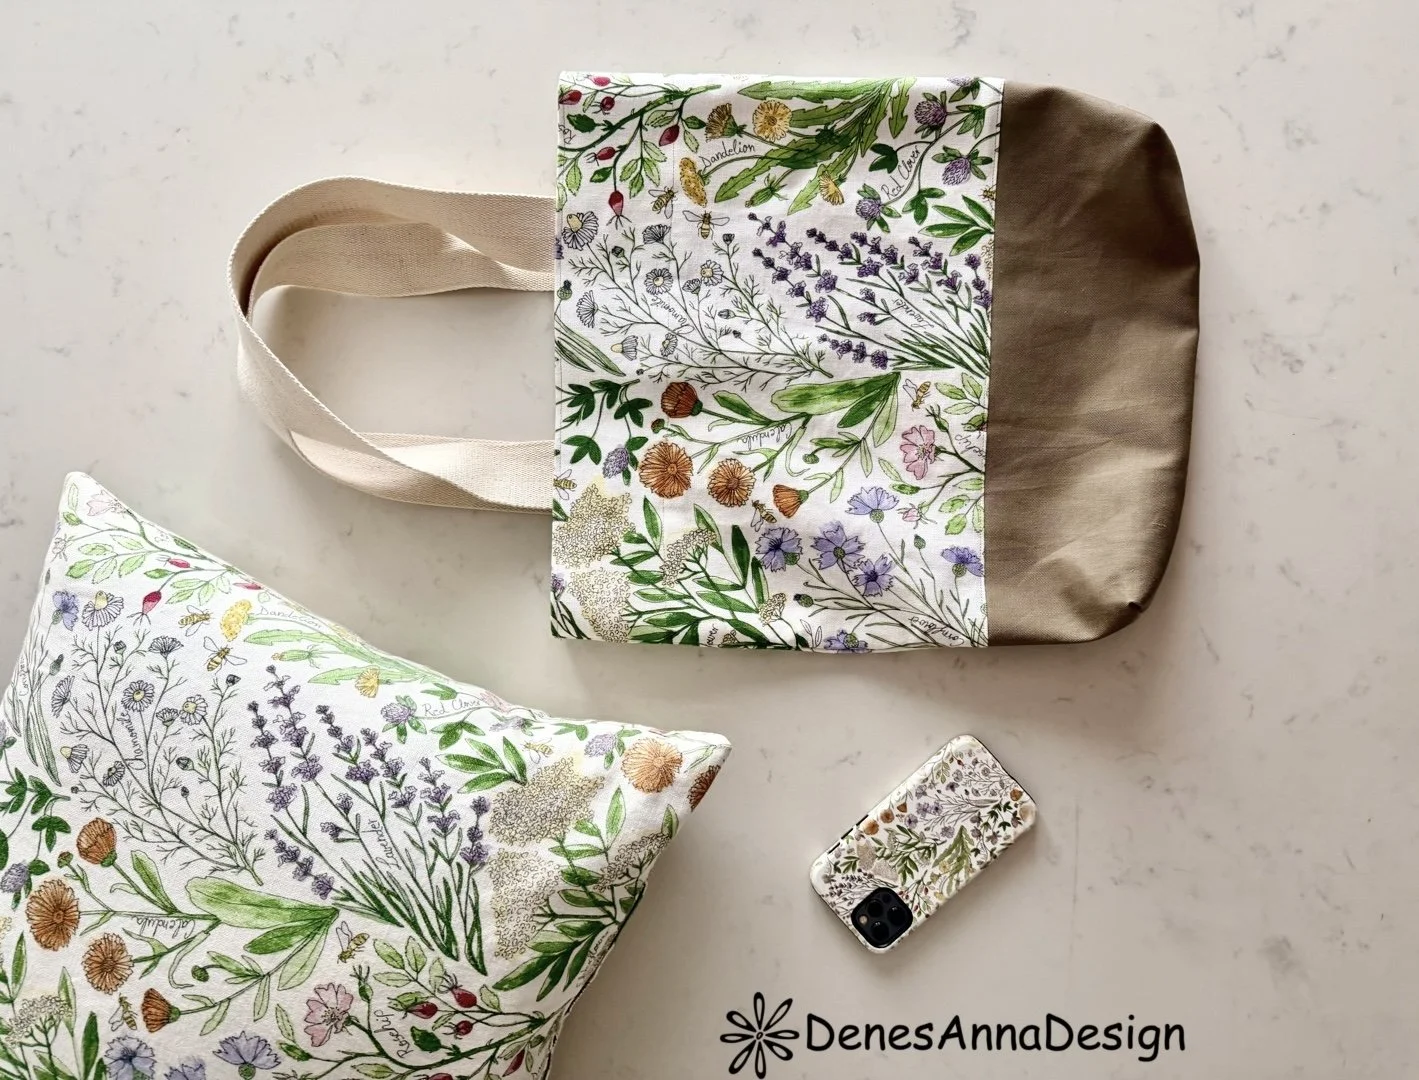
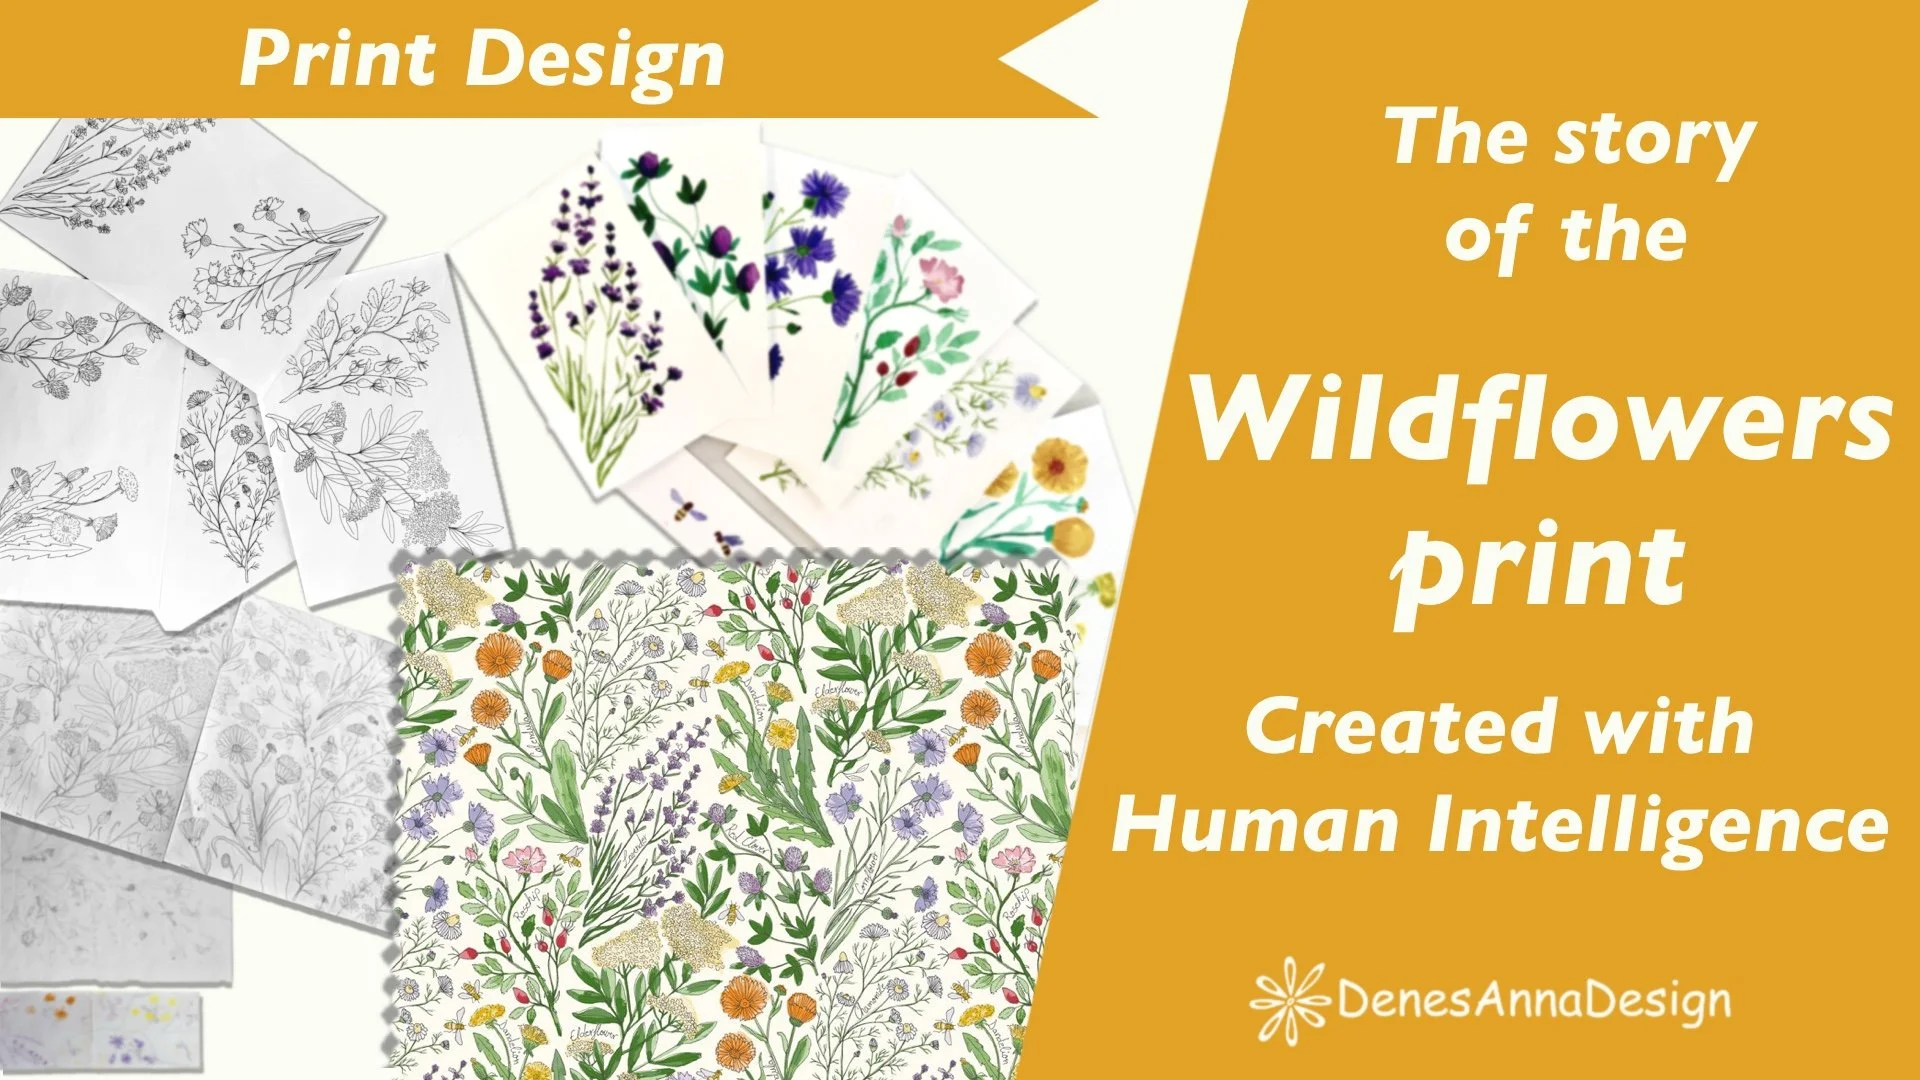
You can watch the story of the Wildflower print here.
Or read the story over here.
If you love the print and have to have it in your life :)
Here is where you can order it from, depending on your location:

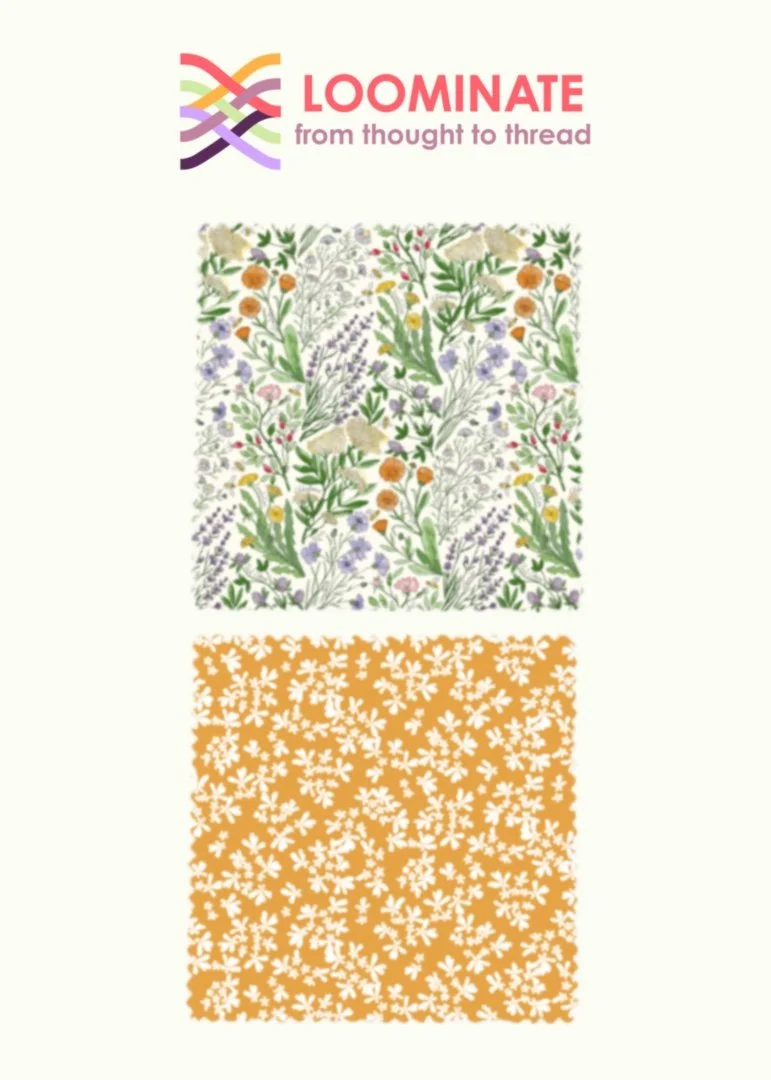
Note: If you order from my Loominate shop, you can customise the scale of the print. You can access the precise scale settings by clicking on the "Advanced" scale setting option.
Ready to create your own Iris-Lined Zipper Pouch?
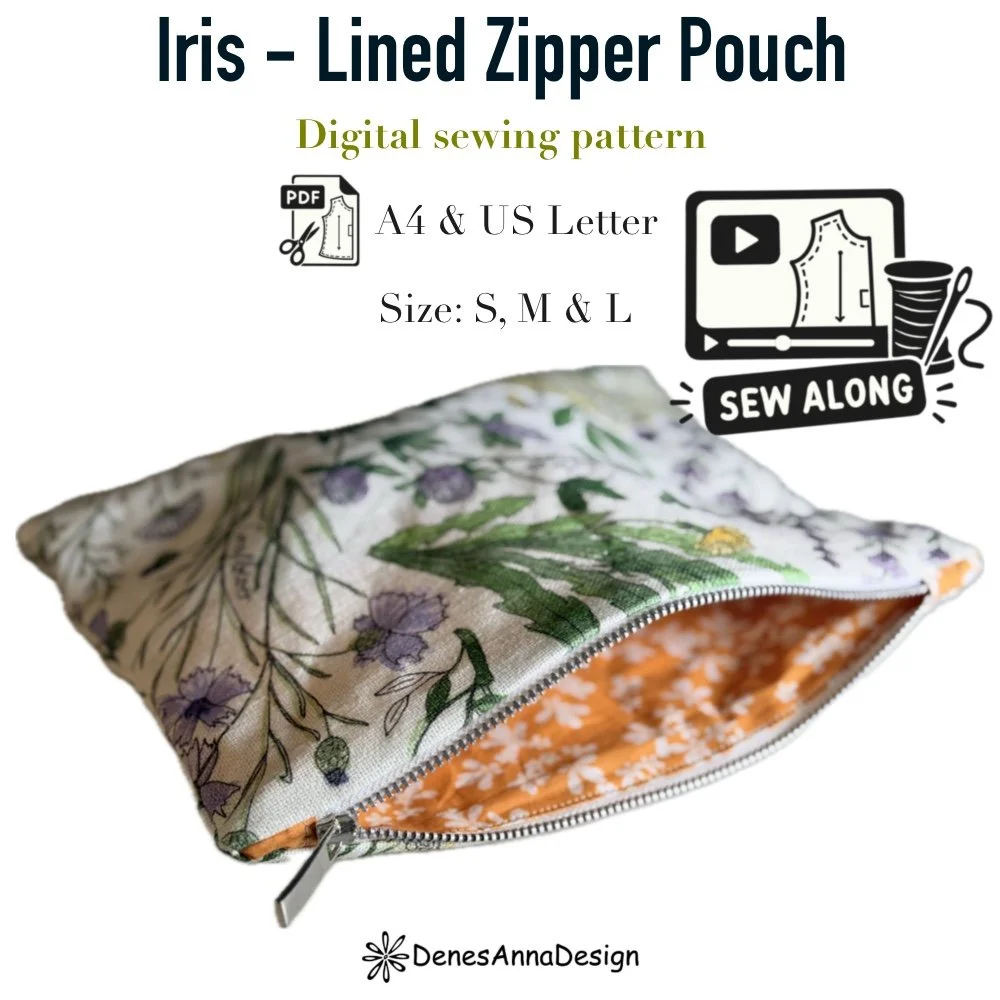
If you fell in love with this design and want to sew your own—for yourself or someone in your life—the digital sewing pattern is available in the shop!
To keep sewing open and accessible to everyone, I offer these patterns on a "Pay What You Can" tiered pricing scale. When you head to the shop, simply select the tier that best fits your current situation:
Accessible Tier: If you are on a tight budget or just need a little creative pick-me-up, please choose this tier to download the pattern for FREE —no questions asked!
Sustainable Tier: This is the standard, fair industry price that covers my pattern drafting time and keeps this independent shop running.
Supporter Tier: If you have the means and want to pay it forward to support the Accessible tier, this is for you! Bonus: Choosing this tier automatically unlocks a Limited Commercial License, allowing you to sell physical bags made from this pattern in your own home-based small business or local markets.
Time to Cut
Before you reach for your scissors, don't forget to prep your fabric!
Here is my go-to routine:
Check the Care Instructions: Always see what the manufacturer recommends first.
Pre-Wash: I usually wash my fabric using the exact same machine settings I will use to wash the finished product in the future.
Dry: I prefer to air-dry my fabric by spreading it out on a drying rack as much as the space allows.
Press: As a final step, thoroughly iron your fabric to eliminate any wrinkles. Cutting wrinkled fabric can completely distort your pattern pieces!
Now that our fabric is washed, dried, and pressed, it’s time for the most exciting part: cutting out our pieces!
If you prefer, you can follow the Sew-Along Video Tutorial
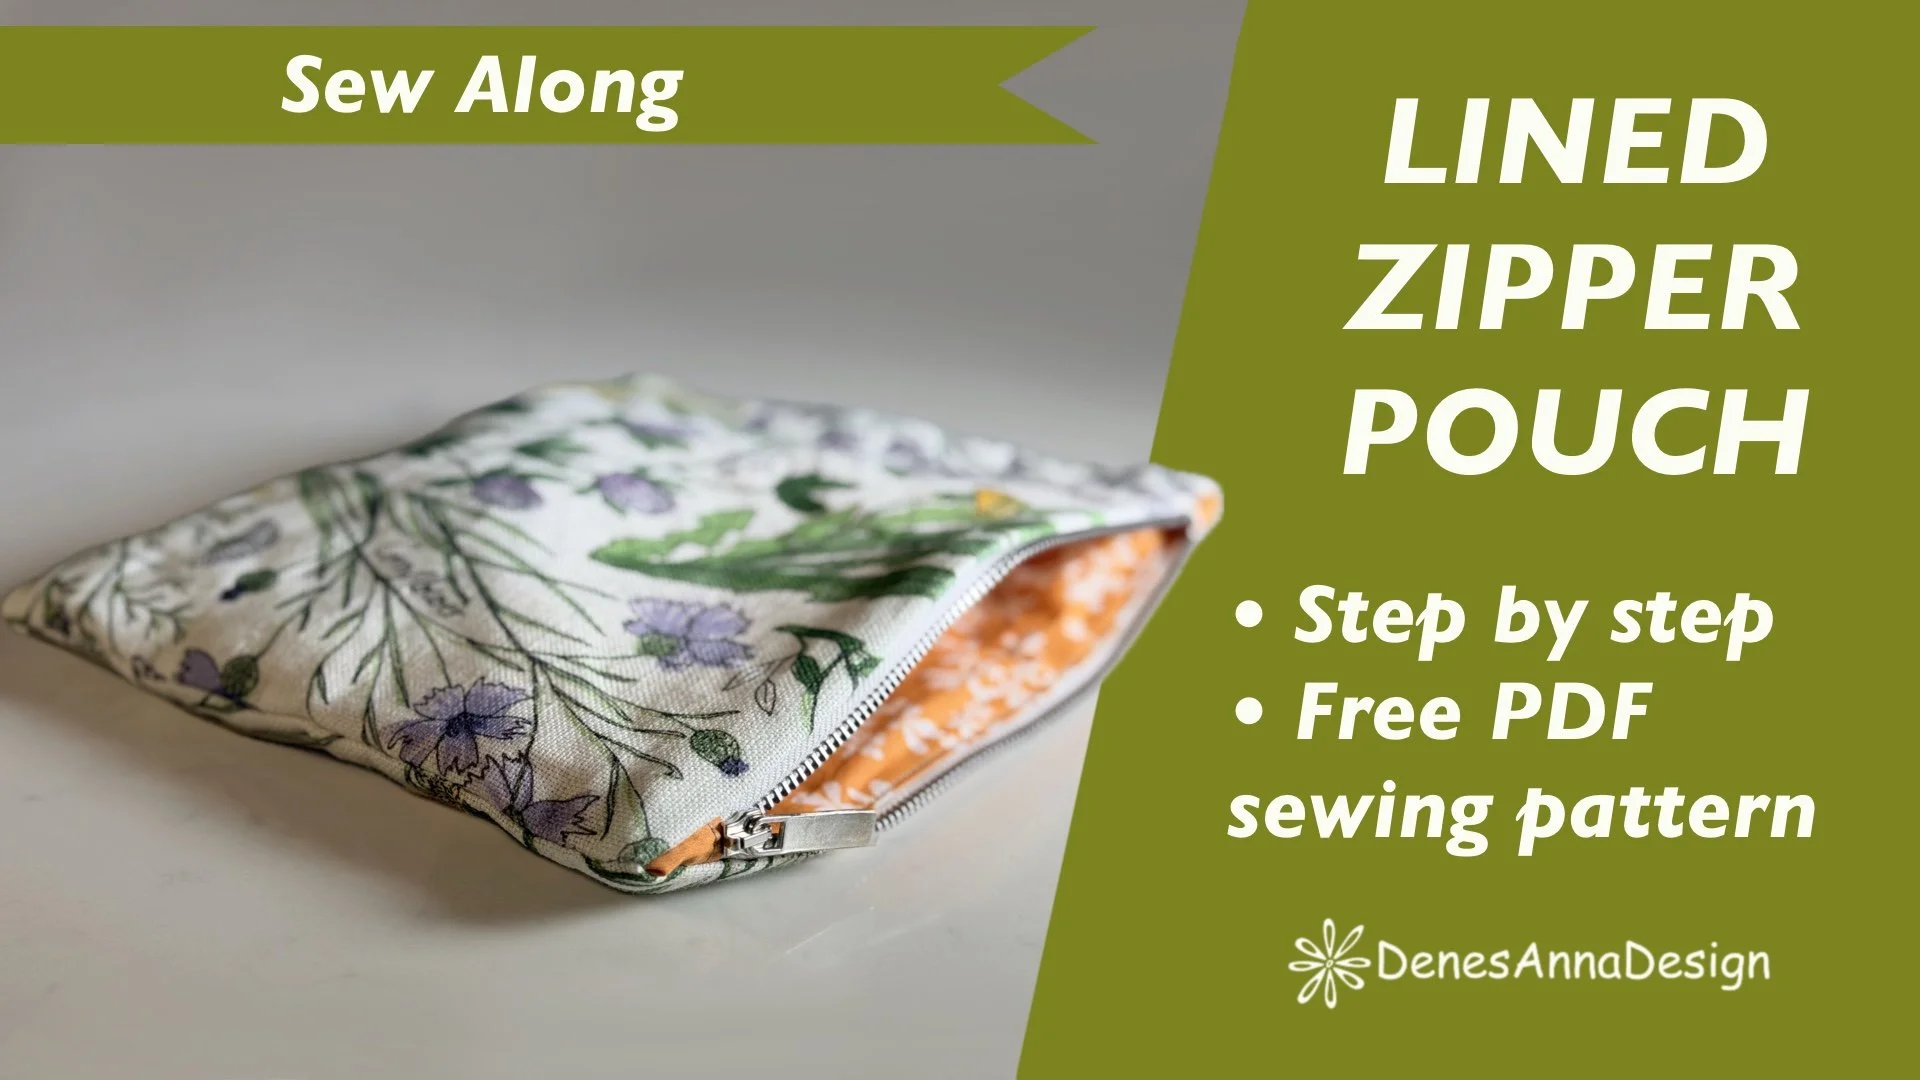
In this tutorial, I focus on the step-by-step cutting and sewing process.
Step-by-Step Sewing Instructions: Iris Lined Zipper Pouch
Now that we have our fabric pieces ready, it’s time to sew the Iris pouch! I’ll walk you through each step, from preparing the zipper and attaching the lining to assembling the pouch and achieving a neat, professional finish.
Take your time, follow the steps, and enjoy the process!
Step 1: Cut Your Fabric Pieces
Start by cutting all your fabric pieces according to the pattern.
You will need:
• 2 pieces of outer fabric (self-fabric)
• 2 pieces of lining fabric
• 2 or 4 zipper end tabs, depending on the length of your zipper and how you want to finish the ends
The number of zipper end tabs you need will depend on your zipper. Sometimes, one folded tab at each end is enough, while other zippers may require two pieces joined together to create a longer tab.
Tip: This is a great project for using up your fabric scraps! You can use the same fabric for the outer pouch and zipper tabs or choose a contrasting fabric for a little extra detail.
Step 2: Prepare the Zipper and Attach the End Tabs
Before attaching the zipper to the pouch, we need to prepare it and add the end tabs.
For my Iris pouch, I used a vintage metal zipper that was detachable. Since I couldn’t sew through the metal parts at the end, I carefully removed the metal stop to free up a little space on the zipper tape where I could attach my end tab.
I removed just enough of the metal parts to expose approximately 1 cm of zipper tape. If you are using plastic zipper teeth, just cut them to the desired size.
Choosing the right zipper length
The zipper, including its end tabs, should fit comfortably within the pouch’s top seam allowance.
The Iris pouch has a 1 cm seam allowance. Ideally, the zipper teeth should stop about 1.2–1.5 cm short of the sewing pattern width at each end. This helps prevent bulky ends and makes it easier to sew the side seams neatly.
Adding the zipper end tabs
For my large pouch, the zipper was long enough that I could use one piece of fabric for each end tab.
I folded each tab like a little binding, enclosing the raw edges, then inserted the end of the zipper tape inside the folded fabric. I stitched across the tab to secure it in place, making sure the zipper tape was firmly enclosed.
If you’re working with a shorter zipper, you can use two pieces of fabric for each tab instead. Join them, sandwich the zipper tape between the fabric, fold the raw edges inward, and stitch across to secure everything neatly.
Repeat this process at the other end of the zipper.
Step 3: Attach the Zipper to the First Outer and Lining Pieces
Now we’re ready to start assembling the pouch!
Take one piece of outer fabric and one matching piece of lining fabric.
Place the outer fabric right side up. Position the zipper on top, with the zipper teeth facing down toward the outer fabric and the zipper tape aligned with the raw edge. Then place the lining fabric right side down on top, aligning its raw edge with the outer fabric and zipper tape.
Your zipper is now sandwiched between the outer fabric and the lining, with the right sides of the fabrics facing the zipper tape.
Pin or clip the layers together, making sure all the raw edges are aligned.
Stitch along the edge, sewing as close to the zipper teeth as your zipper foot allows you.
Once you’ve finished sewing, open the layers out so the outer fabric and lining sit on opposite sides of the zipper.
Press the fabrics carefully, keeping them flat and away from the zipper teeth.
Topstitch the lining
Turn to the lining side and stitch close to the zipper seam, catching the seam allowance underneath.
This step helps keep the lining away from the zipper teeth and gives the pouch a neat, professional finish.
We’re only topstitching the lining side here, not the outer fabric.
Step 4: Attach the Second Outer and Lining Pieces
Now repeat the same process with the remaining outer fabric and lining pieces.
Place the second outer fabric piece right side up, position the zipper on top with the teeth facing down, and place the second lining piece right side down over it.
Align the raw edges carefully and stitch close to the zipper teeth.
Open the fabrics out, press everything neatly, and topstitch along the lining side to secure the seam allowance.
At this point, both sides of your pouch are attached to the zipper, and you should have the outer fabric on one side and the lining on the other.
Take a moment to press everything neatly before moving on to the next step.
Step 5: Sew the Outer Pouch and Lining Together
We’re now ready to assemble the pouch!
First, open the zipper at least halfway. This is important because you’ll need the zipper opening to turn the pouch right side out later.
Open out the pouch and arrange the pieces so that:
• The two outer fabric pieces are right sides together.
• The two lining pieces are right sides together.
• The zipper and its end tabs sit between the outer fabric and lining layers.
Make sure the side seams where the outer fabric meets the zipper are aligned carefully. Take your time with this part, as matching these seams will give you a much neater finish.
Pin or clip around the edges.
Starting at the bottom of the lining, sew around the pouch using a 1 cm seam allowance, leaving a small opening in the lining seam. This opening will allow you to turn the pouch right side out.
Once you’ve sewn around the pouch, trim any bulky corners if needed, taking care not to cut into your stitching.
Step 6: Turn the Pouch Right Side Out and Secure the Lining
Now comes the satisfying part!
Carefully turn the pouch right side out through the opening you left in the lining.
Gently push out the corners of the outer pouch and lining so they take their proper shape.
Here’s a little trick I like to use to help the lining stay neatly inside the pouch.
Reach inside and bring each lining corner together with its corresponding outer fabric corner. Match them carefully, then secure the two layers together with a small stitch, approximately 0.5 cm long.
Repeat this at both corners.
These tiny stitches help keep the lining in place and prevent it from shifting or pulling out when you’re using the pouch.
Step 7: Close the Lining Opening and Finish the Pouch
All that’s left is to close the opening in the lining.
Fold the raw edges of the opening inward, aligning them neatly. Stitch close to the folded edge to close the gap.
I used a simple machine edge stitch for mine, but if you’d like a completely invisible finish, you can close the opening by hand using a ladder stitch.
Once the opening is closed, shape the corners. Give the entire pouch one final press, taking care around the zipper and using a suitable temperature for your fabric.
And that’s it — your Iris Lined Zipper Pouch is finished!
You now have a practical, fully lined pouch with a neat zipper closure and lovely end-tab details.
Make one for yourself, use up those beautiful fabric leftovers, or sew a few to give as thoughtful handmade gifts. With three sizes and the additional quilted style option included in the pattern, there are plenty of ways to make the Iris pouch your own.
If you haven’t already, download the free Iris-Lined Zipper Pouch sewing pattern from my website and watch the video tutorial for a closer look at each construction step.
And if you’re a fellow fabric hoarder, welcome to the club! This project is part of my Fabric Hoarders Sewing Club, where we turn our fabric stash into useful, beautiful things instead of letting those precious fabrics sit on the shelf.
Happy sewing!