
Bluebell- Zippered Tote Bag with Lining
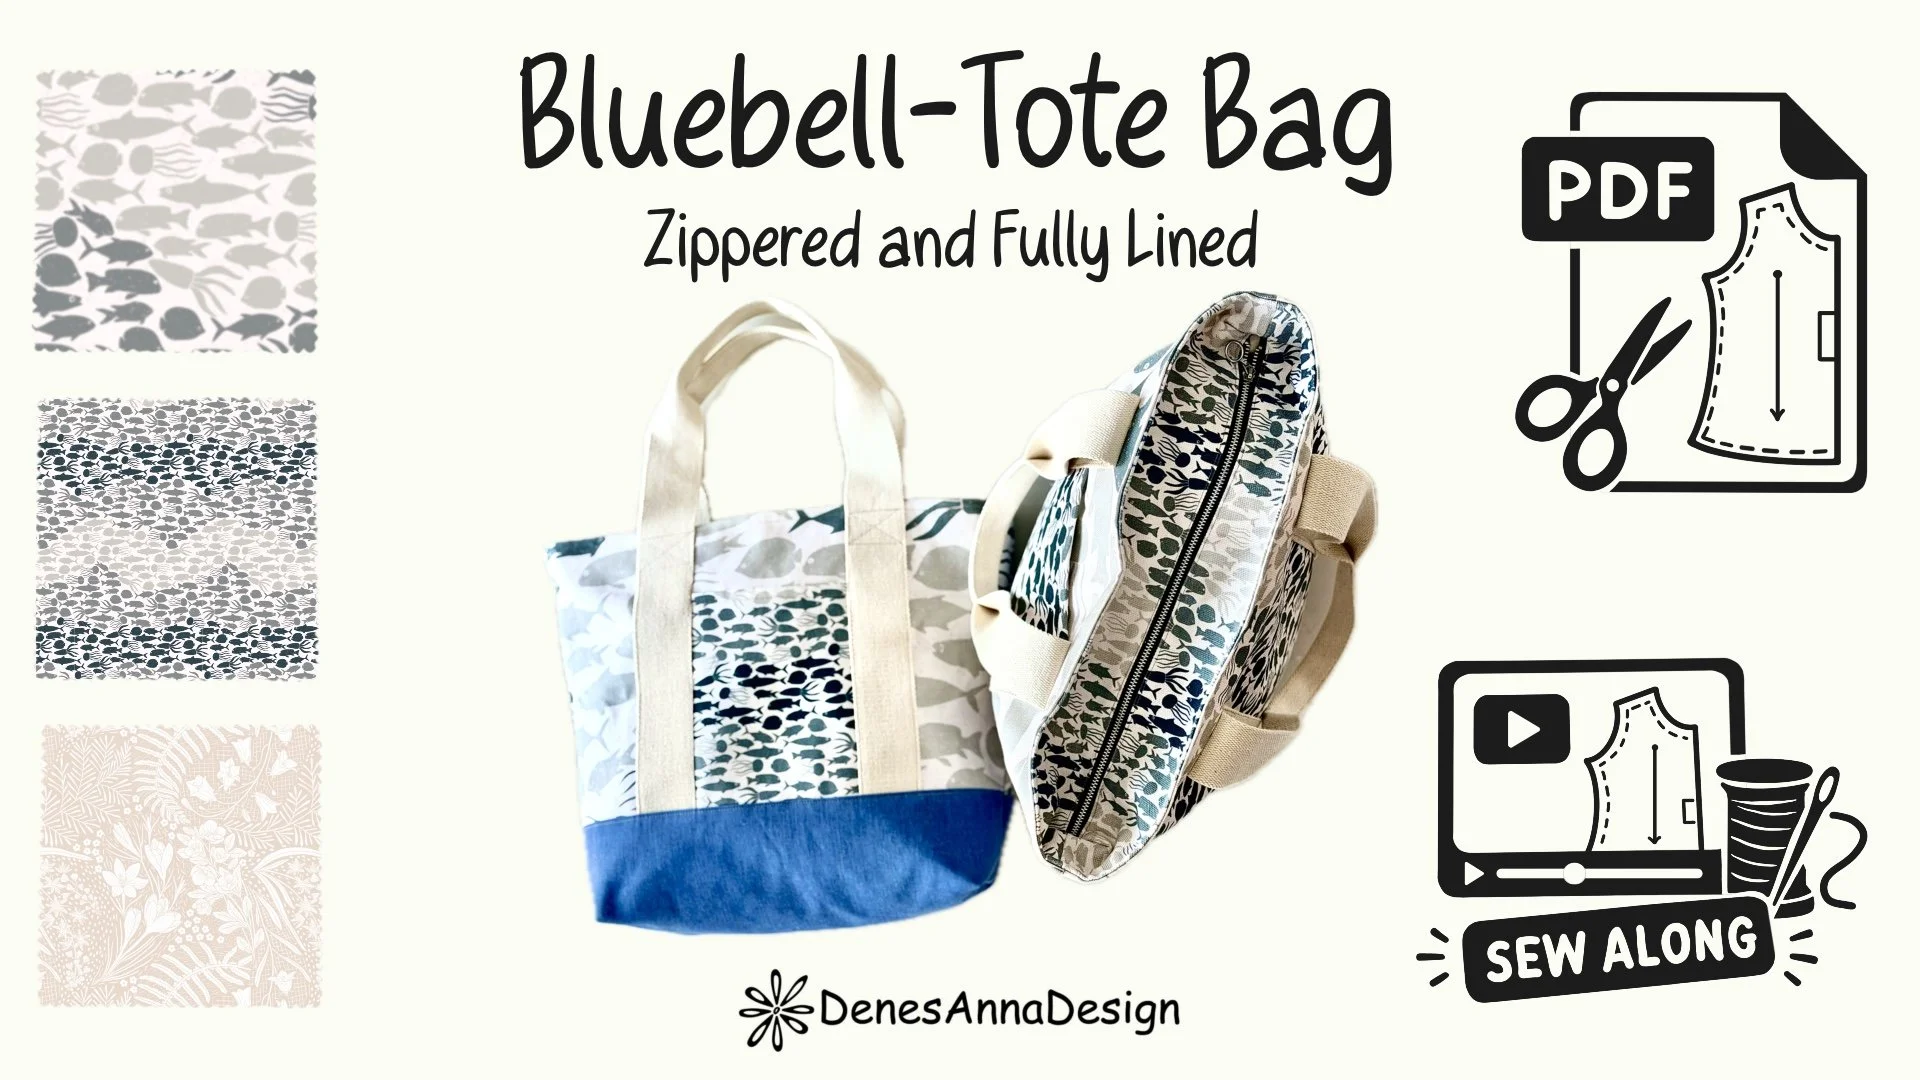
Welcome to the Blue Bell Zipper Tote Bag sewing project! 💙
In this post, you’ll find everything you need to know about this beginner-friendly sewing project — from the story and inspiration behind the design to the fabric print I used, the downloadable PDF sewing pattern, and the step-by-step instructions in written and video format to guide you through the process.
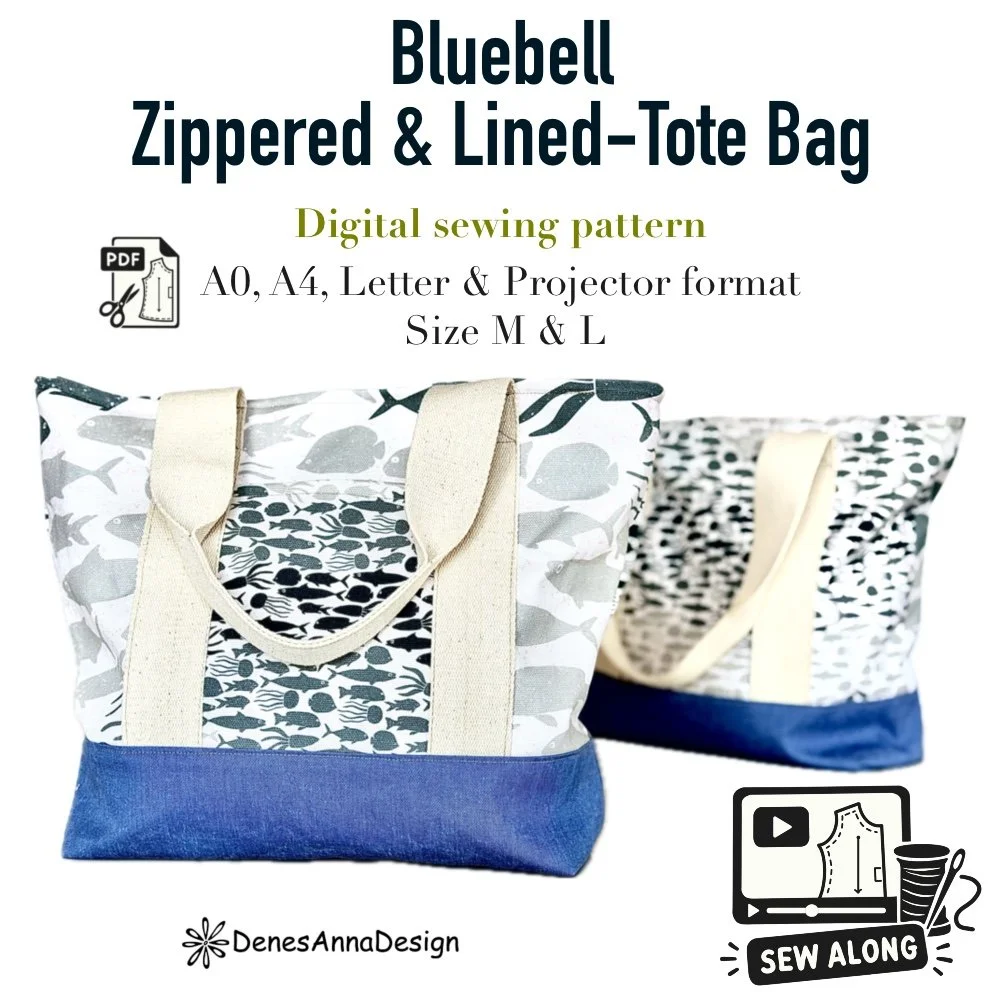
The Blue Bell is a beginner-friendly, fully lined zipper tote with webbing handles and handy exterior and interior pockets. It comes in two sizes and is part of my Fabric Hoarders Sewing Club — a collection of practical, useful projects designed to help us turn our fabric stash and leftover materials into something wonderful. Make one for yourself, create a thoughtful handmade gift for someone you love, or even sell your finished bags.
Thank you for being here and for being part of this creative community! Below, you’ll find the table of contents, so feel free to click straight to the section that interests you most — or settle in, scroll through, and enjoy the whole story. Happy sewing! 🧵
The Story Behind the Blue Bell Zipper Tote Bag
Let’s be honest: I’m a fabric hoarder. After nearly 15 years of collecting beautiful fabrics, I’ve accumulated a stash faster than I can sew through it. And while designing new prints and adding to my collection is still something I love, I’ve realised it’s time to be a little more intentional about using what I already have.
I don’t plan to stop buying fabric altogether (let’s be realistic!), but I do want to use more of my existing stash before ordering new treasures home. And what better way to do that than by turning those precious metres, leftover cuts, and long-forgotten fabrics into something practical and beautiful?
That’s how my Fabric Hoarders Sewing Club began: a collection of useful, approachable sewing projects to inspire me — and hopefully you, too — to make the most of our fabric stashes. The goal is simple: sew more with what we have, create things we genuinely use, and make room for new projects and fabric along the way.
The Blue Bell Zipper Tote Bag is one of those projects. It’s practical, fully lined, and designed with everyday use in mind. It features a zipper closure, sturdy webbing handles, an exterior pocket at the front, and an additional interior pocket to keep smaller essentials organised.
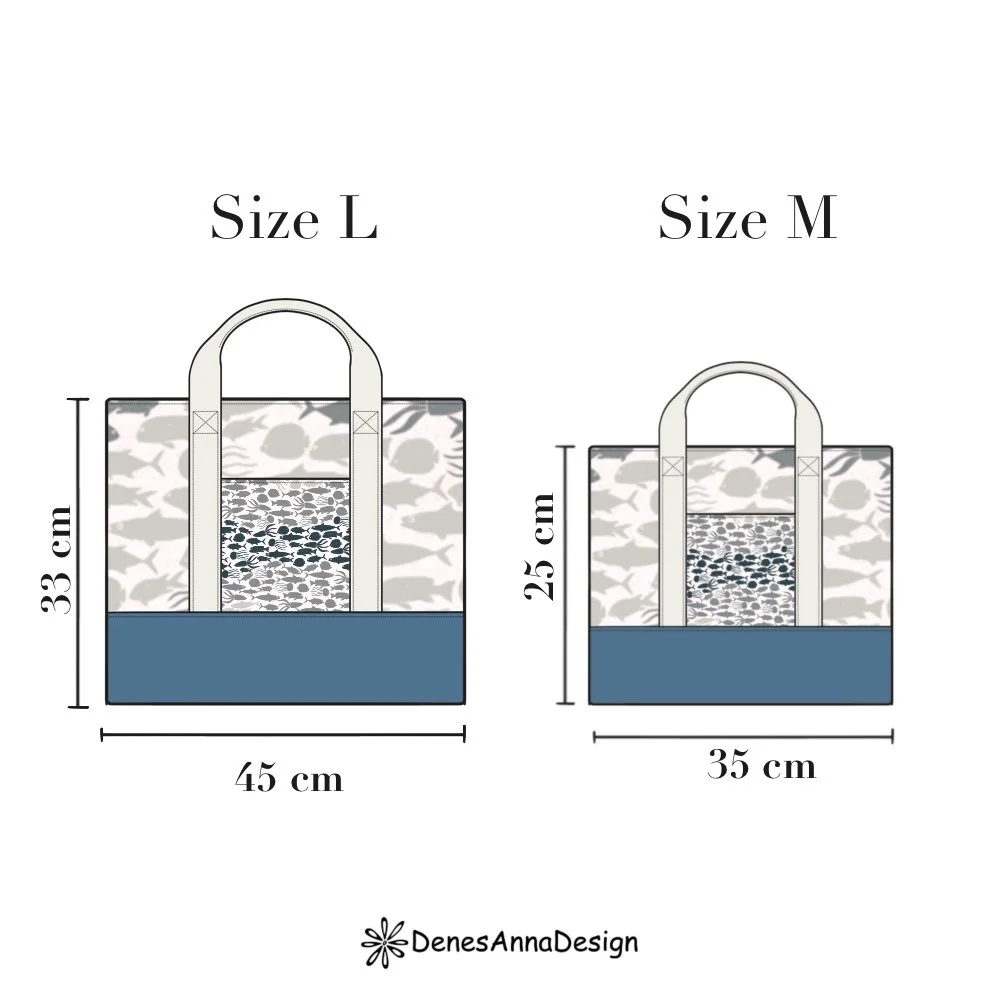
The pattern comes in two sizes:
Medium: 35 × 25 cm
Large: 45 × 33 cm
Whether you make one for yourself, sew a few as thoughtful gifts for birthdays, Christmas, Mother’s Day, or simply because, or turn your makes into a small handmade business, I hope this project inspires you to give those beautiful fabrics waiting in your stash a new purpose.
And remember: you don’t need to save your favourite fabrics for a special occasion. Sometimes, making something useful with them is the special occasion. 💙
Tell Me About the Fabric Prints
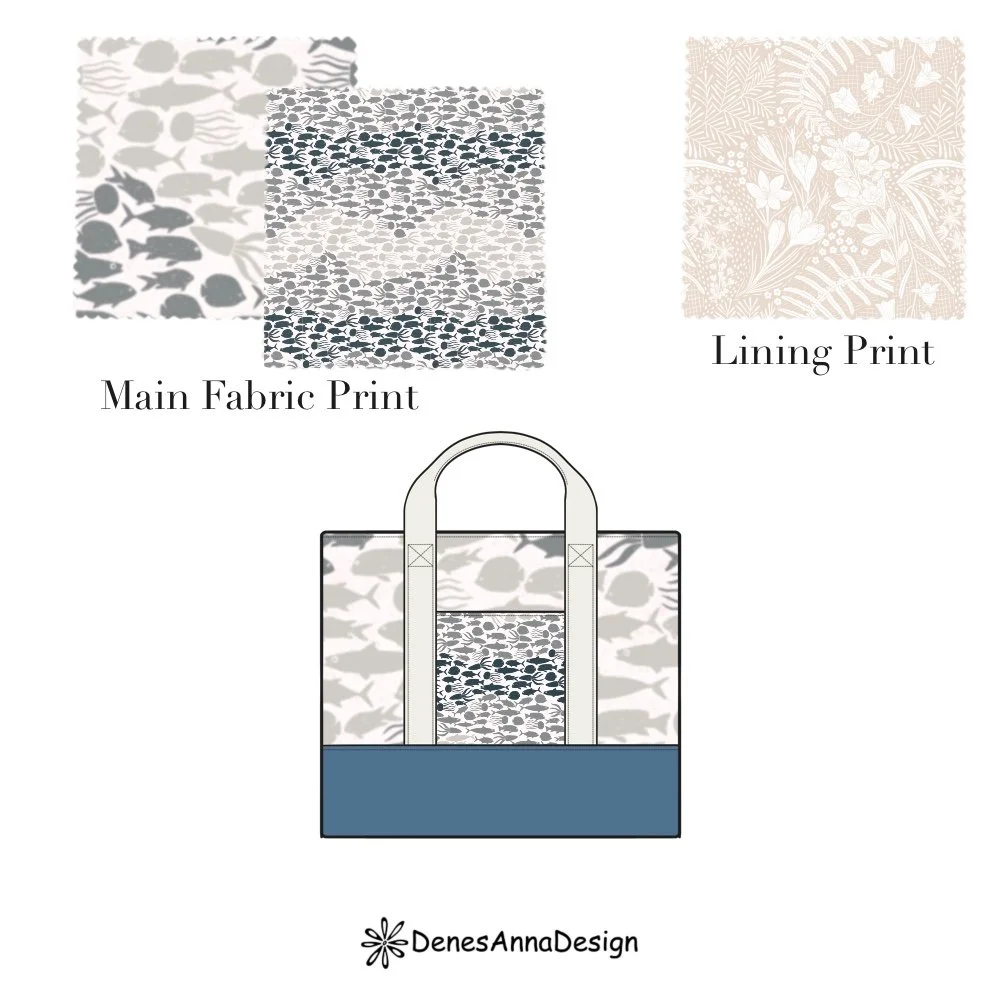
Main Fabric Print called the “Fish School”
Lining Print called “Forest Flowers reimagined paisley pattern”
One of my favourite things about sewing with my own fabric designs is that they often come with a story of their own. The fabrics I chose for this Blue Bell Zipper Tote Bag are both prints I designed years ago, and each one brings back lovely memories.
The Fish School print
The outer fabric features my Fish School print, a design I created more than six years ago as part of a collection inspired by my oldest son’s love of sharks, fish, and all kinds of nautical creatures.
Back then, I designed an entire collection of sea creatures especially for him, and Fish School was one of the prints that came out of that creative adventure. It features little fish swimming in rows, each heading in a different direction, giving the design a playful underwater feel.
We had a nautical theme in the boys’ room, so I ordered this fabric and used it to make curtains. I played with two different scales of the print, combining two smaller-scale panels with a larger-scale one to create a little more variety. I ordered extra length, which meant I had some fabric left over after cutting the curtains to size — just enough to make two Blue Bell bags!
But this fabric means more to me than simply being a print I love. I designed it when my boys were still very little, with my second son just a newborn. I remember drawing while he slept beside me or rested in my lap. Those quiet moments of creating alongside my baby are precious memories, and seeing this print again takes me straight back to that time.
I love that a fabric originally designed for my children’s room can now become something useful that I can carry with me or give to someone else. It’s a little reminder that the things we create can hold memories, too.
The Forest Flowers reimagined paisley pattern print
For the lining, I chose another design from my print collection: Forest Flowers reimagined paisley pattern.
I have always loved visiting the forest, especially when it’s time to go mushroom picking. Before creating this design, I had already explored my love of the woods through a mushroom-themed print. Forest Flowers Reimagined followed naturally, allowing me to explore the beauty of forest flowers in my own way.
I really enjoyed drawing this pattern, and it’s still one of my personal favourites. There’s something about its organic shapes and woodland inspiration that makes it a design I keep coming back to.
For this project, I chose a neutral colourway I already had in my fabric stash. Its lighter tones felt just right for the lining.
And that’s another little win for the Fabric Hoarders Sewing Club: finding a purpose for fabrics we already own and pairing them in ways that bring out the best in both.
Where to Find These Fabrics
If you’d like to sew your own Blue Bell Zipper Tote Bag using these prints, you can find my fabric designs in my online shops. I’ll link both designs below so you can explore the available colourways and fabric options.
Here is where you can order it from, depending on your location:
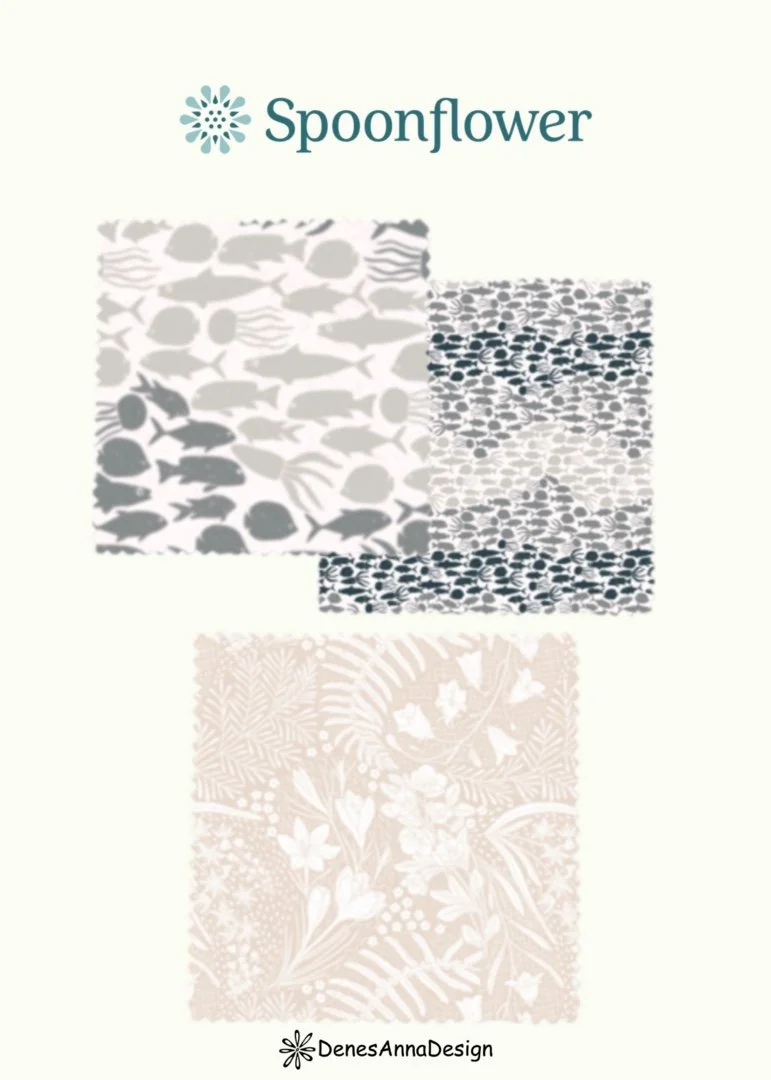
Spoonflower (Worldwide Shipping): They print on fabric, wallpaper, and home decor.
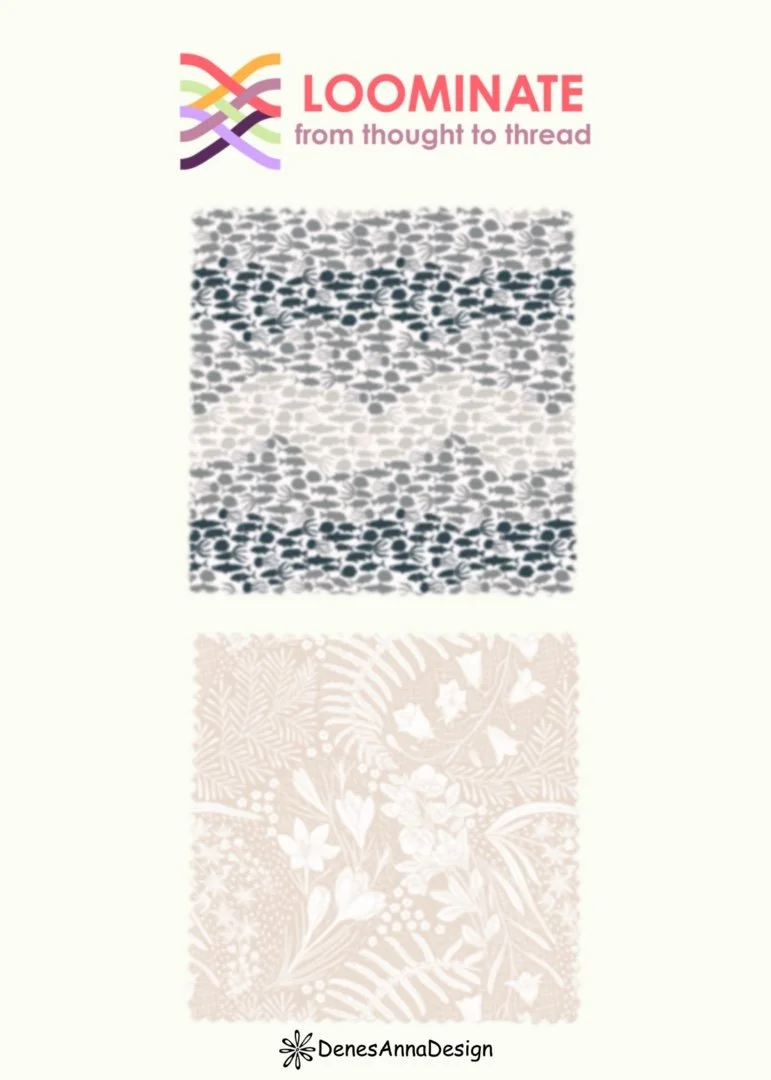
Loominate (Europe Only): If you live in Europe, this is a great option for you! They print and ship fabrics all across the European territory.
Note: If you order from my Loominate shop, you can customise the scale of the print. You can access the precise scale settings by clicking on the "Advanced" scale setting option.
If you want to set the scale as I have, then you should set it to the following:
Large-scale: Set the width to 61cm (100 %)
Small-scale: Set the width to 18 cm (30%)
Forest Flowers reimagined paisley pattern: Set the width to 50 cm (100%)
You can use the same prints, choose different colourways, or use your own stash and create a completely different combination. That’s the beauty of sewing your own bags: you get to make them uniquely yours!
Get the Blue Bell Zipper Tote Bag Sewing Pattern
You can find the downloadable PDF sewing pattern in my shop, ready to print at home, coffee shop or use with your projector.
The pattern comes in two sizes, Medium and Large, and includes files for A4, US Letter, A0 printing, and projector use, so you can choose the format that works best for your sewing setup.
A Sewing Pattern for Every Budget
I believe sewing should be accessible to everyone, regardless of their budget. That’s why all my sewing patterns are offered on a "Pay What You Can" tiered pricing system.
When you visit my shop, simply choose the tier that best fits your current situation. No pressure to pay more than you can comfortably afford.
Here’s how the three tiers work:
Accessible Tier — Always Free
Need to keep an eye on your budget, or simply looking for a little creative pick-me-up? The Accessible tier is for you! You can download the complete sewing pattern for free, no questions asked.
Sustainable Tier — Support the Shop
The Sustainable tier is priced in line with a modest, industry-standard price for an independent sewing pattern. Choosing this option helps me cover the ongoing costs of running my shop, maintain my creative business, and continue designing and sharing new patterns while supporting my family. If you’re able to pay for your pattern, this is a wonderful way to support my work.
Supporter Tier — Give a Little Extra Love
If you have a little extra room in your budget and would like to help keep the Accessible tier available for others, the Supporter tier is a lovely way to pay it forward. Your extra support means a lot and helps me continue making sewing patterns available to more people.
Bonus: Choosing this tier automatically unlocks a Limited Commercial License, allowing you to sell physical bags made from this pattern in your own home-based small business or local markets.
Choose the Tier That’s Right for You
Whichever tier you choose, you’ll receive the sewing pattern and the opportunity to make something lovely. Choose what feels right for you today, enjoy the process, and thank you for supporting independent pattern design in whatever way works for you!
Step-by-Step Sewing Instructions: Blue Bell Zipper Tote Bag
Before you reach for your scissors, don't forget to prep your fabric!
Here is my go-to routine:
Check the Care Instructions: Always see what the manufacturer recommends first.
Pre-Wash: I usually wash my fabric using the exact same machine settings I will use to wash the finished product in the future.
Dry: I prefer to air-dry my fabric by spreading it out on a drying rack as much as the space allows.
Press: As a final step, thoroughly iron your fabric to eliminate any wrinkles. Cutting wrinkled fabric can completely distort your pattern pieces!
Now that our fabric is washed, dried, and pressed, it’s time for the most exciting part: cutting out our pieces!
If you prefer, you can follow the Sew-Along Video Tutorial
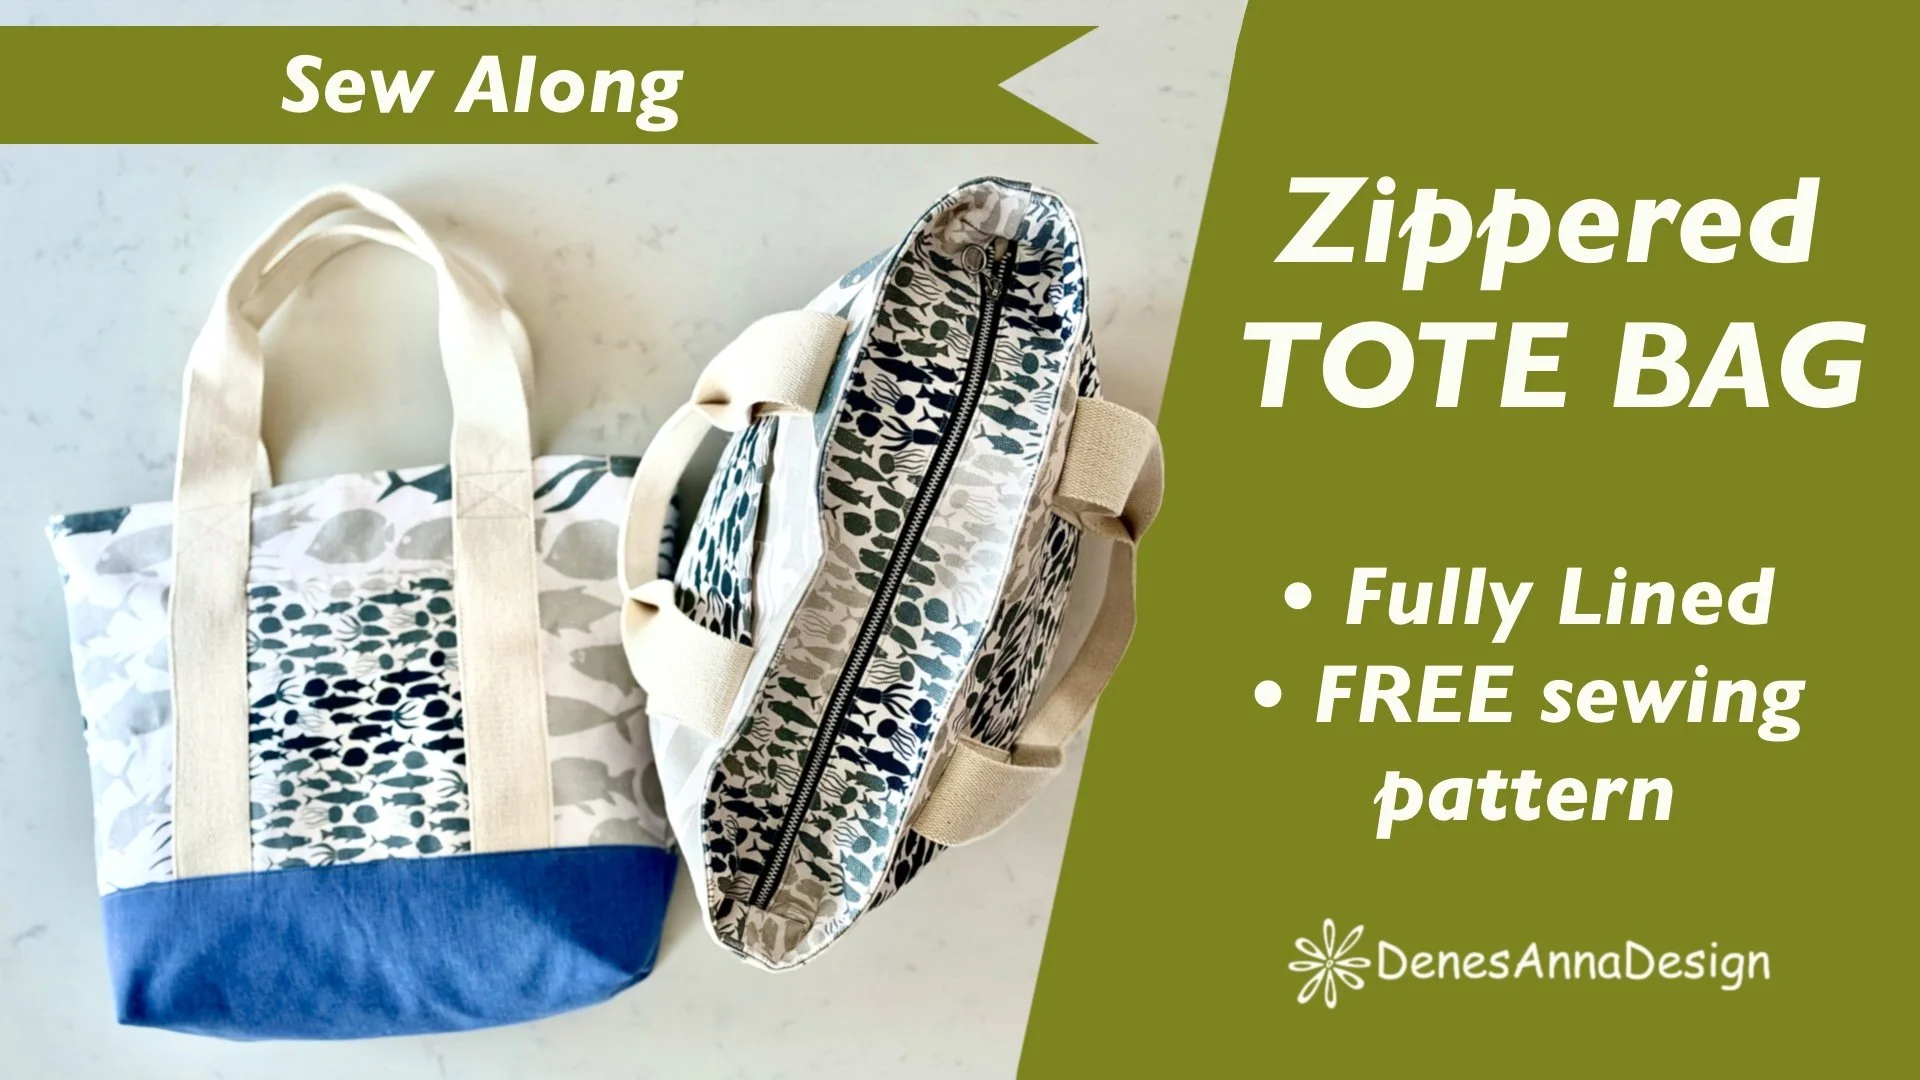
If you prefer learning by watching, you can also follow along with my step-by-step YouTube sew-along tutorial. I’ll guide you through the construction process, so you can sew along with me at your own pace.
Ready? Let’s get sewing!
Step 1: Cut Out Your Fabric Pieces
Print your sewing pattern in your preferred format and assemble and cut out all the pattern pieces according to the cutting instructions. Transfer the notches and other markings to your fabric, including the circle markings that indicate where to position the interior pocket on the lining.
You’ll need the following:
From Self Fabric (outer fabric):
Front & Back- cut 2
Exterior pocket-cut 1
Zipper opening-cut 2
From Contras Fabric ( or you can choose the same Self Fabric)
Bag bottom-cut 1 either on the fold OR cut 2 as separate pieces.
From Lining Fabric
Inside lining- cut either 1 the fold OR as 2 separate pieces.
Interior pocket-cut 1
Zipper opening-cut 2
You will also need:
1 Zipper- For size L -42 cm | For size M -32 cm
2 Webbing-Mine was 1 mt and 5 cm wide. Feel free to adjust the length to suit your preferences.
Attention: The bag bottom and the bag lining are designed to give you some flexibility when cutting your fabric. You can cut one piece on the fold OR cut two separate pieces, depending on the size and shape of the fabric you have available. If you choose to cut on the fold, remember to fold up the 1 cm seam allowance at the bottom edge!
This flexibility is intentional! Sometimes, the best fabric for a project is the beautiful piece you’ve been saving in your stash, even if it isn’t quite large enough for every pattern piece.
Once everything is cut, double-check that you’ve transferred the notches and pocket-placement markings. These little marks will make the next steps much easier.
Step 2: Prepare the Zipper
For my bag, I used a metal zipper, so I first removed the excess zipper teeth to match the length of my Zipper Opening pattern piece, where the zipper will be attached. If you’re using a plastic zipper, trim it to this length as well, or a little bit longer and trim it once it is sewn again.
Once your zipper is the correct length, you’re ready to attach the fabric.
Step 3: Sew the Zipper Panel
Place one zipper fabric piece and its corresponding lining piece on one side of the zipper, sandwiching the zipper between the two layers. Align the edges and sew them together.
Repeat with the outer fabric and lining pieces on the other side of the zipper.
Fold the fabric layers away from the zipper and press them neatly. Top stitch along the zipper on both sides. Make sure the lining and outer fabric sit smoothly.
Now sew the zipper opening side with 1 cm seam allowance, fold the self fabric right side together and same with the lining. Now fold out and sew the ends of the zipper panel neatly, enclosing the raw edges and creating a tidy finish. Your zipper should now be neatly framed by the fabric, ready to be attached to the bag. Cut off the extra zipper end if needed.
Step 4: Attach the Webbing Handles and Exterior Pocket
Now let’s prepare the front and back of the bag.
First, find the centre of each webbing handle and mark approximately 20 cm along the middle section. Fold the webbing in half lengthwise at this section and stitch it down to create a neat, secured grip area. Repeat for the second handle.
Next, use the notches on your pattern to position the webbing on the outer fabric pieces.
On the front piece, position the exterior pocket between the two webbing handles. Align the pocket and webbing with the pattern markings, then secure them in place by stitching along the appropriate edges.
On the back piece, position and secure the webbing in the same way, following the notches.
When attaching the webbing, leave approximately 2–2.5 cm between the top edge of the bag and the ends of the handles. Don’t sew the webbing all the way to the top edge. This space is important because you’ll need it to attach the zipper panel later.
For extra strength, reinforce the handle attachment points with a box-and-cross stitch. These areas will take most of the weight when you carry your bag, so a little extra reinforcement is worthwhile.
Step 5: Assemble the Outer Bag
With the front and back pieces prepared, it’s time to assemble the outer bag.
Place the front and back pieces right sides together with the bottom piece between them. Sew the pieces together using a 1 cm seam allowance.
Press the seams neatly towards the top of the bag, then topstitch on the outer fabric to secure the seams and give the bag a crisp, professional finish.
Next, sew the side seams of the outer bag, using the 1 cm seam allowance.
To finish the bottom, fold the bag so the bottom panel aligns with the side seams, matching the edges and corners carefully. Sew the bottom closed with a 1 cm seam allowance.
Your outer bag is now assembled! Set it aside while you prepare the lining.
Step 6: Prepare the Interior Pocket and Lining
Take the interior pocket piece and fold it in half, right sides together. Sew around the edges, leaving a small opening for turning.
Turn the pocket right side out through the opening and press it neatly. Make sure the corners are pushed out and the edges are smooth.
Position the pocket on the lining using the circle markings you transferred from the pattern. Check that the pocket is correctly aligned, then stitch it in place, closing the turning opening as you sew around the pocket.
Next, assemble the lining in the same way as the outer bag: sew the side and bottom seams using the specified 1 cm seam allowance.
Step 7: Join the Lining and Outer Bag
Place the lining inside the outer bag, before joining the two layers, I like to secure the corresponding bottom corners of the lining and outer bag together with a 0.5 cm seam. This helps prevent the lining from shifting around inside the finished bag.
Now align the top edges of the lining to the outer bag.
Stitch around the top edge using a 0.5 cm seam allowance to hold the layers together.
Step 8: Attach the Zipper Panel to the Bag
Open the zipper before sewing the zipper panel to the bag.
Align the right side of the zipper panel with the right side of the bag opening, matching the side seams and the rest. Sew the panel to the bag with a 1 cm seam allowance, checking that the webbing handles remain clear of the seam.
Once the zipper panel is attached, trim the seam allowance down to approximately 0.5 cm.
You’re almost there!
Fold the zipper-panel fabric over the seam allowance towards the inside of the bag, enclosing the raw edges. Press gently, or use your fingers to ease the seam into place, making sure the fabric sits smoothly.
Now, topstitch along the top edge of your bag. The goal is to enclose the raw seam allowance so it won’t be visible inside your finished bag and also gives the bag a professional crisp finish.
Give everything a final press.
And that’s it! Your Blue Bell Zipper Tote Bag is finished and ready to use. 💙
I hope you enjoyed making it! Whether you’ve sewn it for yourself, made it as a thoughtful gift, or used up a piece of fabric that’s been waiting in your stash, I’d love for this project to inspire you to keep creating.
If you haven’t already, download the free Blue Bell Zipper Tote Bag sewing pattern from my website and watch the video tutorial for a closer look at each construction step.
And if you’re a fellow fabric hoarder, welcome to the club! This project is part of my Fabric Hoarders Sewing Club, where we turn our fabric stash into useful, beautiful things instead of letting those precious fabrics sit on the shelf.
Happy sewing!