
Dandelion- The Shopping Tote Bag
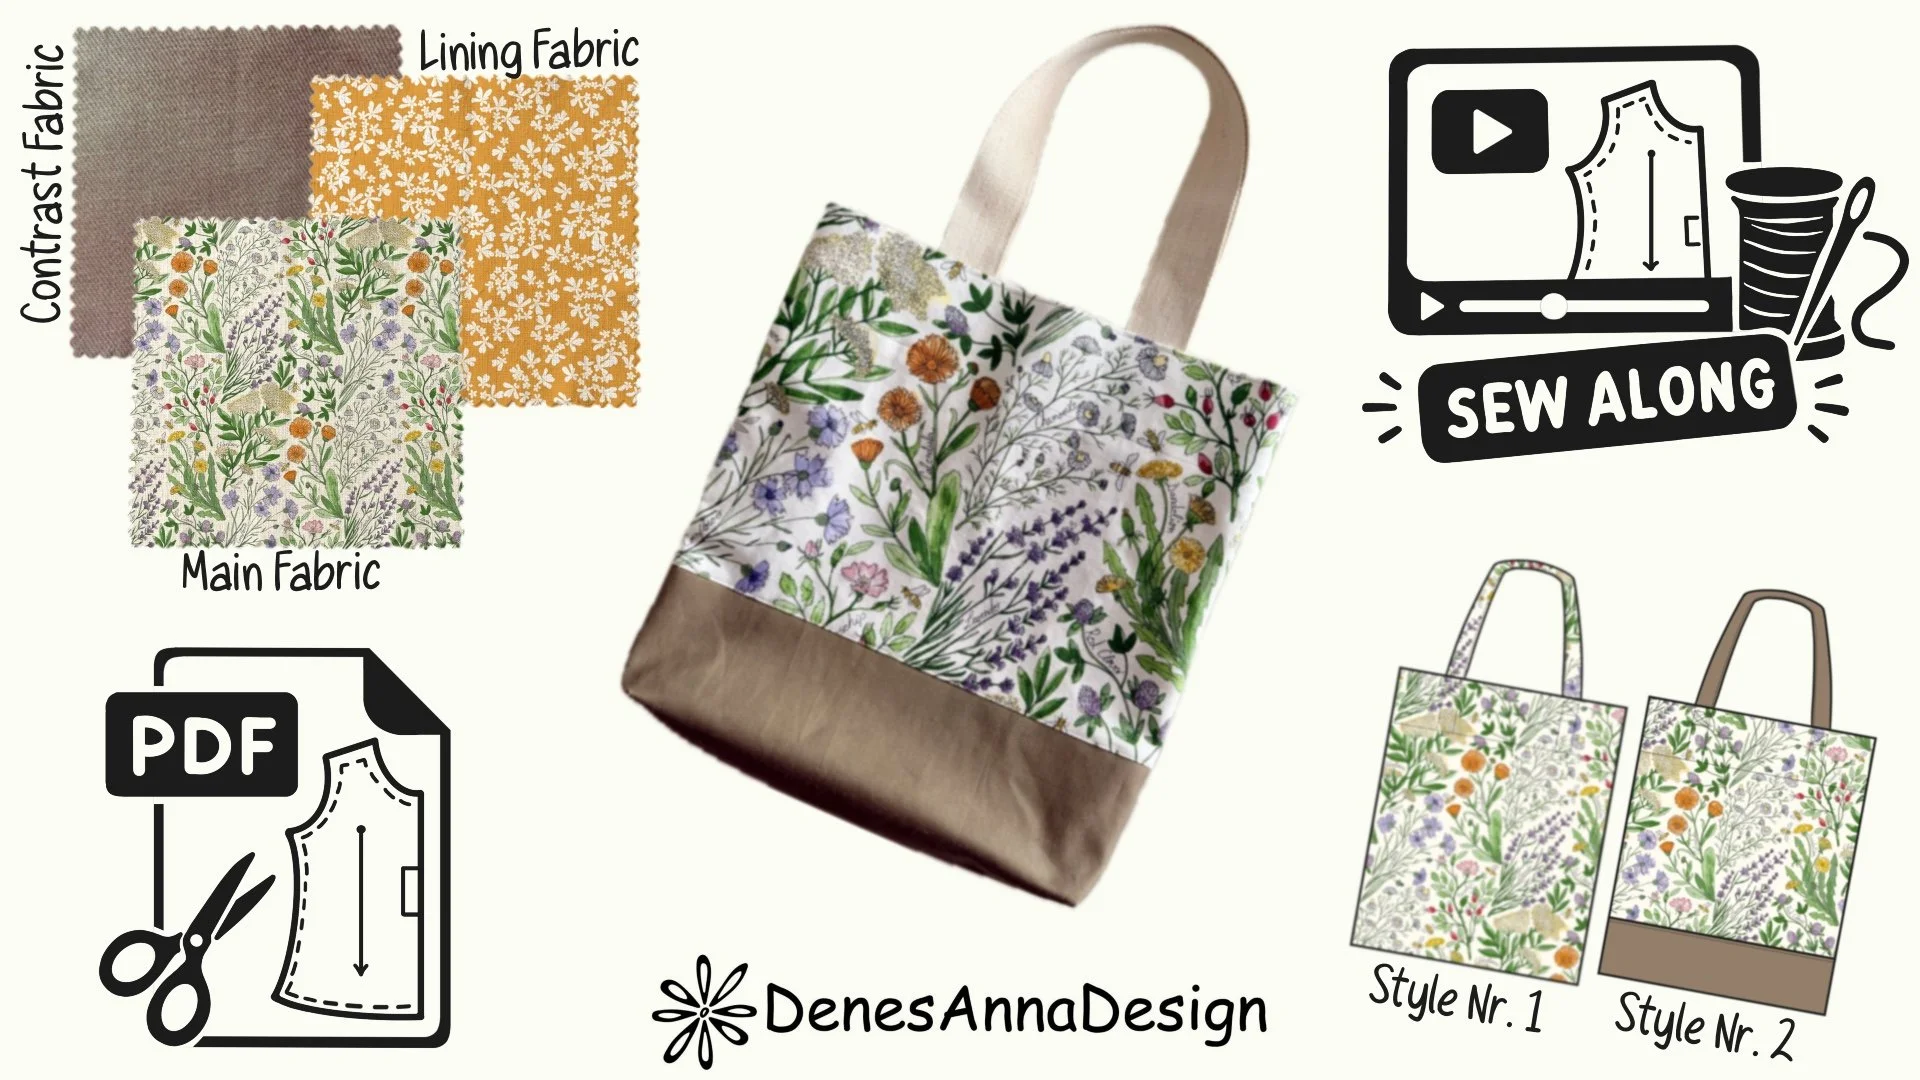
Dandelion- The Shopping Tote Bag- Sewing Pattern
This is where you’ll find everything you need to know about this lovely, beginner-friendly sewing project, from the story behind the bag to the details of my own fabric print and how to get your hands on it. Whether you’re sewing for yourself or looking for a thoughtful handmade gift for Christmas, a birthday, Mother’s Day, or simply just because, Dandelion is a bag to make and enjoy for any occasion and any age.
I’ve gathered everything in one place, including the sewing pattern, step-by-step instructions, sewing tutorial, and links to the fabric print I used, so you can create your very own Dandelion tote.
To make things easier, you’ll find a table of contents below. Simply click on the section you’re interested in to jump straight to it, or take your time, scroll through, and enjoy the whole story behind Dandelion. I’m so happy you’re here, and I hope this little bag inspires you to make something beautiful!
Why I Designed the Dandelion Tote Bag
I’ve always found tote bags to be such practical and satisfying things to make. They’re relatively quick projects, but the end result is something you can use again and again. And there’s something really lovely about making something with your own hands that becomes part of your everyday life.
About a year ago, I started making tote bags as a way to use up some of my fabric stash. I made quite a few, and I’ve been carrying one of them almost every week since. I’ve also made more to give to friends and family, and they’ve enjoyed them just as much as I have. I’ve had some lovely feedback about how handy these little bags are for shopping, running errands, or simply carrying those extra things you always seem to accumulate when you’re out and about. They’re practical, but they can also be beautiful and stylish, which makes them even more enjoyable to carry.
And then there’s the reason I keep coming back to projects like this: my fabric stash.
I’ve recently had to come to terms with a little personal weakness. I’m a fabric hoarder! I have fabric in my sewing space that I bought more than 15 years ago, alongside newer fabrics that I bought because I had so many ideas and projects in mind. The problem is that I seem to buy fabric faster than I can turn those ideas into finished projects. And even when I do make something, I tend to keep the leftover pieces and scraps, thinking they might come in handy one day. Before I know it, those little pieces start piling up, too.
I don’t want to get rid of all my fabric. I love fabric, and as a surface pattern designer, I’m always excited about prints, colours, and the possibilities they bring. But I would really like to find a better balance. My goal is to use up my existing stock faster than I add to it, and to give those leftover fabrics a purpose rather than letting them sit on a shelf or eventually throwing them away.
That’s where the Dandelion tote bag comes in.
I wanted to design something practical that would make good use of the fabrics I already have, including smaller pieces and leftovers from other projects. Since this is one of my own surface pattern designs, it’s also a lovely way to bring my print to life in something I can actually use every day.
I designed the bag with a separate bottom section, so you can combine different fabrics and make the most of the pieces you have available. You can use one fabric for the main body and another for the bottom, and you can even mix things up between the front and back. The bag is lined, too, which gives it a lovely, finished look on the inside and creates another opportunity to use a different fabric. I also added a small inside pocket for those little essentials, along with a simple tie closure to bring the top of the bag a little closer together when needed.
Despite these little details, the Dandelion tote is a very straightforward make. There’s no zipper or anything complicated to worry about, which makes it a lovely project for beginners. If you’re just starting to sew bags, I think this is a great place to begin. And if you already enjoy making bags, it’s a fun, satisfying project that doesn’t require a huge amount of time or fabric.
I also think a handmade tote bag makes a lovely gift. It’s something people of all ages can use, and it works for so many occasions. Personally, I would happily give one as a gift or receive one myself! A well-made tote is durable, reusable, and genuinely useful. It can make those everyday shopping trips and errands feel just a little more special, especially when you’re carrying a bag made from a print you love.
And if you enjoy making things to sell, I think this is worth considering as well. It’s a relatively quick project; it can be made from fabrics you already have, and it’s the kind of useful, attractive item that people can easily imagine using in their everyday lives.
So, in the end, the Dandelion tote bag grew out of a simple idea: I wanted to use more of the fabric I already own and turn it into something beautiful, practical, and long-lasting. Something for myself, something to share with friends and family, and perhaps something that other makers will enjoy creating, too.
Because if I’m going to have a fabric stash, I might as well turn some of it into things I can enjoy using!
The Story Behind the Wildflowers Print
I created this print back in 2020, when COVID first started spreading around the world and life as we knew it suddenly changed. It was such an uncertain and difficult time for everyone, but for me, it was particularly emotional because I was expecting my second boy.
When the news broke, and the world went into lockdown, I remember feeling so worried about what was going to happen. What kind of world was I bringing my baby into? What would the future look like for him and for our family? I was worried about my baby’s health, too. With so many restrictions in place, I wasn’t able to attend my regular checkups unless it was considered an emergency. At the same time, I was frightened of going out and potentially exposing myself and my baby to something we knew so little about. I had so many questions and very few answers, and I found myself caught in a constant circle of worry.
Looking back, I’m really grateful that I was able to find my way out of that place. I had to learn to let go of some of those worries and have faith that, somehow, we would be okay. That the world would get through this, that we would find ways to adapt, and that life would continue, even if it looked very different from what we had known.
And in the middle of all that uncertainty, I felt the need to create something joyful. Something that would bring a little happiness into my days and make my heart feel lighter whenever I looked at it.
That’s how the idea for this print began.
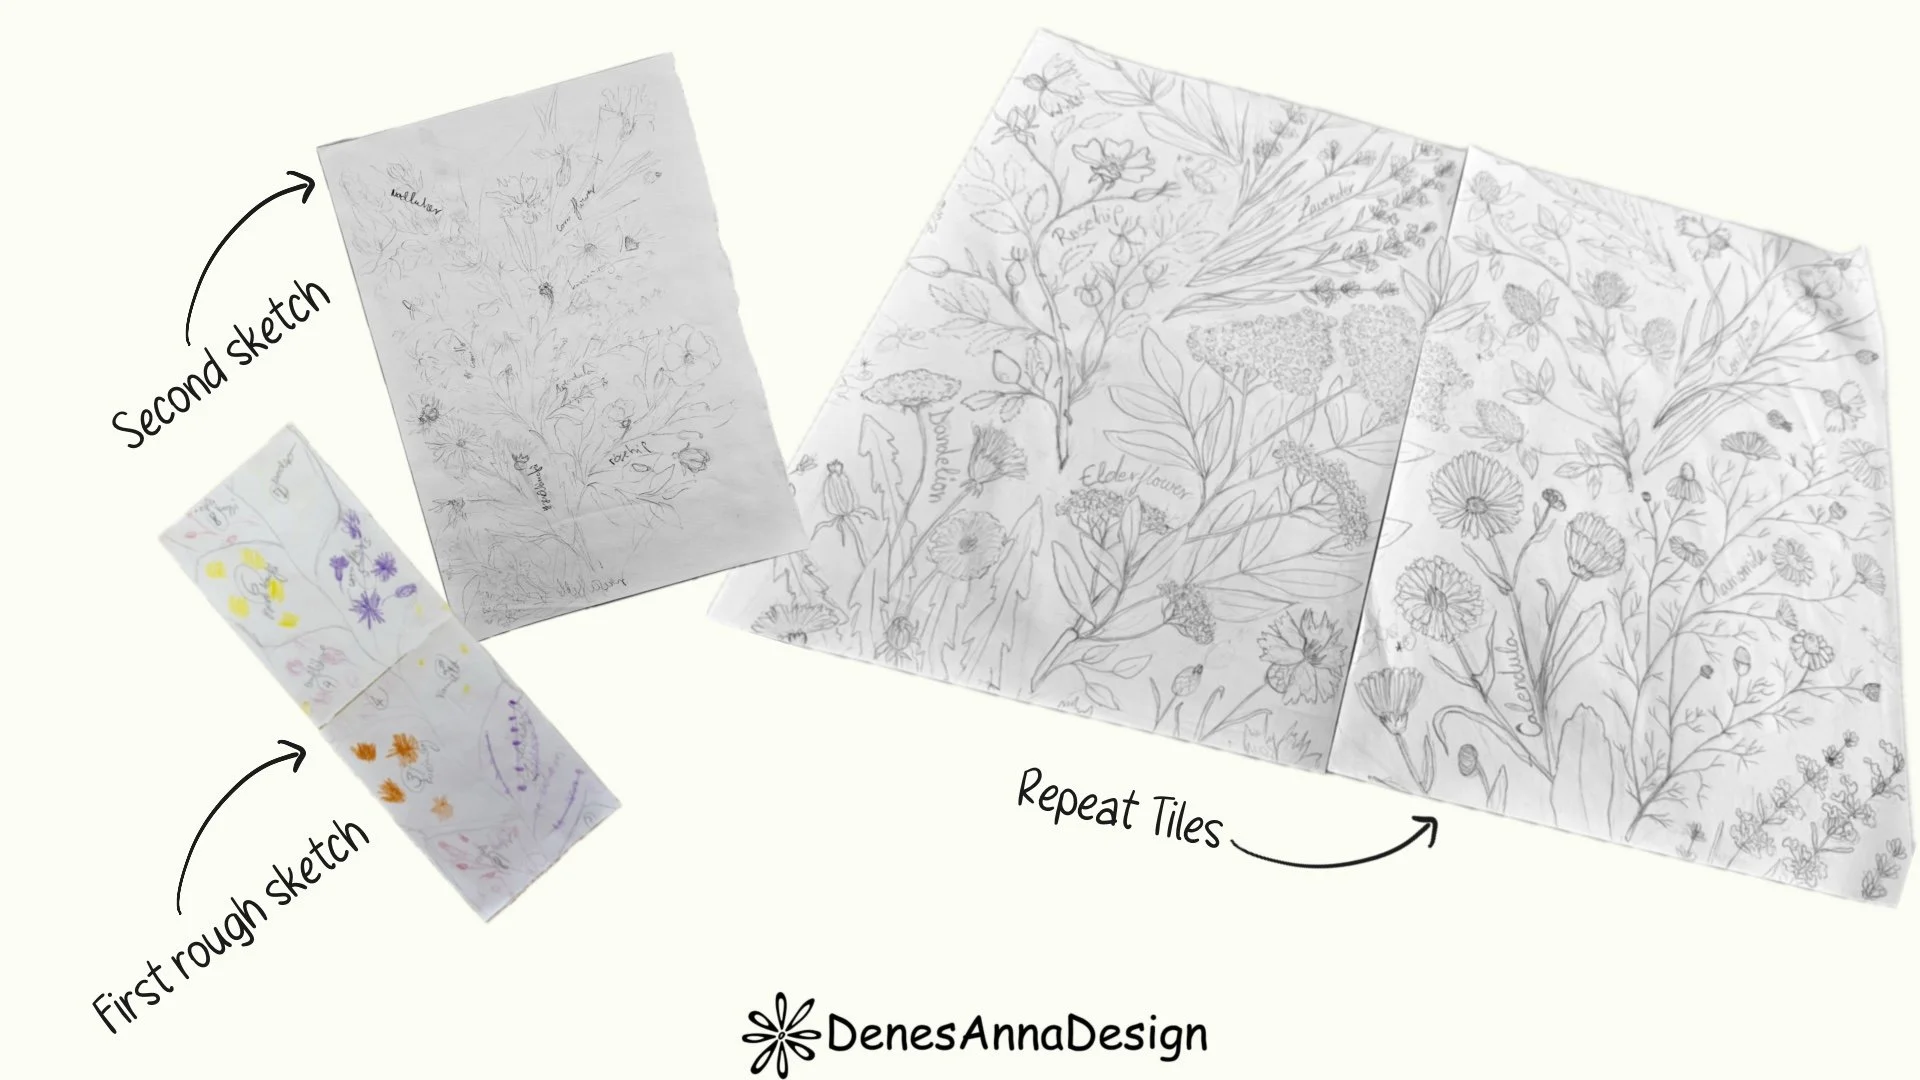
I had a picture in my mind of beautiful wildflowers, and I started sketching them out, thinking about how they might sit next to one another and work together as a repeating pattern. I began with a very rough sketch, just simple shapes and little blocks of colour to explore the overall composition. You can see in the first sketch how loose and unfinished the ideas were at that stage. I wasn’t trying to make anything perfect yet; I was simply playing with the shapes and figuring out what felt right.
From there, I moved on to a second sketch, adding a little more detail and bringing the idea together. It was still quite rough, but by then I could see the design taking shape. I knew what I wanted it to look like, and the whole idea suddenly felt clear.
Once I had that direction, I took two sheets of A4 paper and began drawing the repeating pattern by hand. I worked across the two sheets, carefully making sure that the motifs would line up and the design would repeat seamlessly. It was a lovely, hands-on way to build the pattern, working out how each floral cluster would connect with the next.
At the time, my process for creating surface patterns was quite different from how I create the design mostly today. I would draw the individual motifs and floral clusters by hand, paint them using watercolour or gouache, and then bring everything into Adobe Illustrator to build the repeat pattern.
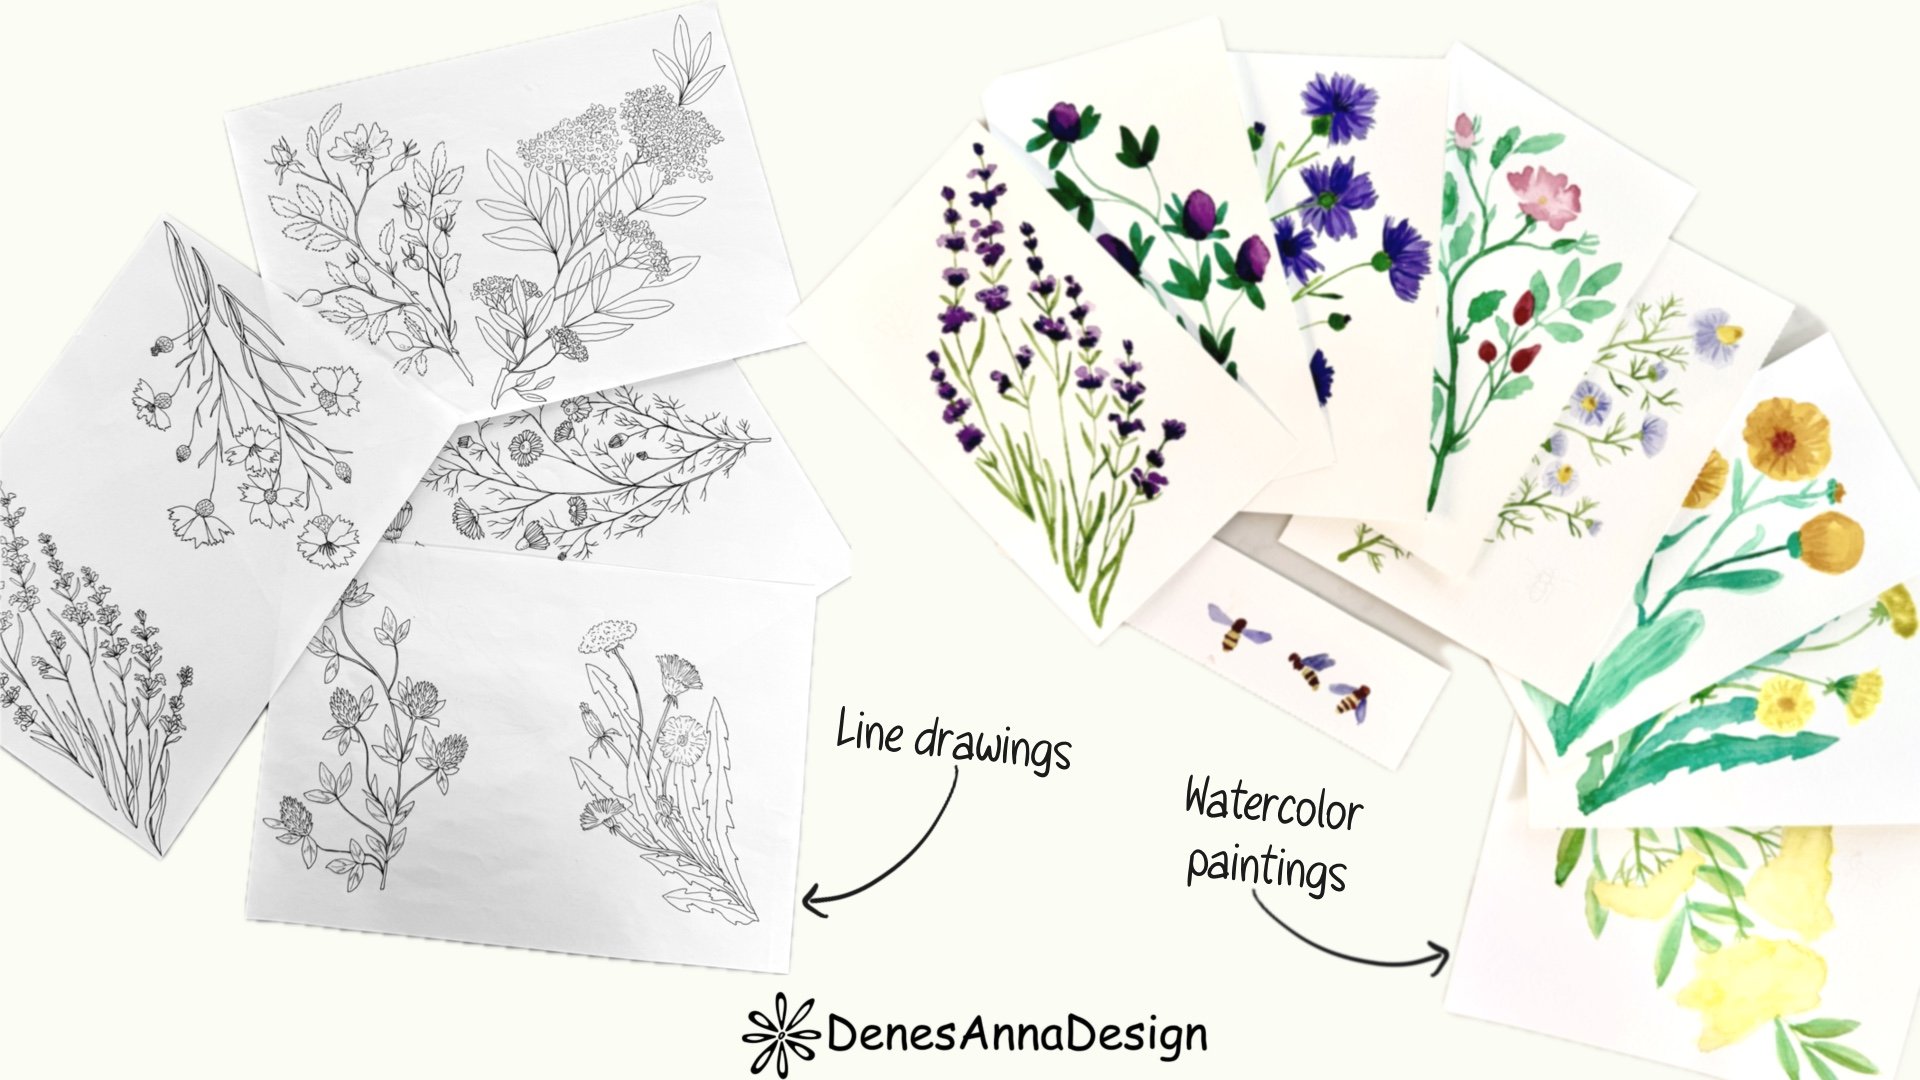
For this particular design, I drew the floral clusters as line drawings first, then painted them separately with watercolours on watercolour paper. I combined the painted elements with the drawings in Illustrator, layering everything together until the final print came to life. Looking back, Photoshop might have been a more straightforward tool for some parts of the process, but I was much more comfortable working in Illustrator, so that was where I brought everything together.
It was quite a time-consuming process, with lots of little steps along the way, but I enjoyed it so much.
And I think that was the most important part.
Creating this print became a kind of therapy for me. It gave me something positive to focus on during a time when so much felt uncertain and beyond my control. Instead of getting caught up in my worries, I could sit down, draw, paint, experiment with colours, and slowly watch something beautiful come together.
By the time I finished the print and saw the final result, I remember feeling such warmth and happiness. All those worries that had felt so overwhelming before seemed to have loosened their grip on me.
I had found my way back to a more peaceful place, where I could let myself feel joy again and trust that we would find our way through whatever came next.
Even now, whenever I look at this print, my heart warms. I think a part of me remembers that feeling of relief, of finally being able to breathe a little more easily and let go of the things I couldn’t control. It reminds me to have faith, to make room for happiness even when life feels uncertain, and to trust that we can adapt and keep moving forward.
But this print also became an important milestone in my journey as a surface pattern designer.
I had created prints before, and there were designs I liked and was happy with. But this one felt different. When I finished it, I remember looking at it and thinking, This is beautiful. This is exactly what I wanted to create. I loved it so much that I knew I wanted to see it on products and bring it into my everyday life. I would happily spend my own money to have this print on things I could use, wear, and surround myself with.
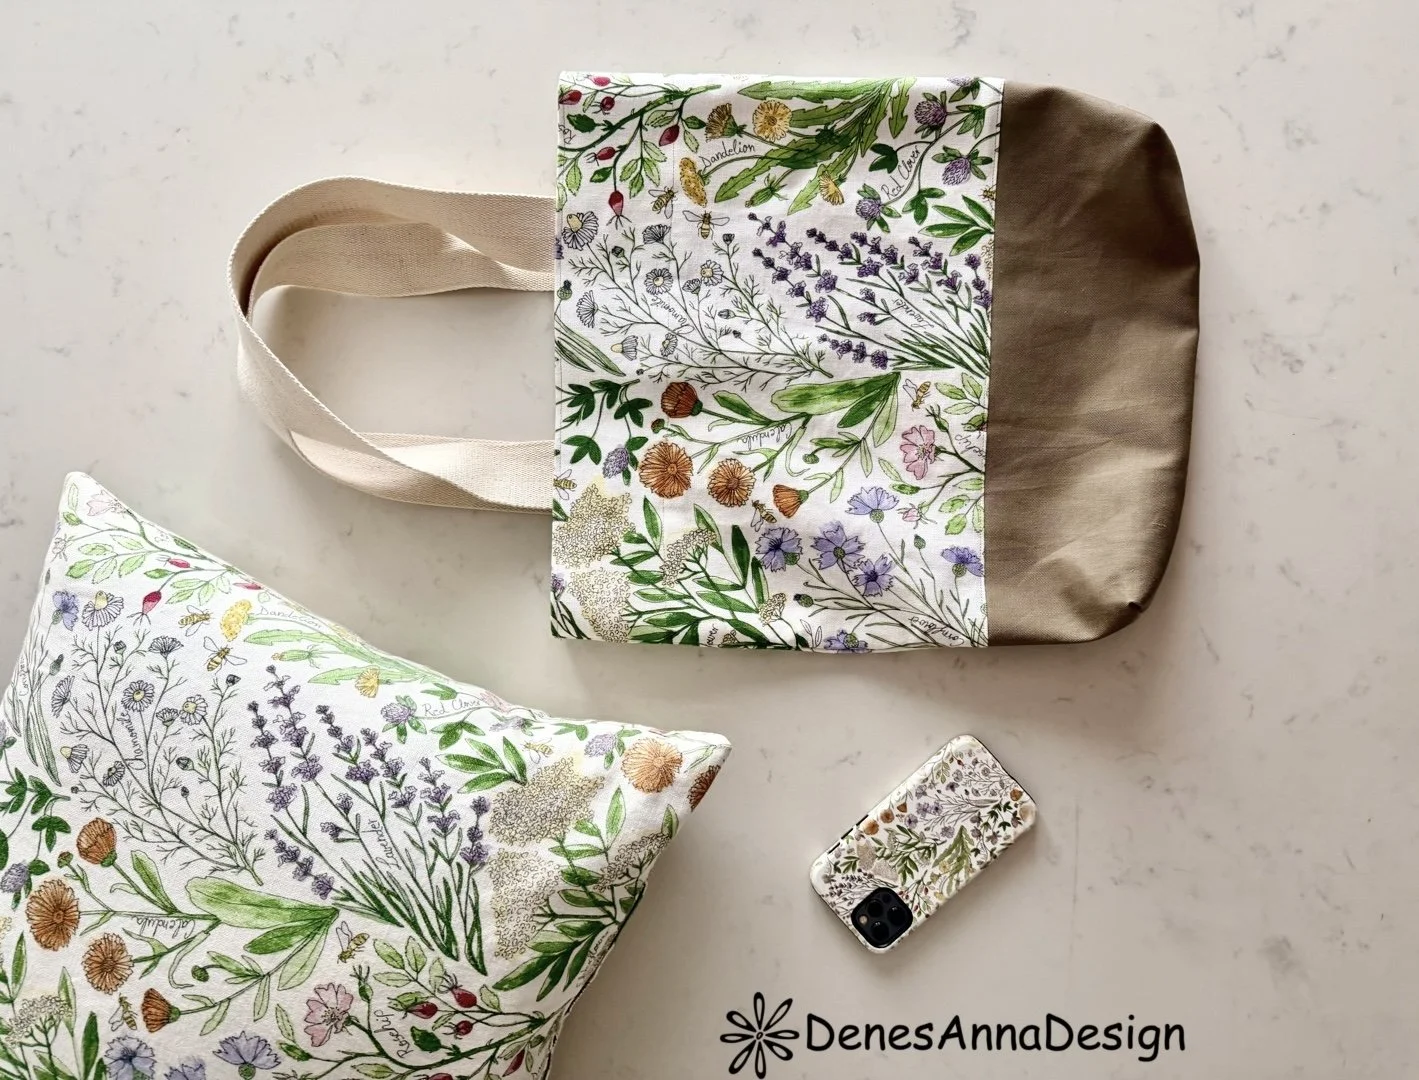
That feeling was a turning point for me. It gave me a new kind of confidence in my work and made me realise just how much creating prints meant to me. It wasn’t simply something I enjoyed doing from time to time. It was becoming a part of who I was, something I wanted to keep exploring and developing throughout my life.
After finishing this design, I knew that surface pattern design was going to stay with me. I couldn’t imagine simply walking away from it and deciding never to create another print. It had become so much more than making something pretty. It was a way for me to express myself, process my feelings, and bring a little more beauty into the world.
And now, years later, I’m bringing this print to life once again, this time as the Dandelion tote bag.
There’s something especially lovely about taking a design that means so much to me and turning it into something practical that I can carry with me every day. It feels like a little reminder of where I was, what I went through, and how something beautiful can grow out of even the most difficult moments.
And perhaps that’s one of the reasons I still love this print so much. It carries a little piece of my story, and every time I see it, I’m reminded of the joy I found in creating it.
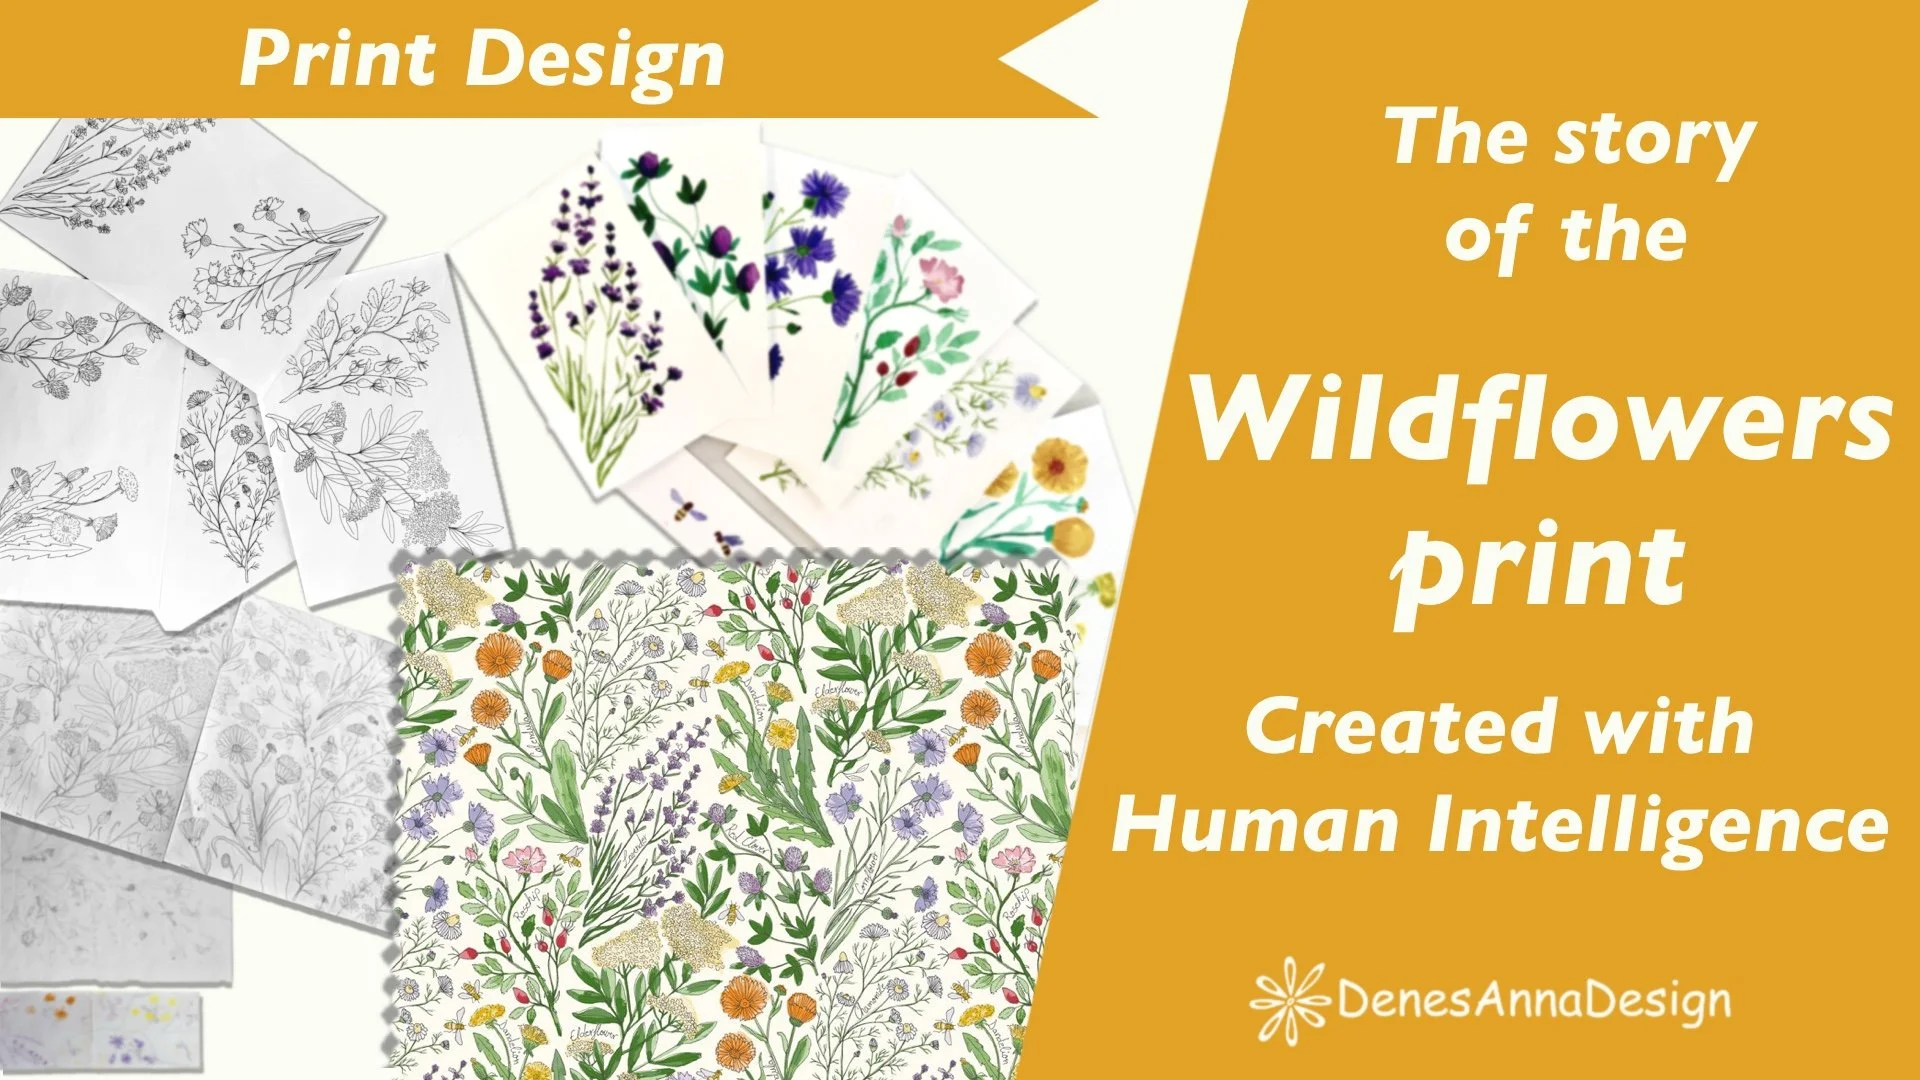
Watch the story video here.
If you love the print and have to have it in your life :)
Here is where you can order it from, depending on your location:
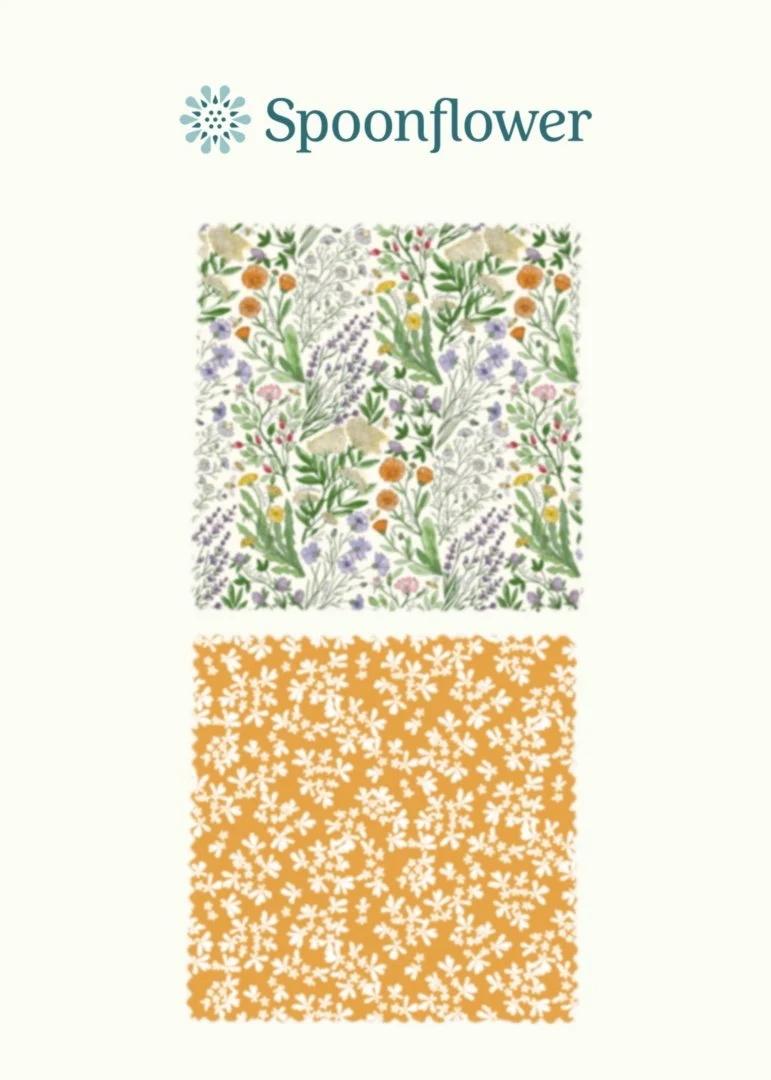
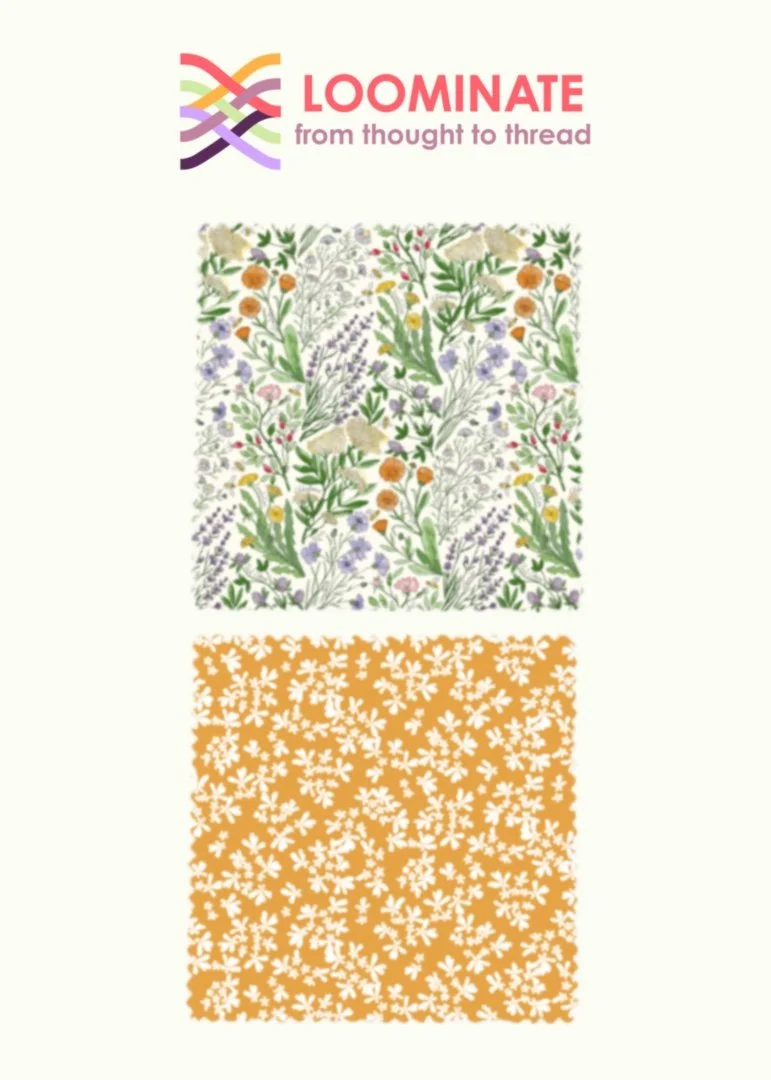
Note: If you order from my Loominate shop, you can customise the scale of the print. You can access the precise scale settings by clicking on the "Advanced" scale setting option.
Ready to create your own Dandelion- The Shopping Tote Bag?
If you fell in love with this design and want to sew your own—for yourself or someone in your life—the digital sewing pattern is available in the shop!
To keep sewing open and accessible to everyone, I offer these patterns on a "Pay What You Can" tiered pricing scale. When you head to the shop, simply select the tier that best fits your current situation:
Accessible Tier: If you are on a tight budget or just need a little creative pick-me-up, please choose this tier to download the pattern for FREE —no questions asked!
Sustainable Tier: This is the standard, fair industry price that covers my pattern drafting time and keeps this independent shop running.
Supporter Tier: If you have the means and want to pay it forward to support the Accessible tier, this is for you! Bonus: Choosing this tier automatically unlocks a Limited Commercial License, allowing you to sell physical bags made from this pattern in your own home-based small business or local markets.
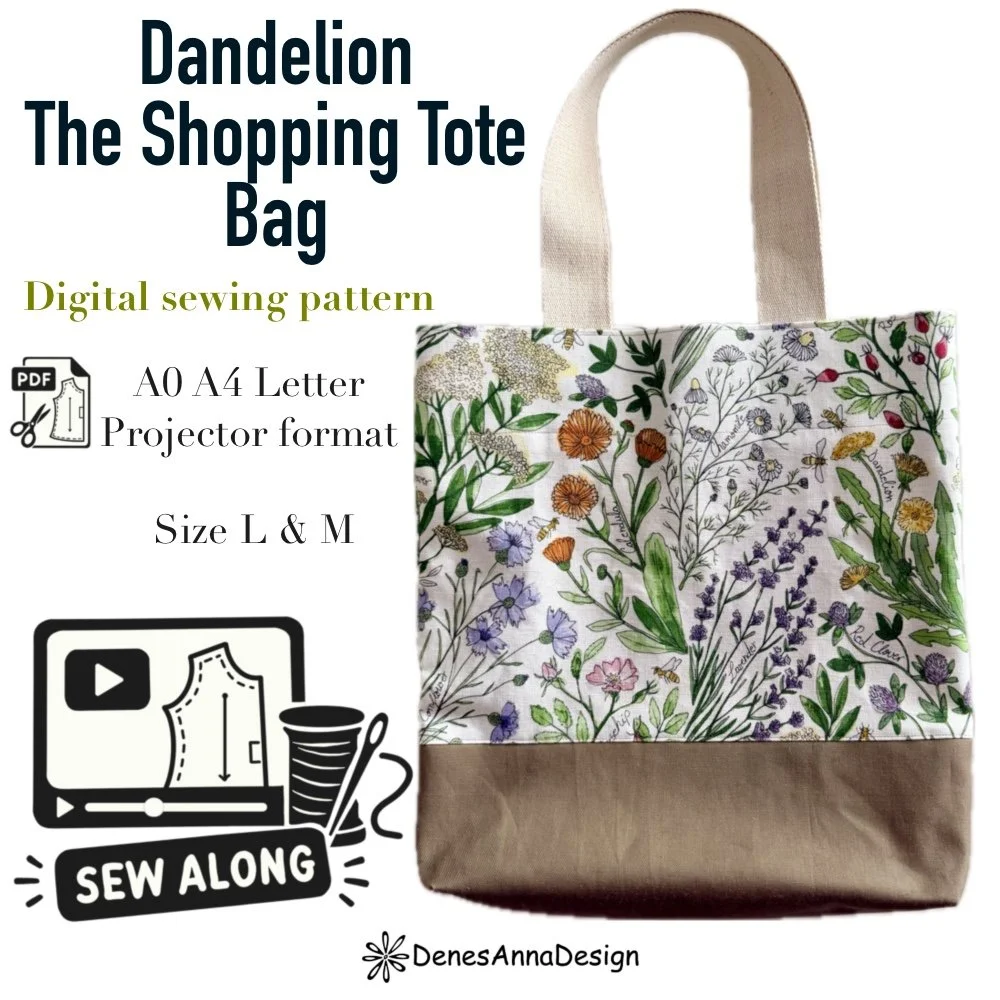
If you prefer, you can follow the Sew-Along Video Tutorial
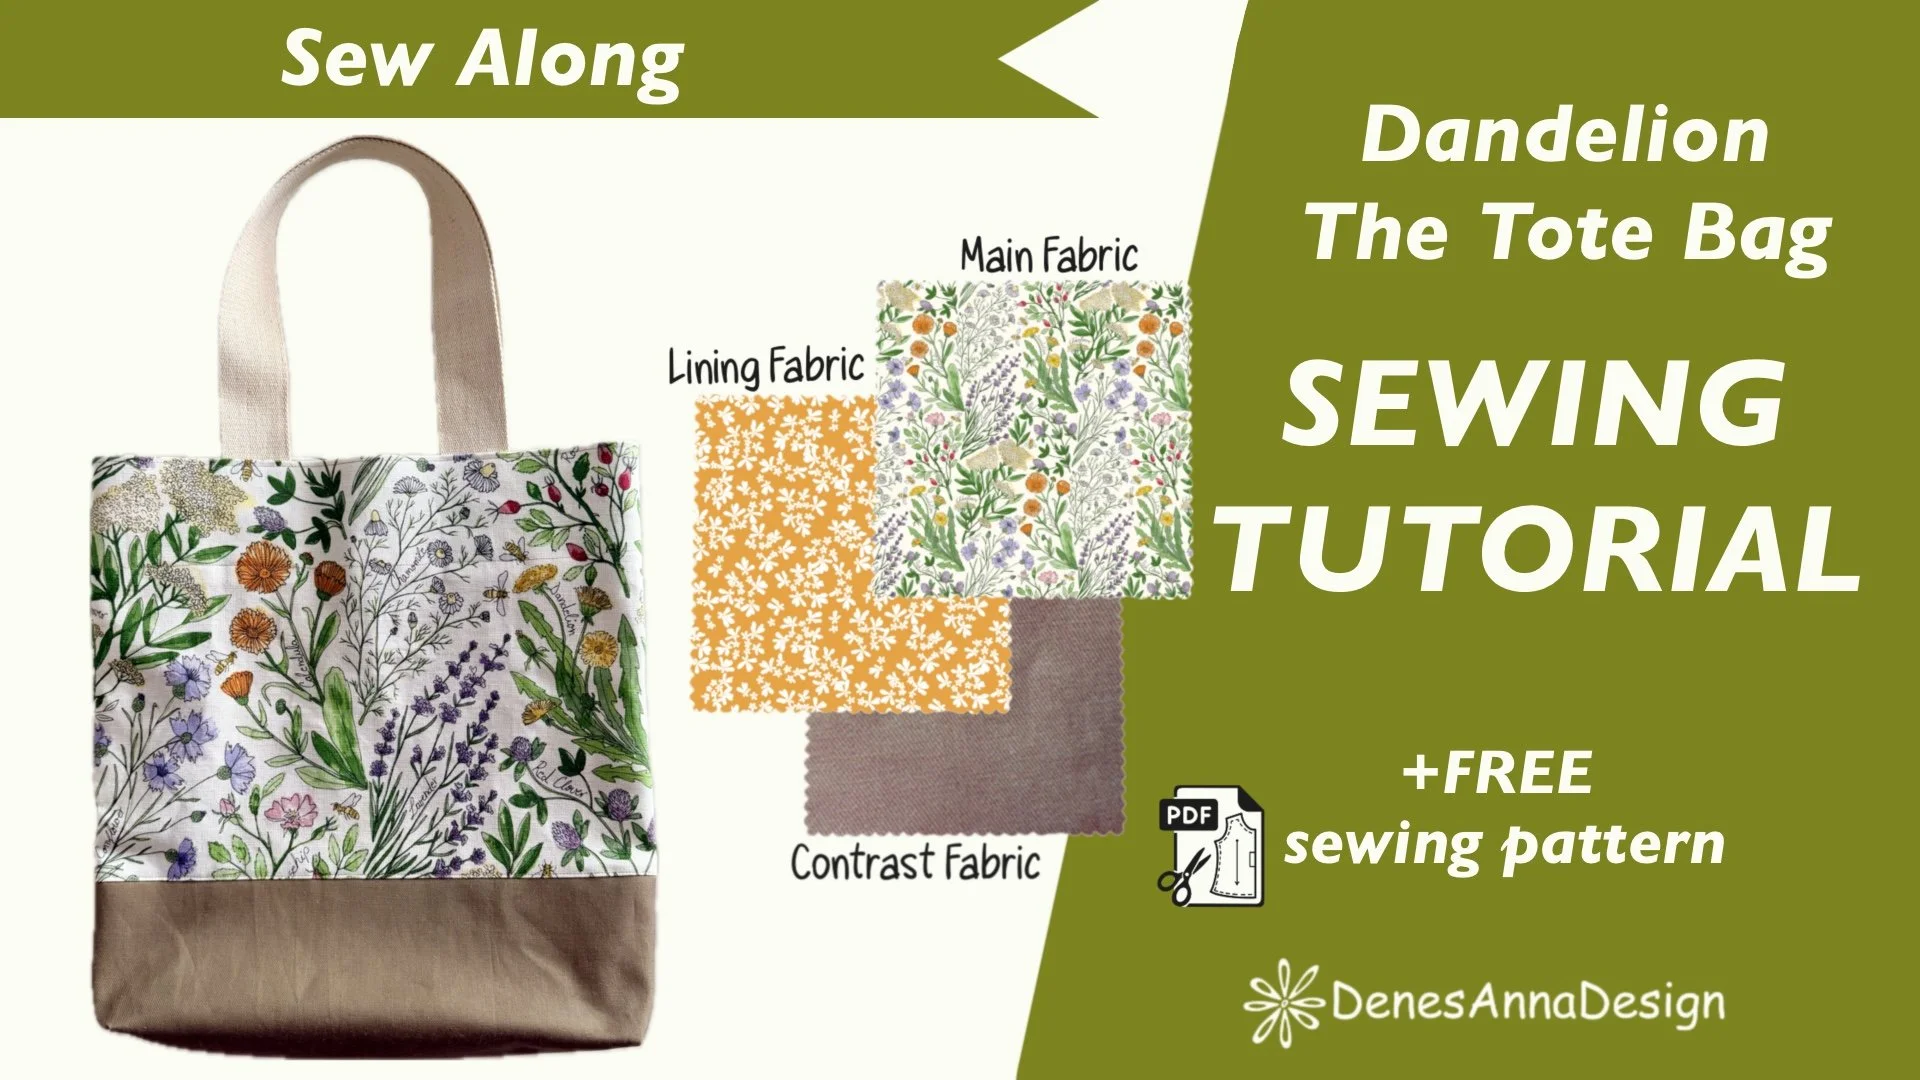
In this tutorial, I focus on the step-by-step cutting and sewing process.
Before you reach for your scissors, don't forget to prep your fabric!
Here is my go-to routine:
Check the Care Instructions: Always see what the manufacturer recommends first.
Pre-Wash: I usually wash my fabric using the exact same machine settings I will use to wash the finished product in the future.
Dry: I prefer to air-dry my fabric by spreading it out on a drying rack as much as the space allows.
Press: As a final step, thoroughly iron your fabric to eliminate any wrinkles. Cutting wrinkled fabric can completely distort your pattern pieces!
How to Sew a Tote Bag: Step-by-Step Construction Guide
I’m making Style 2 of my tote bag pattern, featuring a contrasting bottom panel. It’s a great project for using fabric from your stash, and you can customize it with your favorite fabrics and handles.
If you haven’t downloaded the pattern yet, you can find the free tote bag sewing pattern on my website. You can also follow along with the video tutorial as you work through each step.
Step 1: Cut Out the Fabric Pieces
Start by cutting out the bottom panel of the bag. For my Style 2 version, the bottom is made from a contrasting fabric. I had a large enough piece of fabric, so I placed the pattern piece on the fold and cut it out as one piece.
Next, cut out the fusible interfacing for the bottom panel. To reduce bulk in the seam allowances and make sewing easier, especially if you’re using a domestic sewing machine, trim approximately 1 cm (the seam allowance) from around the interfacing piece.
Now cut out the front and back pieces of the outer bag, and the fusible interfacing.
A helpful tip about notches: If your sewing pattern has notch markings, make small snips into the fabric to mark their positions. Keep these snips no deeper than approximately 5 mm (0.5 cm), so you don’t cut into the seam allowance. These little marks will help you align the pieces accurately when sewing.
Once the outer fabric pieces are cut, cut the lining. I had enough fabric to cut my lining piece on the fold as well.
Finally, cut out the inside pocket and the two ties.
For the handles, I chose webbing instead of cutting them from my main fabric because I didn’t have enough fabric left for two additional handles. Both options work beautifully! If you’d prefer fabric handles, simply use the handle pattern piece included with your pattern. If you’re using webbing, you can use the handle pattern piece as a guide for the length.
Step 2: Apply the Fusible Interfacing and Prepare the Fabric
At the ironing board, fuse the interfacing to the wrong side of the bottom panel and the main outer bag pieces, following the interfacing manufacturer’s instructions.
Next, prepare the top edges of the front and back pieces. Use the notch indicated on the pattern as your guide and fold the top edge down along the marked line, then press.
Now prepare the ties.
Fold each tie in half lengthwise and press. Open it up, then fold both long raw edges toward the center crease and press again. Finally, fold the tie in half along the original crease and press once more.
This is the same method used to prepare binding tape, enclosing the raw edges inside the folded strip.
Step 3: Attach the Handles
Take the front and back pieces of the outer bag and locate the handle placement notches.
These marks indicate where the inner ends of the handles should begin. Position each handle so it extends from the marked point toward the sides of the bag, following the pattern placement.
If you’re using webbing, make sure the handles aren’t twisted and that both sides are positioned evenly.
Stitch along the edges of the webbing to secure each handle. At the upper ends, sew a reinforcing rectangle with a diagonal cross through the middle. This extra stitching helps distribute the stress when the bag is carrying weight.
Take your time with this step, as the handles will be supporting the contents of your tote bag.
Step 4: Attach the Bottom Panel to the Front and Back
With the handles attached, it’s time to assemble the outer bag.
Place the bottom panel and the front piece together with their right sides facing each other. Align the raw edges and sew with a 1 cm seam allowance.
Repeat with the back piece on the other side of the bottom panel.
After sewing, press the seam allowances upward toward the main body of the bag. Topstitch along the main fabric, close to the seam, to hold the seam allowances in place and create a neat finish.
This topstitching also helps the bottom panel sit nicely against the body of the bag.
Step 5: Sew the Side Seams of the Outer Bag
Fold the outer bag so that the front and back pieces are positioned right sides together.
Align the side edges carefully, matching the bottom panel seams, and pin or clip them in place.
Sew both side seams using a 1 cm seam allowance.
Make sure the seams where the contrasting bottom meets the main fabric line up neatly on both sides. Taking a moment to align these seams makes a big difference to the finished look.
Step 6: Sew the Bottom Corners
The bottom corners need to be sewn to give the tote bag its shape.
At each corner, open out the fabric and align the cut edges so that the corner forms a straight seam. Match the bottom and side seams, then sew across the corner using a 1 cm seam allowance.
Repeat for the other corner.
These seams create the shaped bottom of the bag, allowing it to sit more neatly and giving it additional room for your belongings.
Set the completed outer bag aside while you work on the lining.
Step 7: Prepare the Inside Pocket
Take the pocket piece and fold it in half with the right sides facing each other.
Sew around the edges using a 1 cm seam allowance, leaving a small opening for turning the pocket right side out.
Trim the corners diagonally, being careful not to cut through your stitching. This removes excess fabric and reduces bulk, helping the corners turn out more neatly.
Turn the pocket right side out through the opening and gently push out the corners. Press the pocket flat.
The opening will be enclosed when you attach the pocket to the lining, so you don’t need to close it separately.
Step 8: Prepare the Ties
Take the two ties you prepared earlier.
Fold up the end of each tie that will remain visible on the outside of the bag, enclosing the raw edge for a clean finish. The opposite end, which will be inserted into the seam, doesn’t need the same finished fold.
Edge-stitch around the ties to secure the folds and give them a neat, finished appearance.
Set the ties aside until you’re ready to attach them to the lining.
Step 9: Attach the Pocket and Ties to the Lining
Find the pocket placement marking on the lining piece and position the prepared pocket over it.
Pin or clip the pocket in place, making sure the turning opening is positioned against the lining so that it will be enclosed when you stitch around the pocket.
Sew around the sides and bottom of the pocket, close to the edge, leaving the top open. This secures the pocket to the lining and closes the opening you left when turning it.
Next, position the ties at the center of the front and back lining sections.
Secure them in place with a few stitches within the seam allowance so they won’t shift during assembly.
Step 10: Sew the Lining
Fold the lining with the right sides facing each other and align the side edges.
Sew the side seams with a 1 cm seam allowance.
Important: Leave a generous turning opening in one side seam. I also stitched a short section at the top and bottom of this seam before leaving the middle open. This helps keep the seam aligned while leaving enough room to turn the finished bag right side out later.
Next, sew the bottom corners using the same method you used for the outer bag. Align the cut edges at each corner and sew across them with a 1 cm seam allowance.
Your lining is now ready to be joined to the outer bag.
Step 11: Join the Lining and the Outer Bag
Turn the outer bag right side out and place it inside the lining, which should still be wrong side out.
The right sides of the outer bag and lining should face each other. Align the top edges and match the side seams carefully.
Pin or clip around the entire top edge, making sure the handles and ties are tucked safely between the layers and won’t get caught in the stitching.
Sew around the top edge with a 1 cm seam allowance.
Once you’ve sewn all the way around, pull the outer bag through the opening you left in the lining side seam.
Gently work the fabric through the opening until the bag is completely turned right side out. Push out the corners and arrange the lining inside the outer bag.
Step 12: Secure the Bottom Corners
This is one of my favorite little finishing tricks!
Reach through the still-open turning hole in the lining and locate one corner of the outer bag and its corresponding lining corner.
Match the two corners together and stitch them to each other with a 0.5 cm seam allowance.
Repeat on the opposite side.
This small step helps keep the lining sitting neatly inside the bag and prevents it from shifting around too much during use.
Step 13: Close the Turning Opening
Now close the opening in the lining side seam.
You can fold the raw edges inward and edge-stitch the opening closed on your sewing machine. Alternatively, if you’d prefer an almost invisible finish, close it by hand using a suitable hand stitch.
Once the opening is closed, tuck the lining neatly inside the outer bag and press the top edge.
Step 14: Topstitch the Top Edge
You’re almost done!
To give the tote bag a crisp, professional-looking finish, topstitch around the very top edge of the bag.
I also like to add another line of topstitching where the lining and outer fabric meet. This helps the lining stay in place and creates a neat finish around the opening.
Take your time as you stitch, keeping an even distance from the edge and smoothing the fabric as you go.
And that’s it — your tote bag is finished!
I love how practical this tote bag is, especially when you can use fabric you’ve been saving for the perfect project.
For this version, I chose a print that has a special meaning to me as a surface pattern designer. It’s always lovely when a fabric carries a little story of its own.
You can make this bag with your favorite fabric, leftover yardage, or even suitable fabric repurposed from old clothing. It’s a wonderful handmade gift for birthdays, Christmas, Mother’s Day, or simply because.
If you haven’t already, download the free tote bag sewing pattern from my website and watch the video tutorial for a closer look at each construction step.
And if you’re a fellow fabric hoarder, welcome to the club! This project is part of my Fabric Hoarders Sewing Club, where we turn our fabric stash into useful, beautiful things instead of letting those precious fabrics sit on the shelf.
Happy sewing!