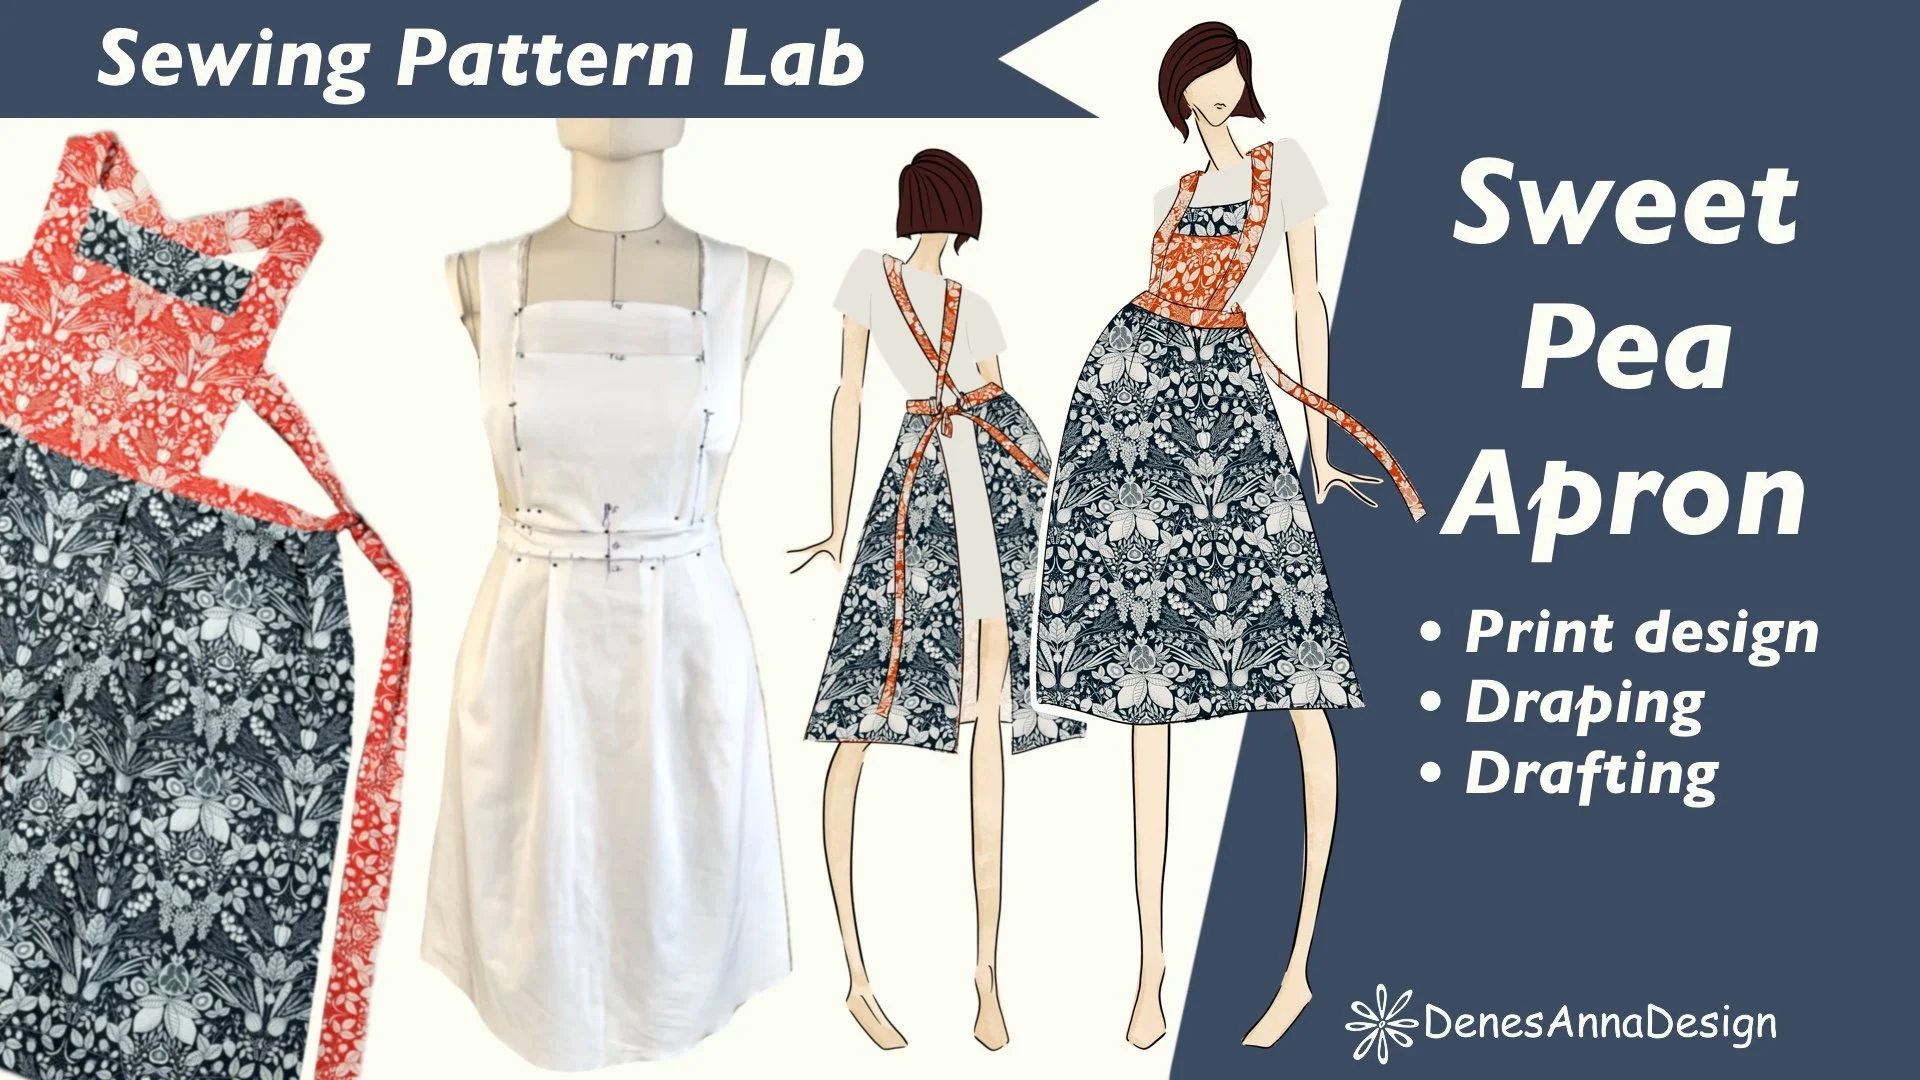
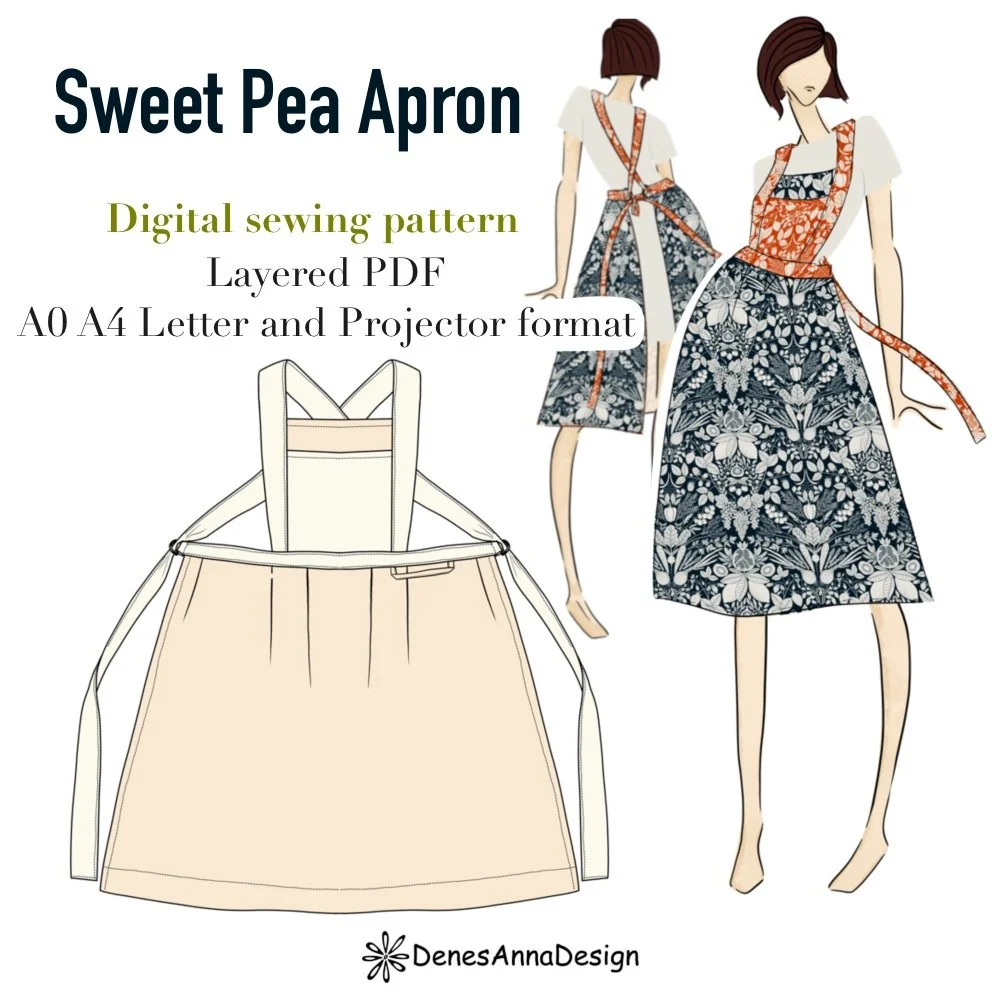
Sweet Pea Apron
Sweet Pea Apron-Adult and Child Sewing Pattern
Below, you can read about the journey of this pattern. You will find out about the print that was used on the fabric, the draping process on the mannequin, and how the finished garment was sewn together.
If you are here for specific content only, you can find a table of contents below where you can jump to the section you want. This is to save your time, as I truly appreciate you being here. :)
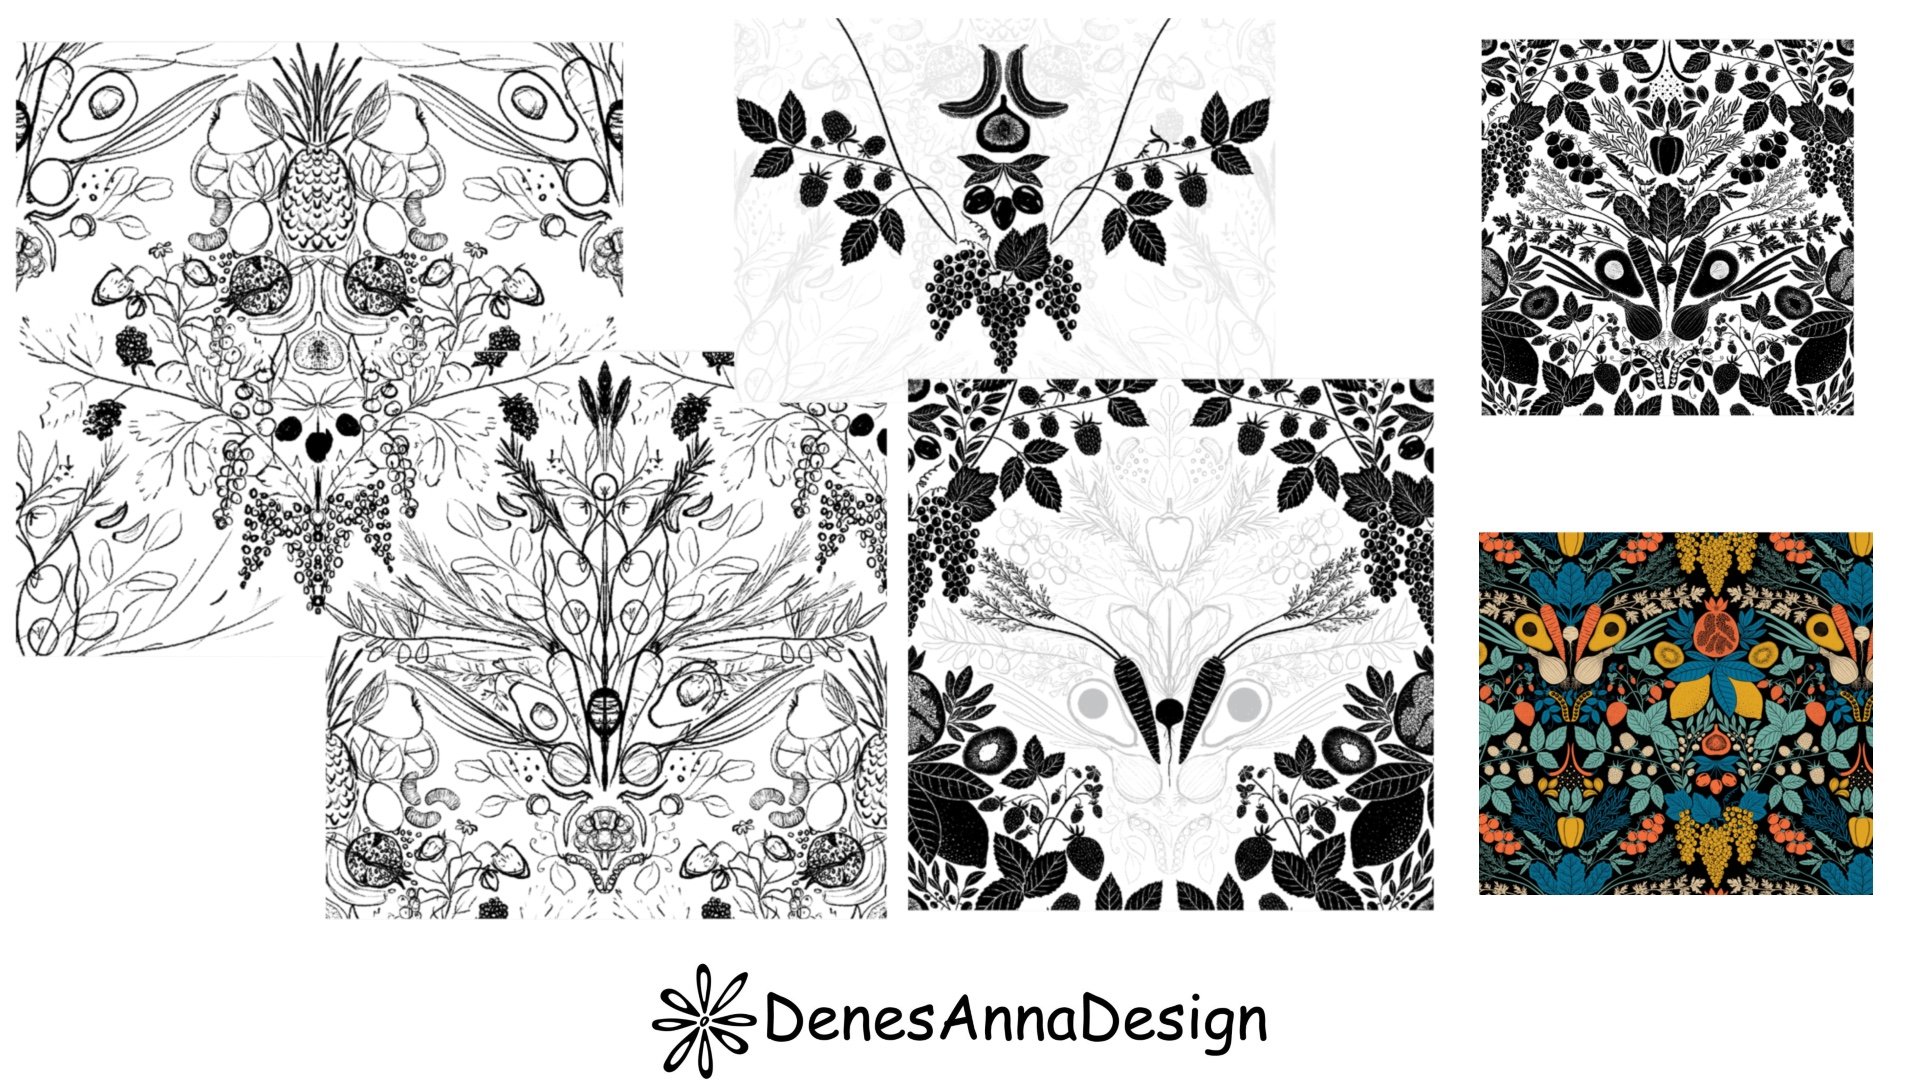
Let me tell you a little bit about the print! I created this design a long time ago, and it is called "Don't Forget Your Five-a-Day Fruits and Veggies." It is a one-way directional pattern designed in a beautiful damask style that resembles a traditional block print technique.
I built this artwork in Procreate. You can watch the time-lapse of my entire drawing process in the video below from 00:24 - 02:15!
Watch the time-lapse here.
My process usually begins with a rough sketch to map out the pattern's flow. Once I like the layout, I refine the lines—allowing myself the creative freedom to change things up as I go. To finish it off, I often add a bit of texture for depth.
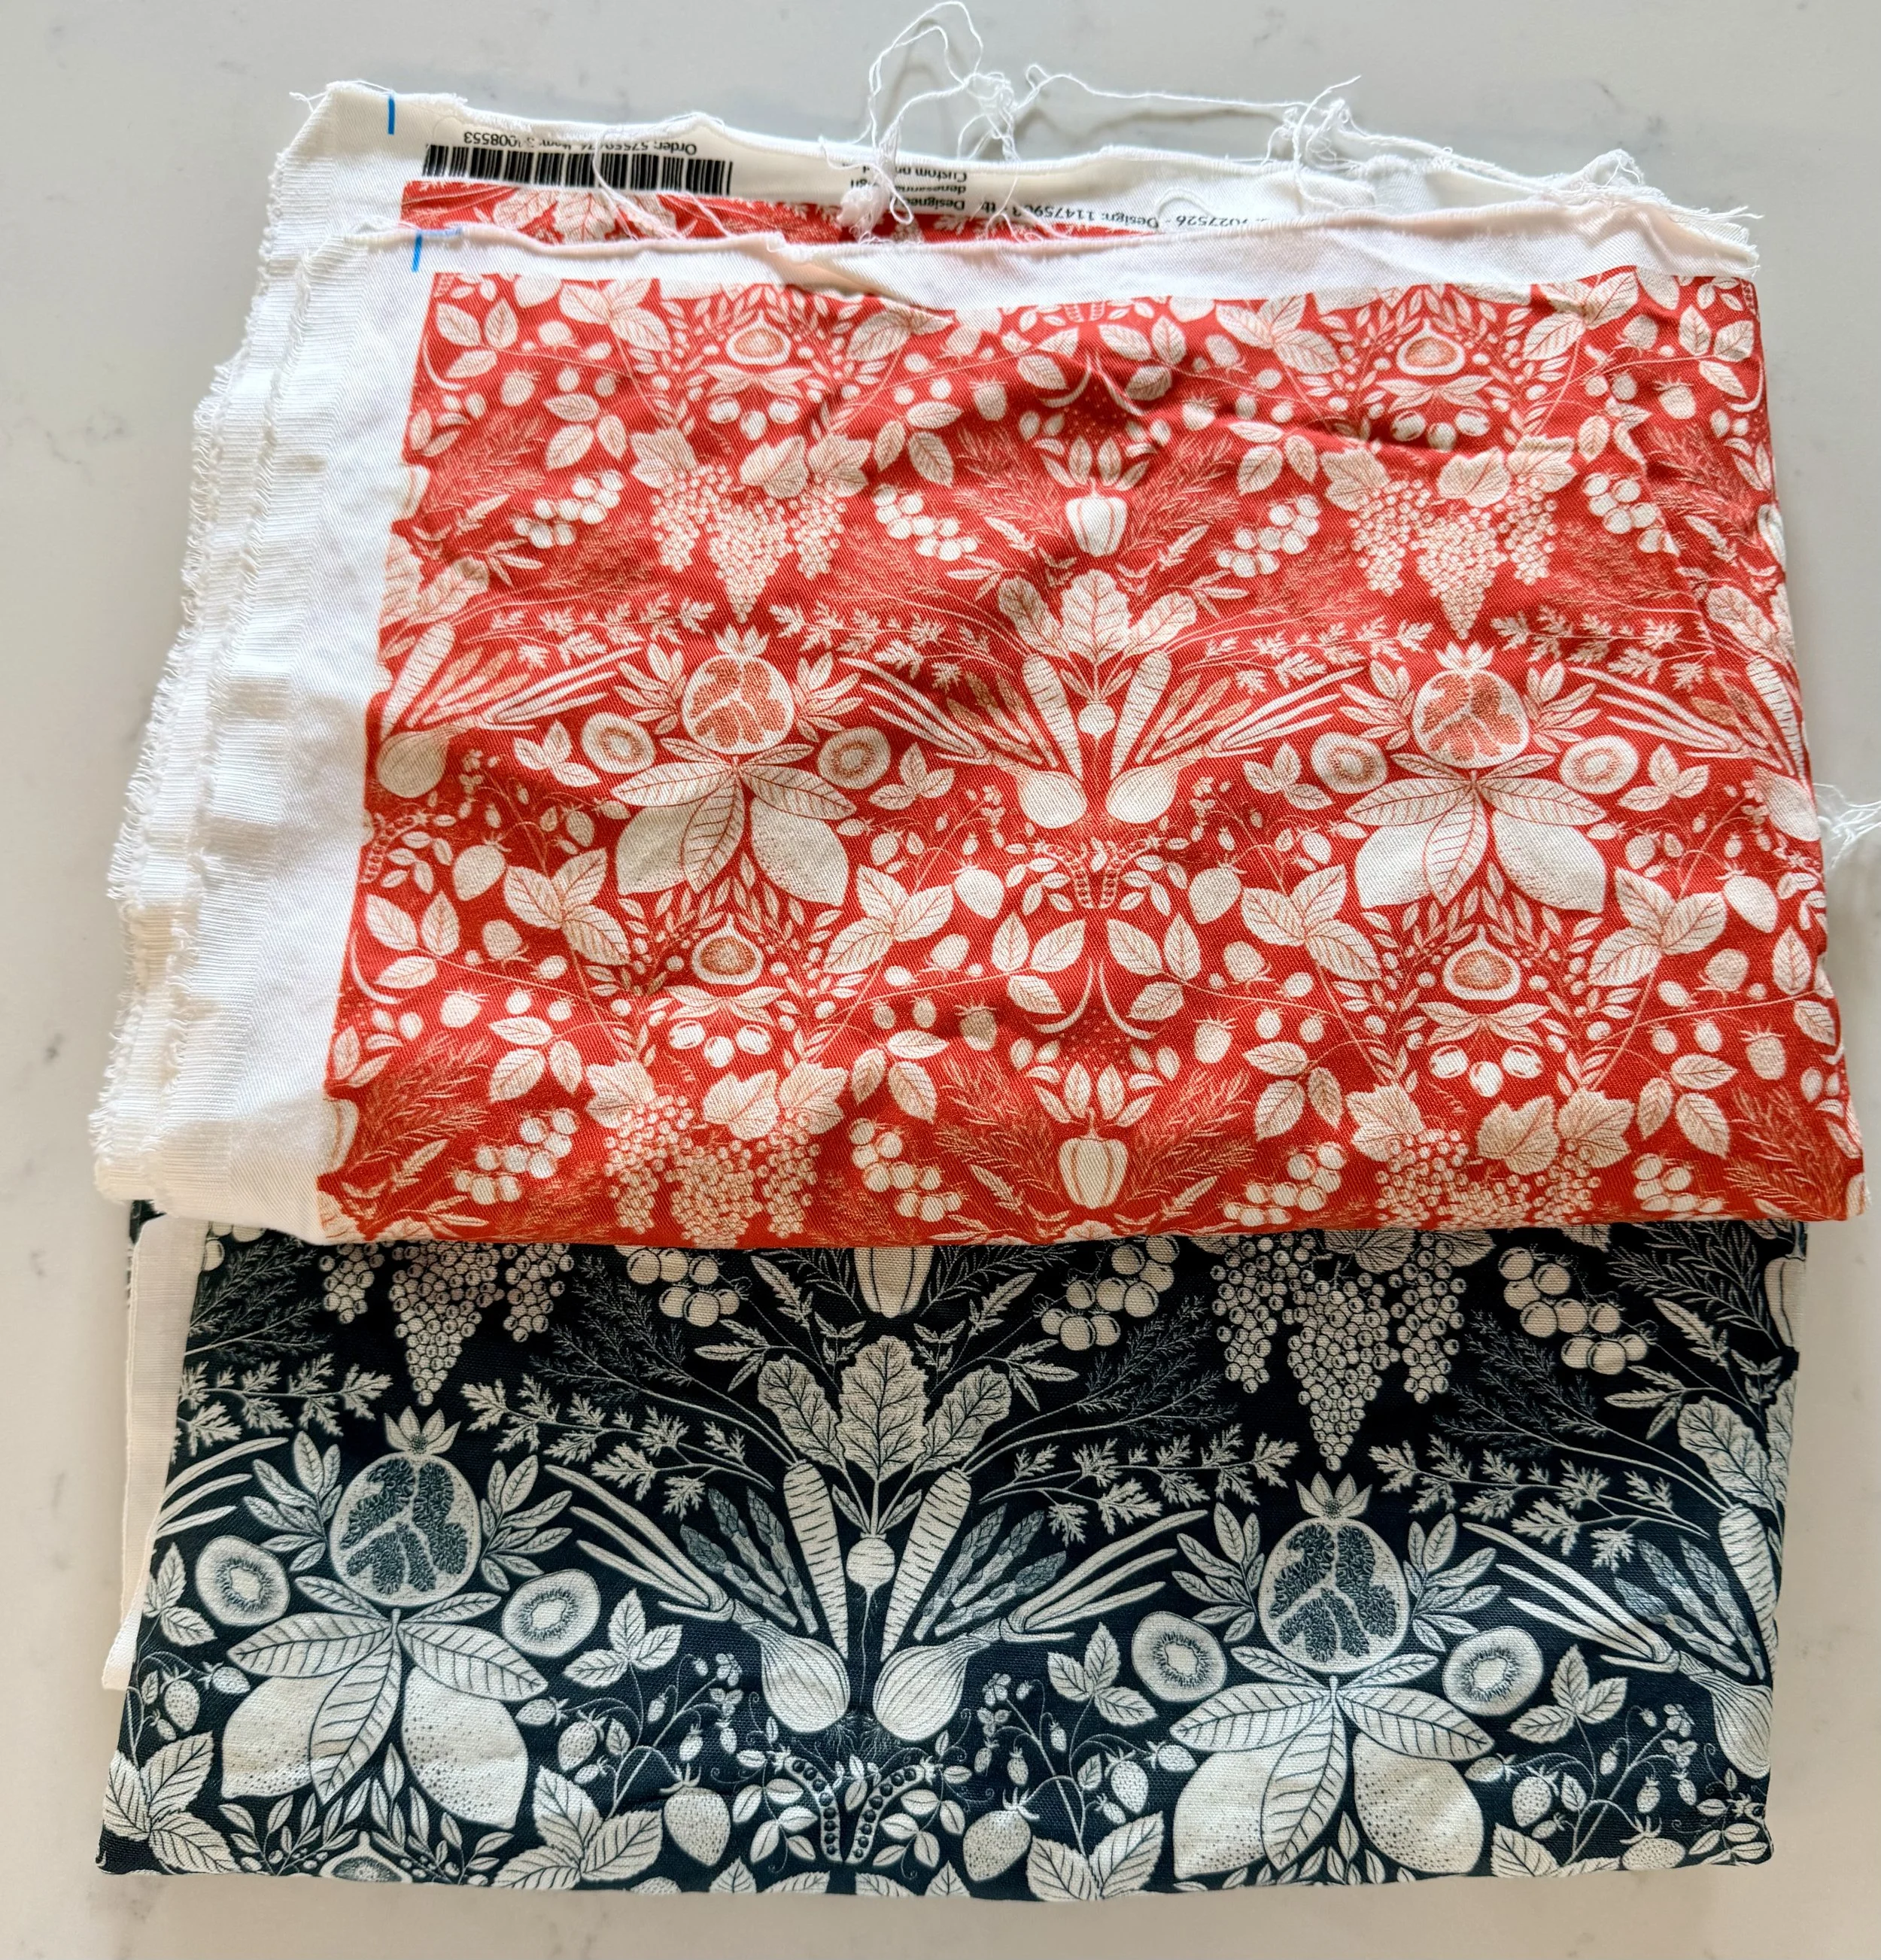
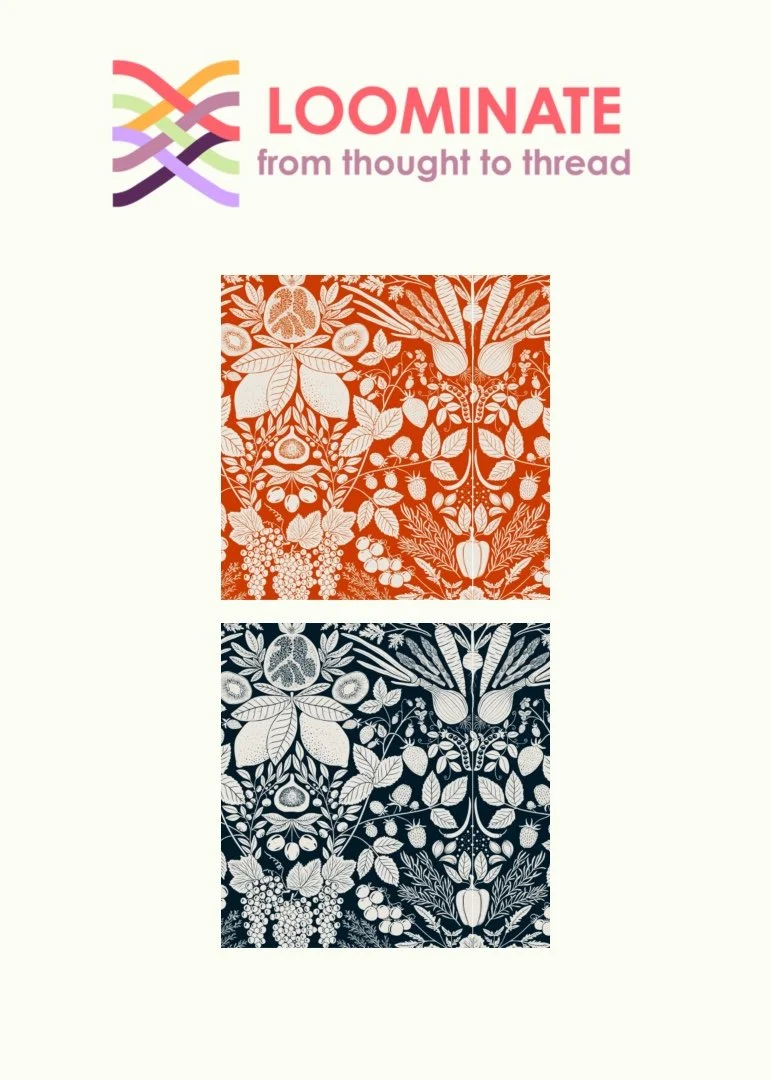
This is how it looks printed on fabric
I ordered these fabrics quite a few years ago from my Spoonflower shop, featuring my "Don't Forget Your Five-a-Day Fruits and Veggies" design.
I ordered the blue/grey print on their Linen Cotton Canvas and the orange print on the Lightweight Cotton Twill fabric base.
Here is where you can order it from, depending on your location:
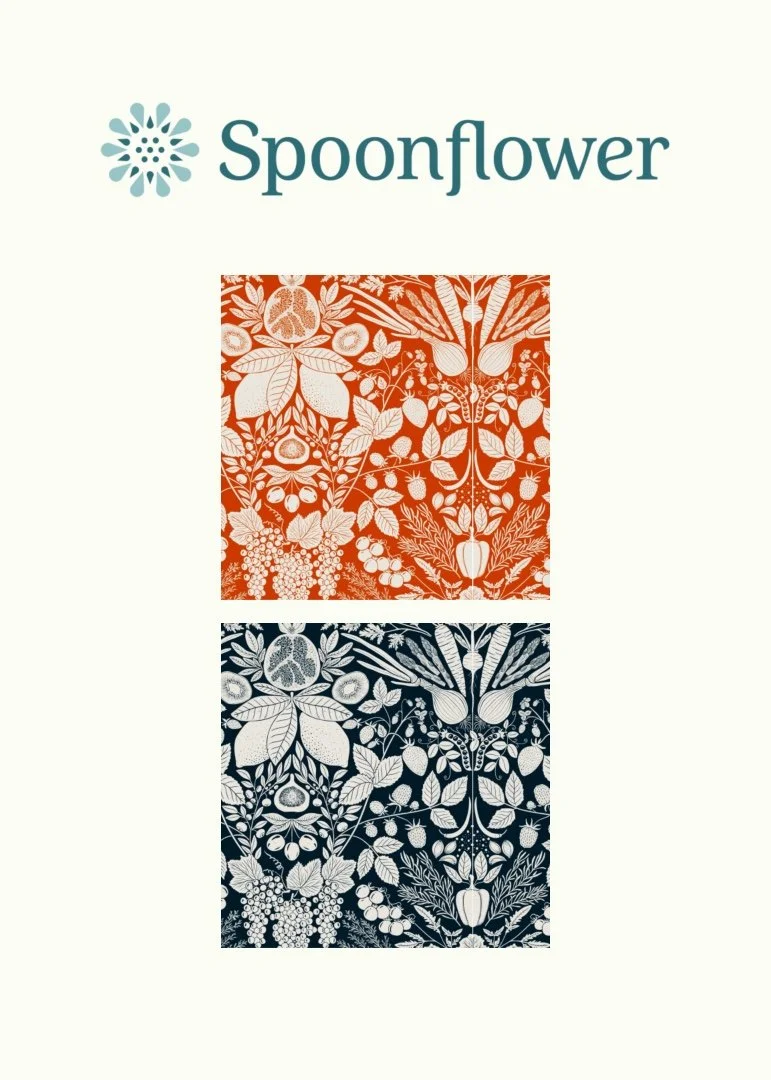
Note: If you order from my Loominate shop, you can customize the scale of the print. To get a scale similar to mine, adjust the size to 35% or 21.4 cm in width. You can access these precise scale settings by clicking on the "Advanced" scale setting option.
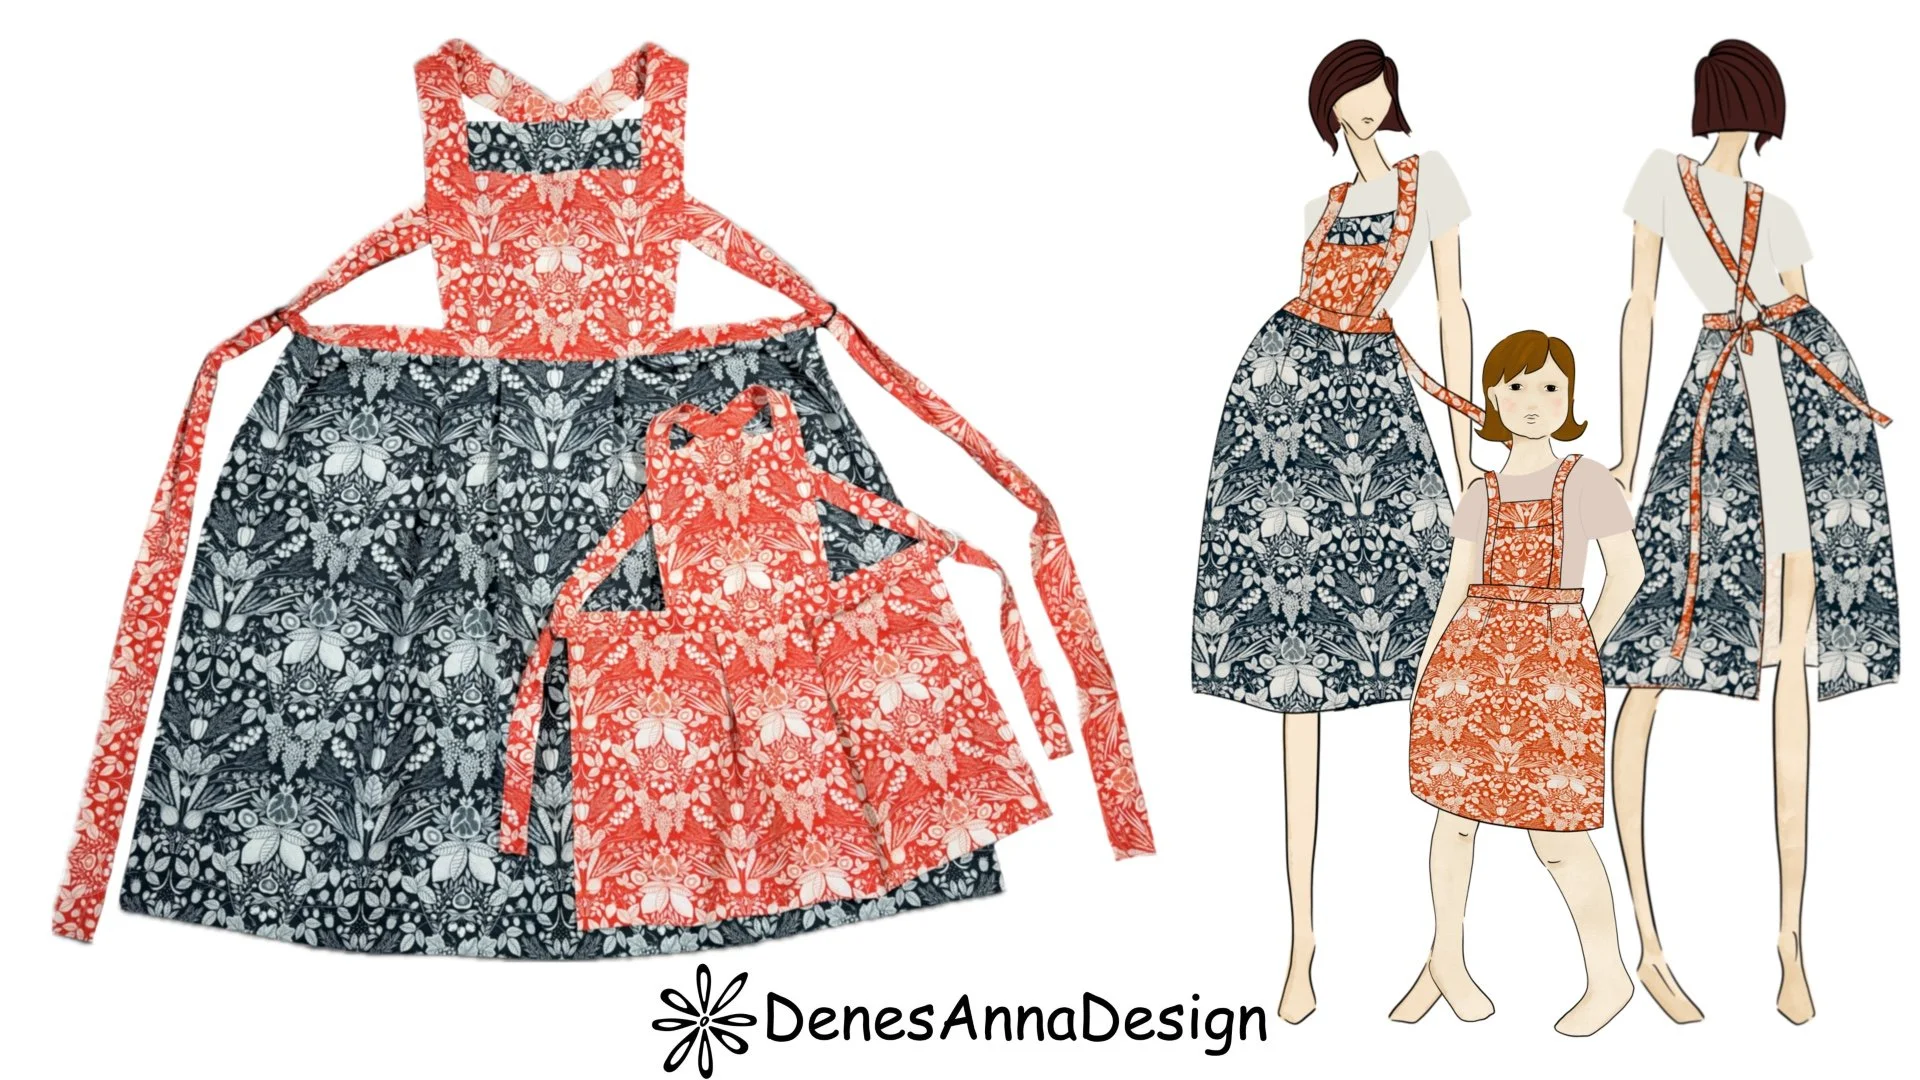
Here is how the draping process came together on my mannequin:
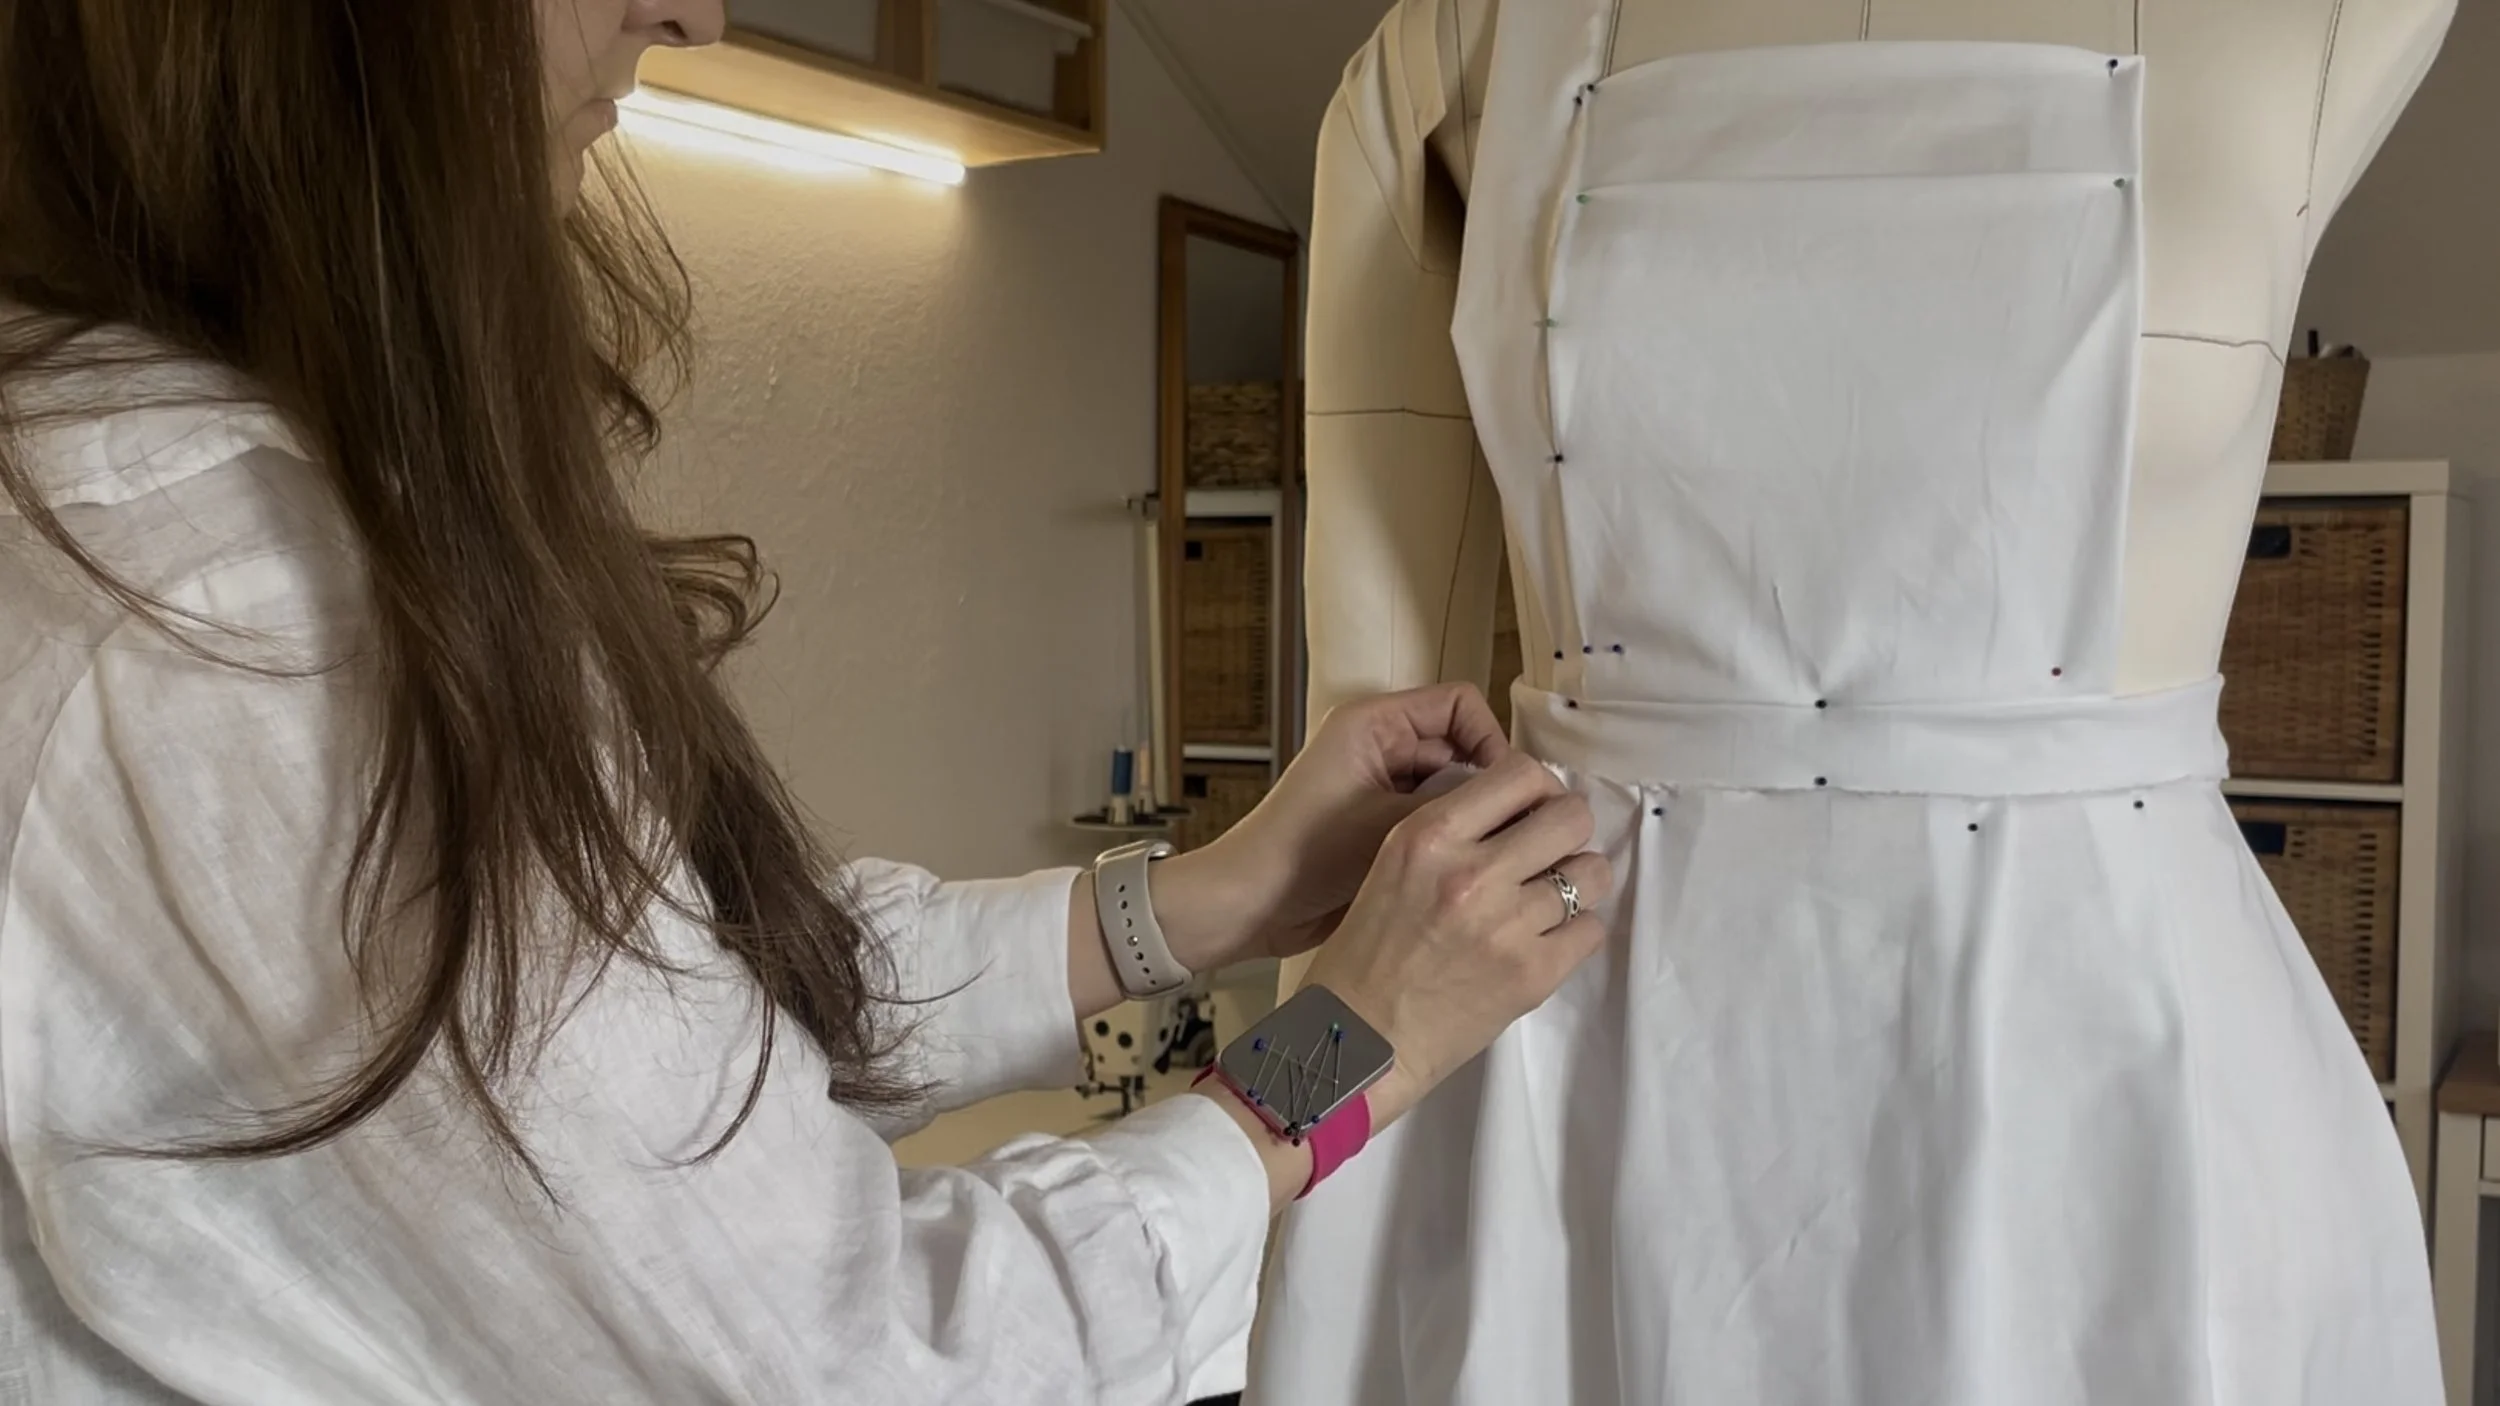
The Bodice: I started with the front panel, placed the pocket, and added the straps starting from the waist.
The Waistband & D-Rings: To achieve the crossed-back look, I draped the waistband panel next. On both the left and right sides at the back, I inserted a D-ring into the waistband seam. This allows the long ties to slide through easily, so they can be tied into a cute bow with a beautiful drape.
The Skirt: Next, I draped the skirt panel and added a few pleats to give the apron some lovely volume.
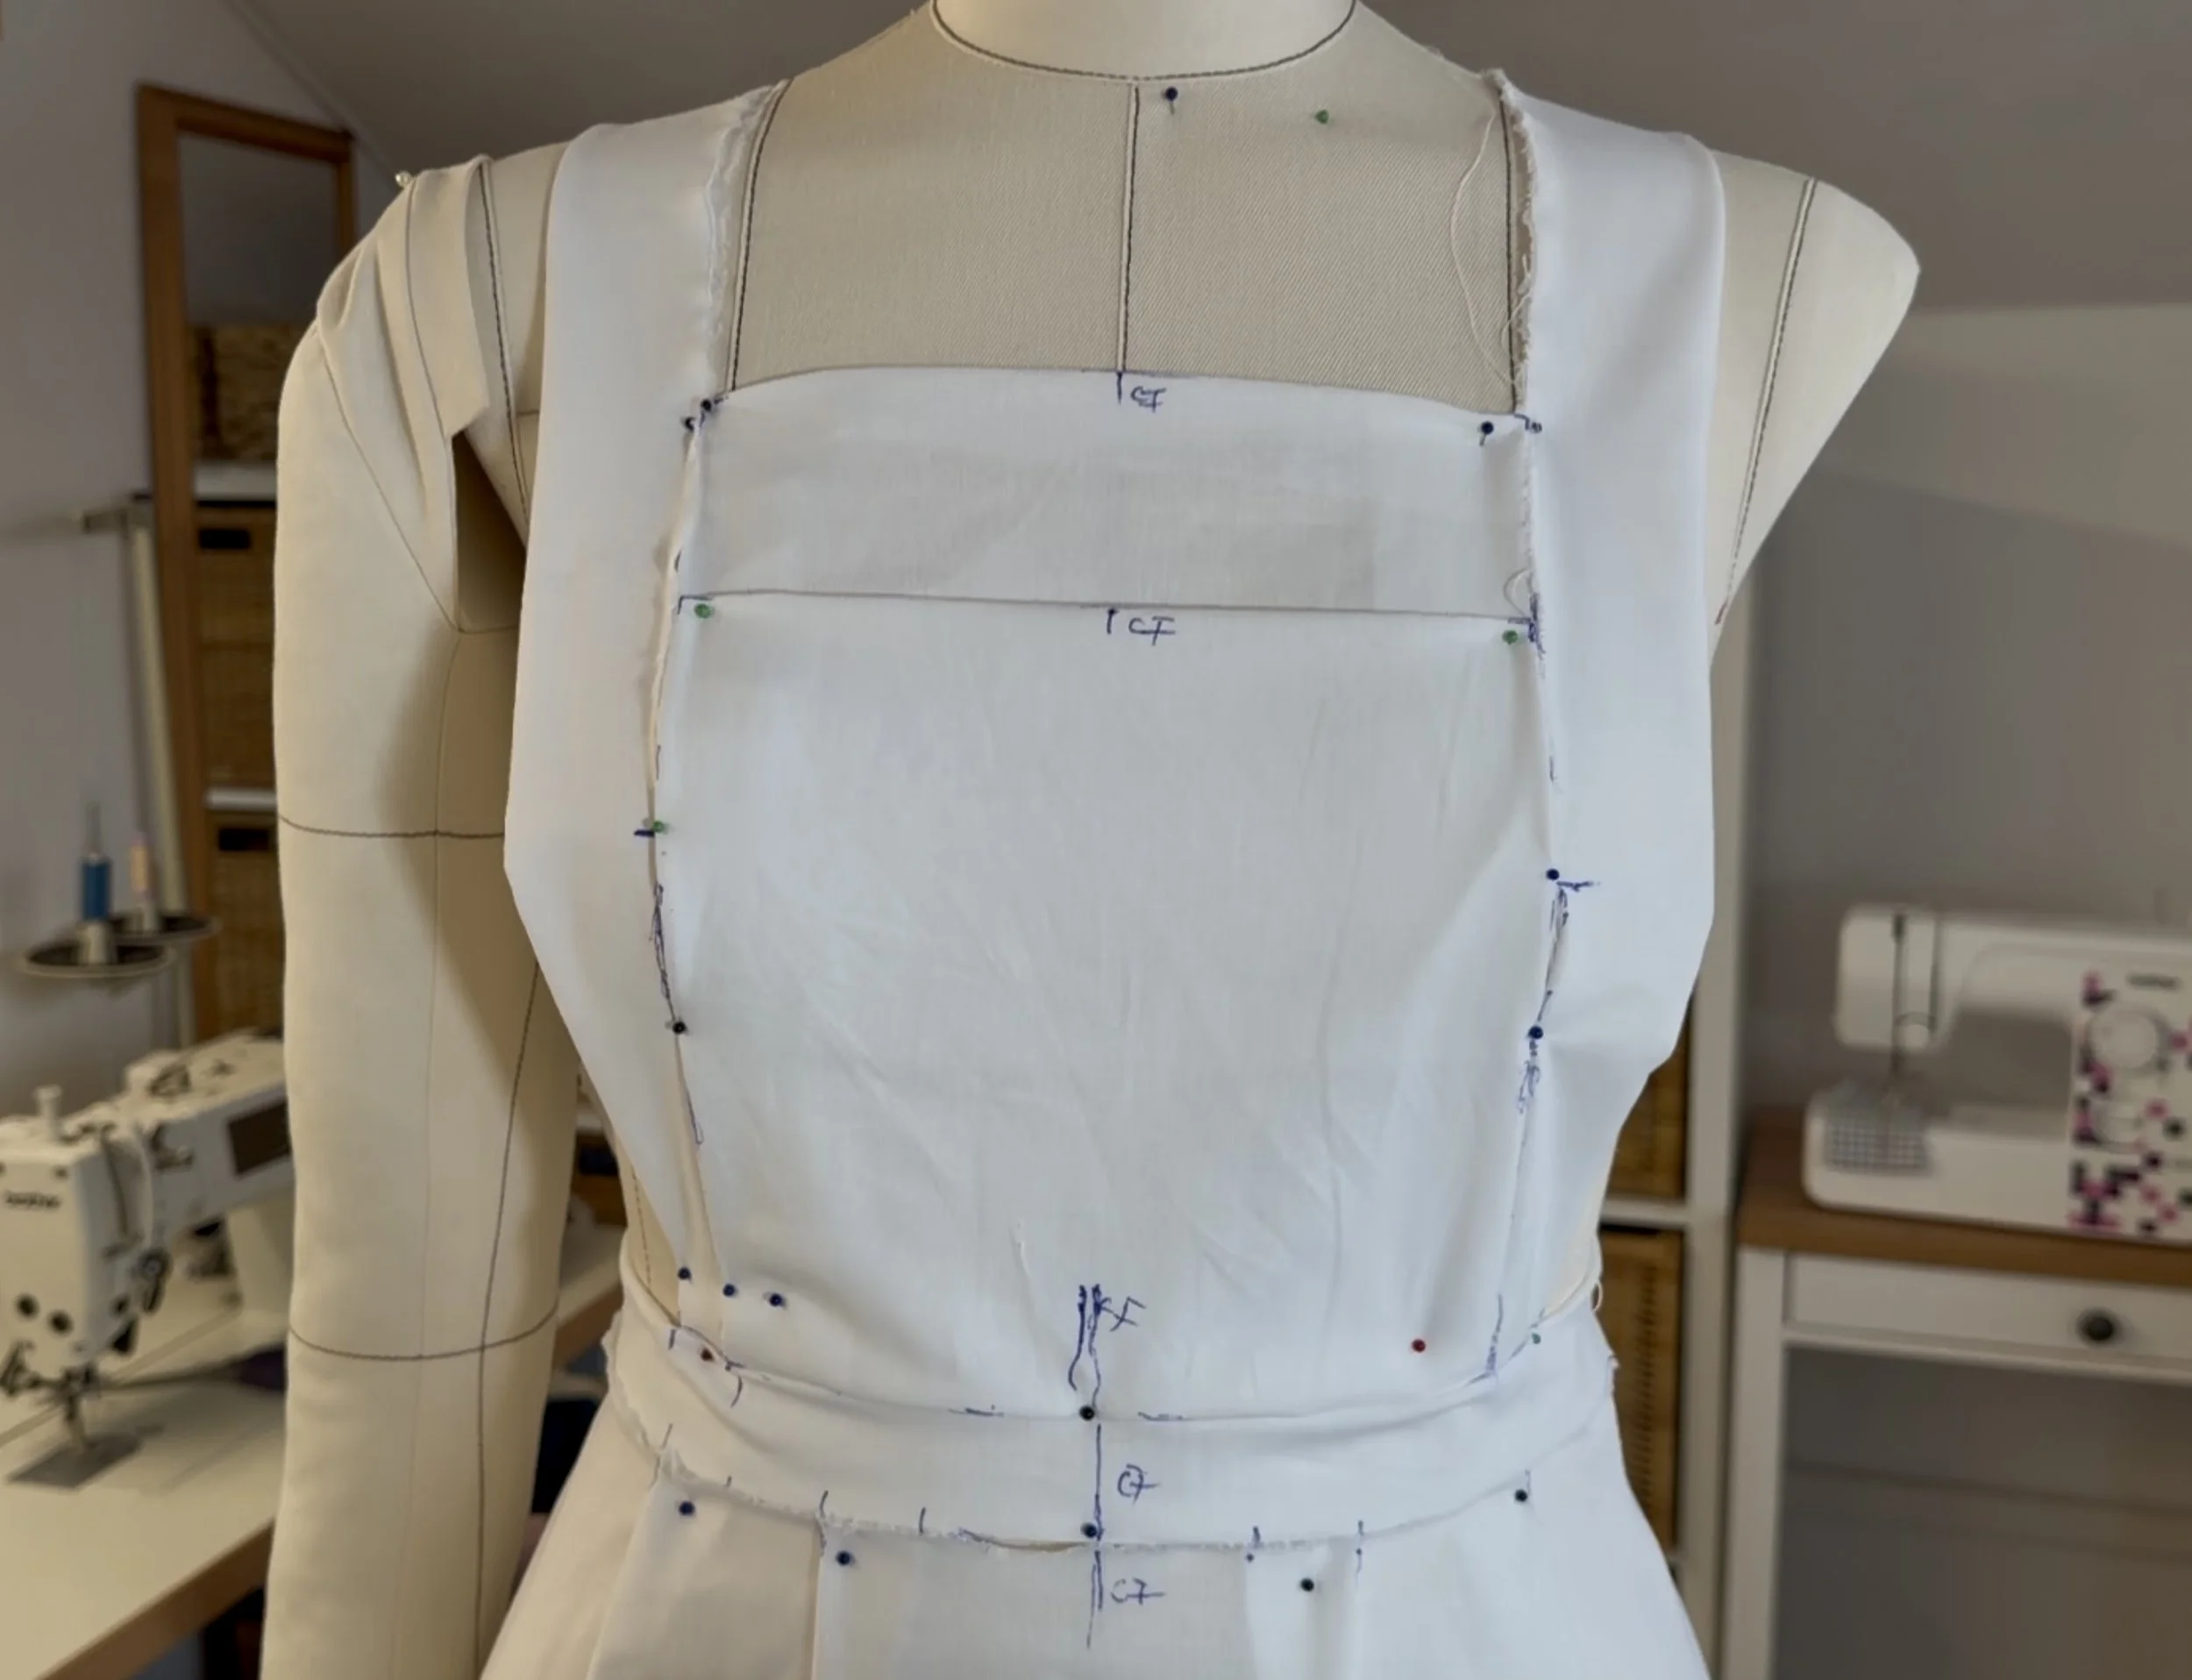
Marking the Pattern: Once I was happy with the silhouette, I took a pen and marked all the essential points—like the Center Front, side seams, and pleat placements—while it was still pinned to the mannequin. This ensured that when I took it apart, I could easily transfer every exact mark onto my paper pattern.
You can watch me drape this apron in this video.
Next, I started transferring the pattern to paper using the measurements from my draping. At this point, I am adding the seam allowance to my pattern pieces. When deciding on the seam allowance width, I always consider the specific technique I will use to assemble and finish each area of the garment.
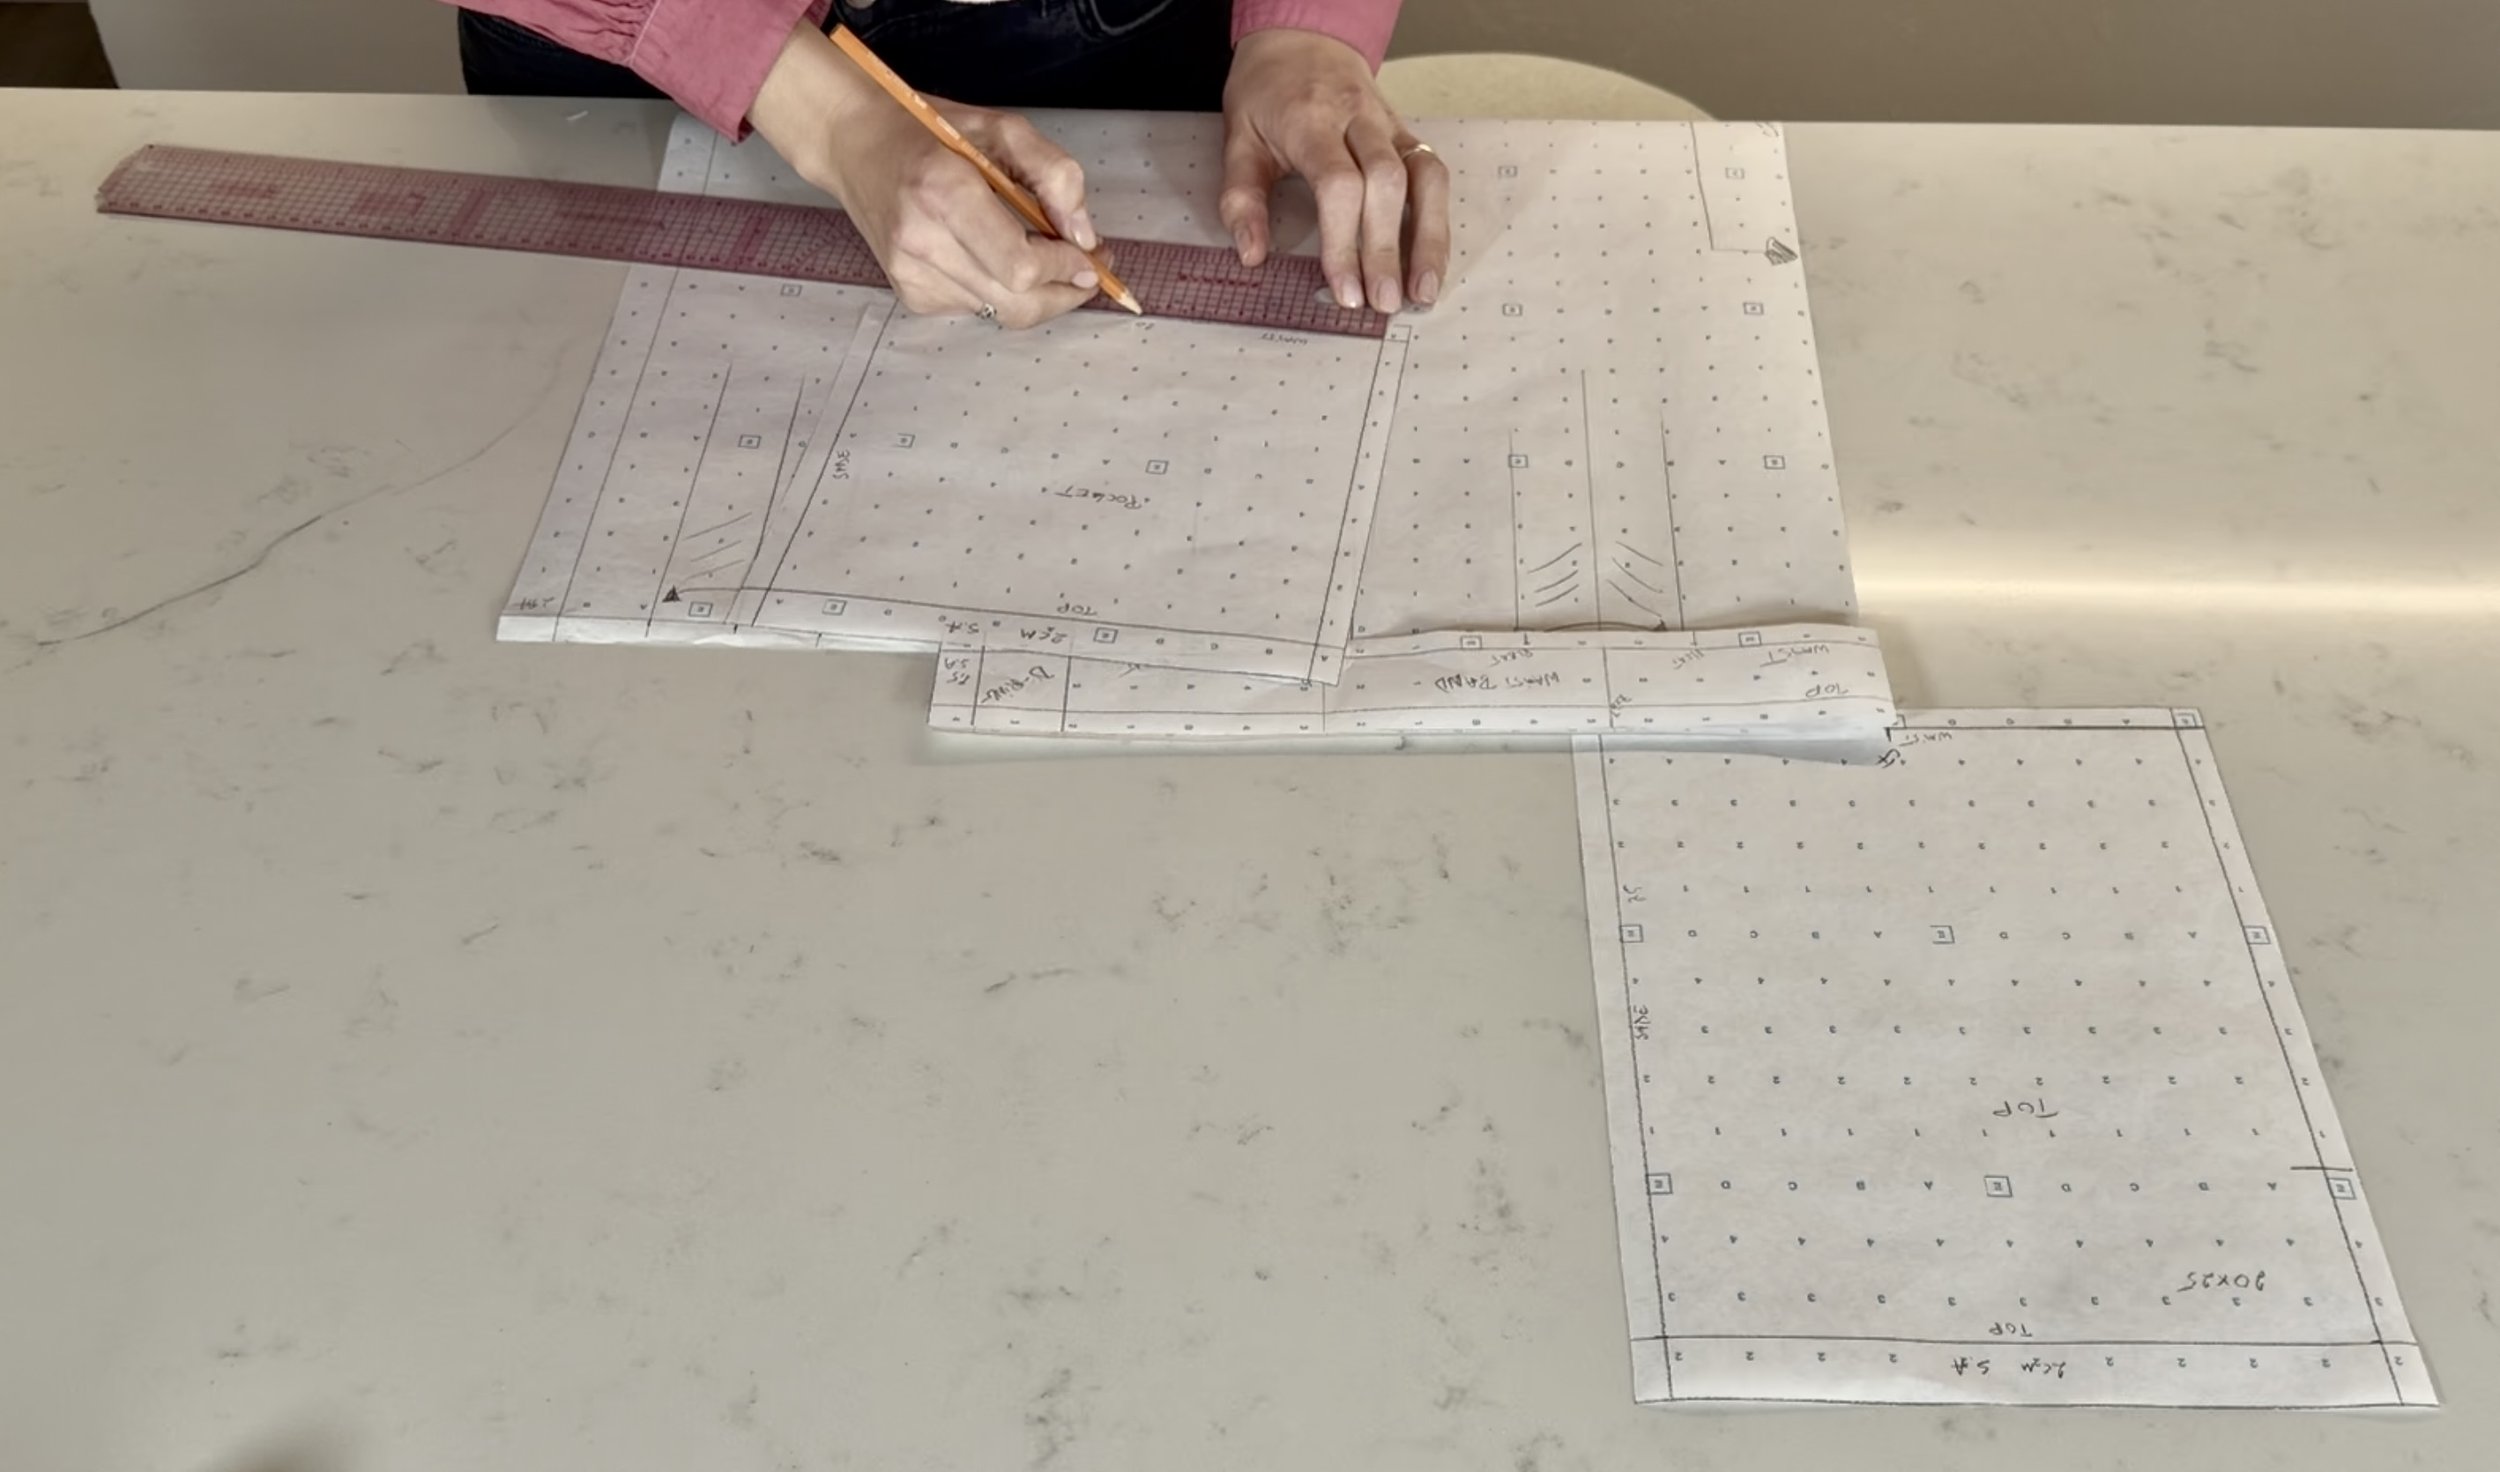
I usually add a standard 1 cm seam allowance. However, for this project, I added 2 cm to the top of the pocket for a clean turn-under and a generous 5 cm hem to the bottom of the skirt. For the skirt's side seams, I added 2 cm, but for the waistband and the remaining pieces, I stuck to my standard 1 cm seam allowance. Once my paper pattern pieces were ready, I marked all the important notches and punched them out with the help of my pattern notcher.
Before you reach for your scissors, don't forget to prep your fabric!
Here is my go-to routine:
Check the Care Instructions: Always see what the manufacturer recommends first.
Pre-Wash: I usually wash my fabric using the exact same machine settings I will use to wash the finished apron in the future.
Dry: I prefer to air-dry my fabric by spreading it out on a drying rack as much as the space allows.
Press: As a final step, thoroughly iron your fabric to eliminate any wrinkles. Cutting wrinkled fabric can completely distort your pattern pieces!
Ready to Recreate the Sweet Pea Apron?
If you fell in love with this design and want to sew your own—either for yourself or a little maker in your life—the digital sewing patterns are now available in the shop!
To keep sewing open and accessible to everyone, I offer these patterns on a "Pay What You Can" tiered pricing scale. When you head to the shop, simply select the tier that best fits your current situation:
Accessible Tier: If you are on a tight budget or just need a little creative pick-me-up, please choose this tier to download the pattern for FREE —no questions asked!
Sustainable Tier: This is the standard, fair industry price that covers my pattern drafting time and keeps this independent shop running.
Supporter Tier: If you have the means and want to pay it forward to support the Accessible tier, this is for you! Bonus: Choosing this tier automatically unlocks a Limited Commercial License, allowing you to sell physical aprons made from this pattern in your own home-based small business or local markets.

Time to Cut: Color Blocking vs. Monochrome
Now that our fabric is washed, dried, and pressed, it’s time for the most exciting part: cutting out our pieces! One of the absolute best things about the Sweet Pea Apron design is how versatile it is for mixing and matching colors.
For this project, I took two completely different design approaches for the adult and kids' versions, and I love how they both turned out!
The Adult Version: Playful Contrast
For my own apron, I decided to lean into color blocking using two contrasting colorways of my custom print.
Self Fabric: I cut the top panel and the pleated skirt panel from the grayish-blue version of the print.
The Contrast Details: To make the details pop, I cut the front pocket, the waistband, the neck straps, and the back ties out of a vibrant, contrasting orange.
It’s a fantastic way to highlight the unique construction of the apron and give it a fun, modern look!
The Mini Version: Bold & Monochromatic
My daughter had a very specific vision for her apron—she wanted zero contrast! She fell completely in love with the orange fabric, so her entire Mini Sweet Pea Apron is cut from that single print. Using just one fabric creates a beautifully cohesive, bold statement piece.
If you prefer, you can follow the Sew-Along Video Tutorial
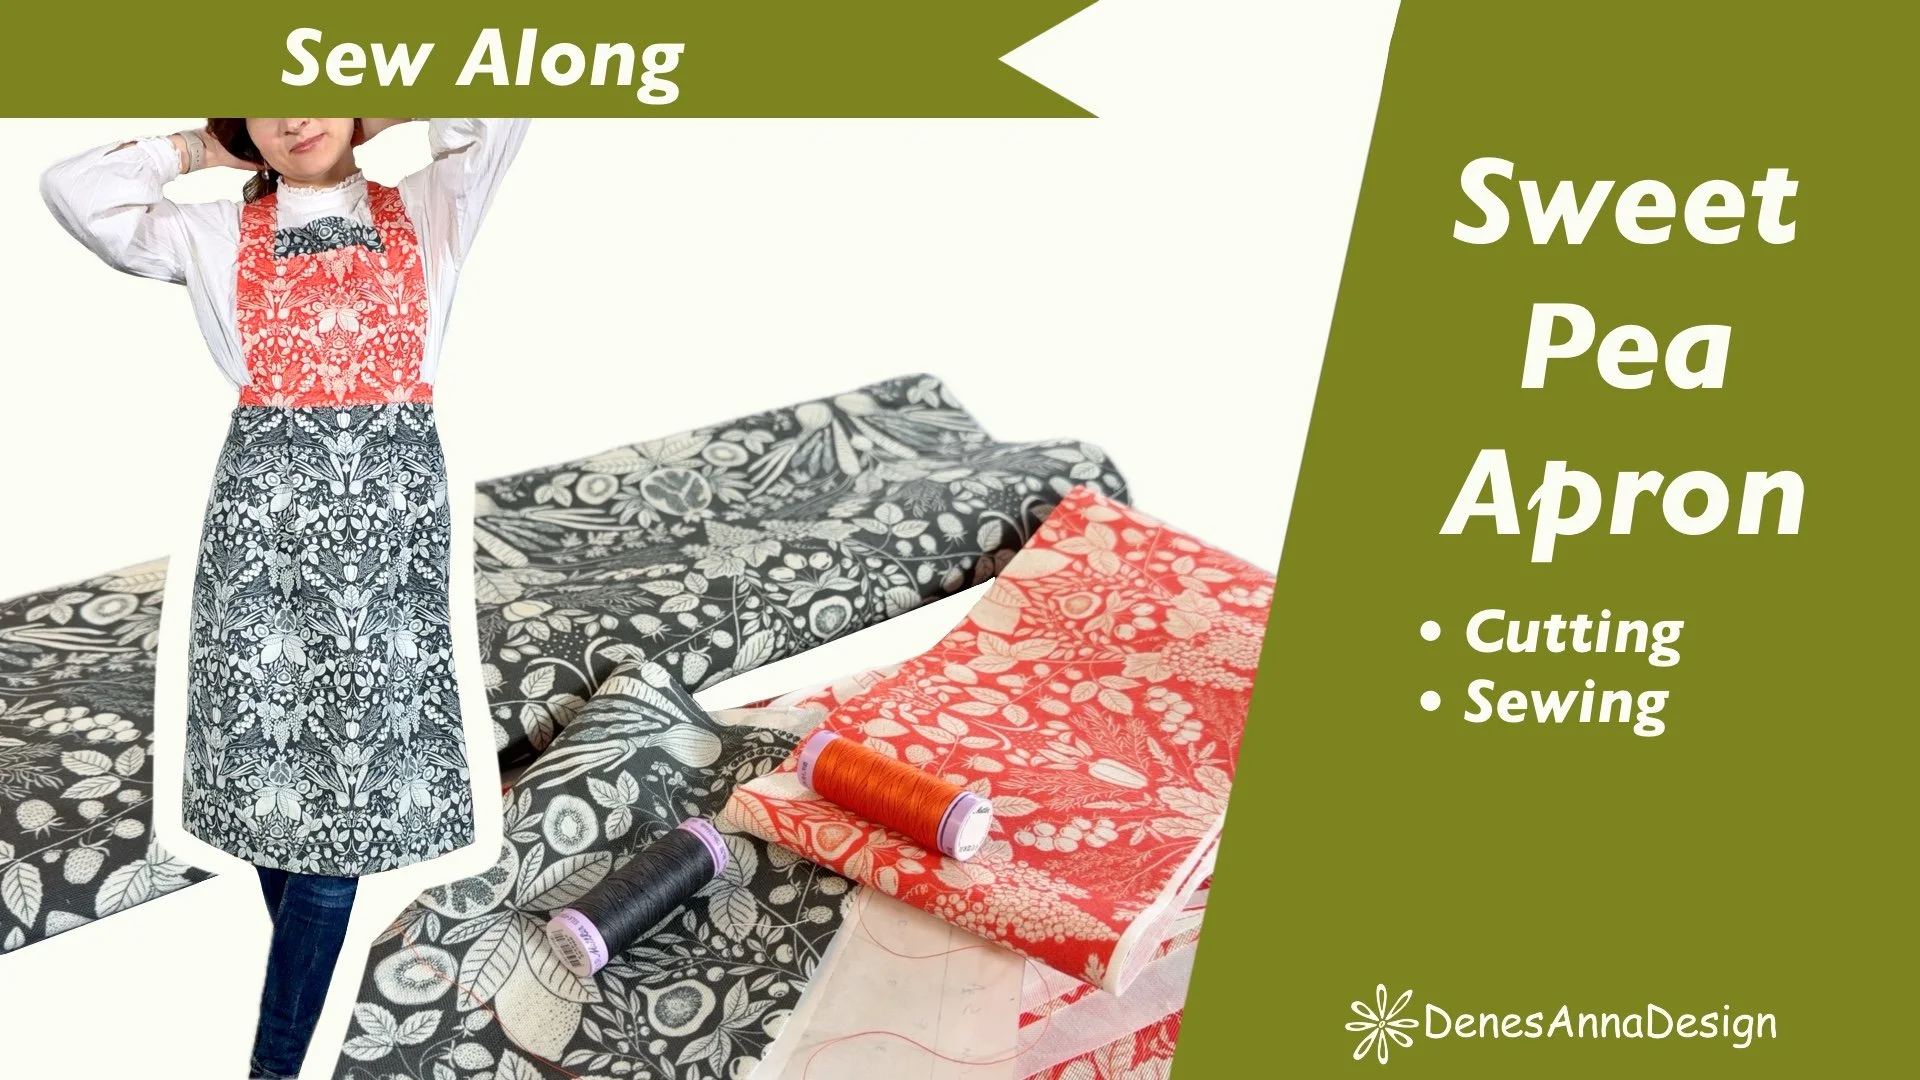
In this tutorial, I focus on the step-by-step cutting and sewing process.
Because the construction process is the same for both the women's and kids' versions, you can watch this to recreate the kids' version as well.
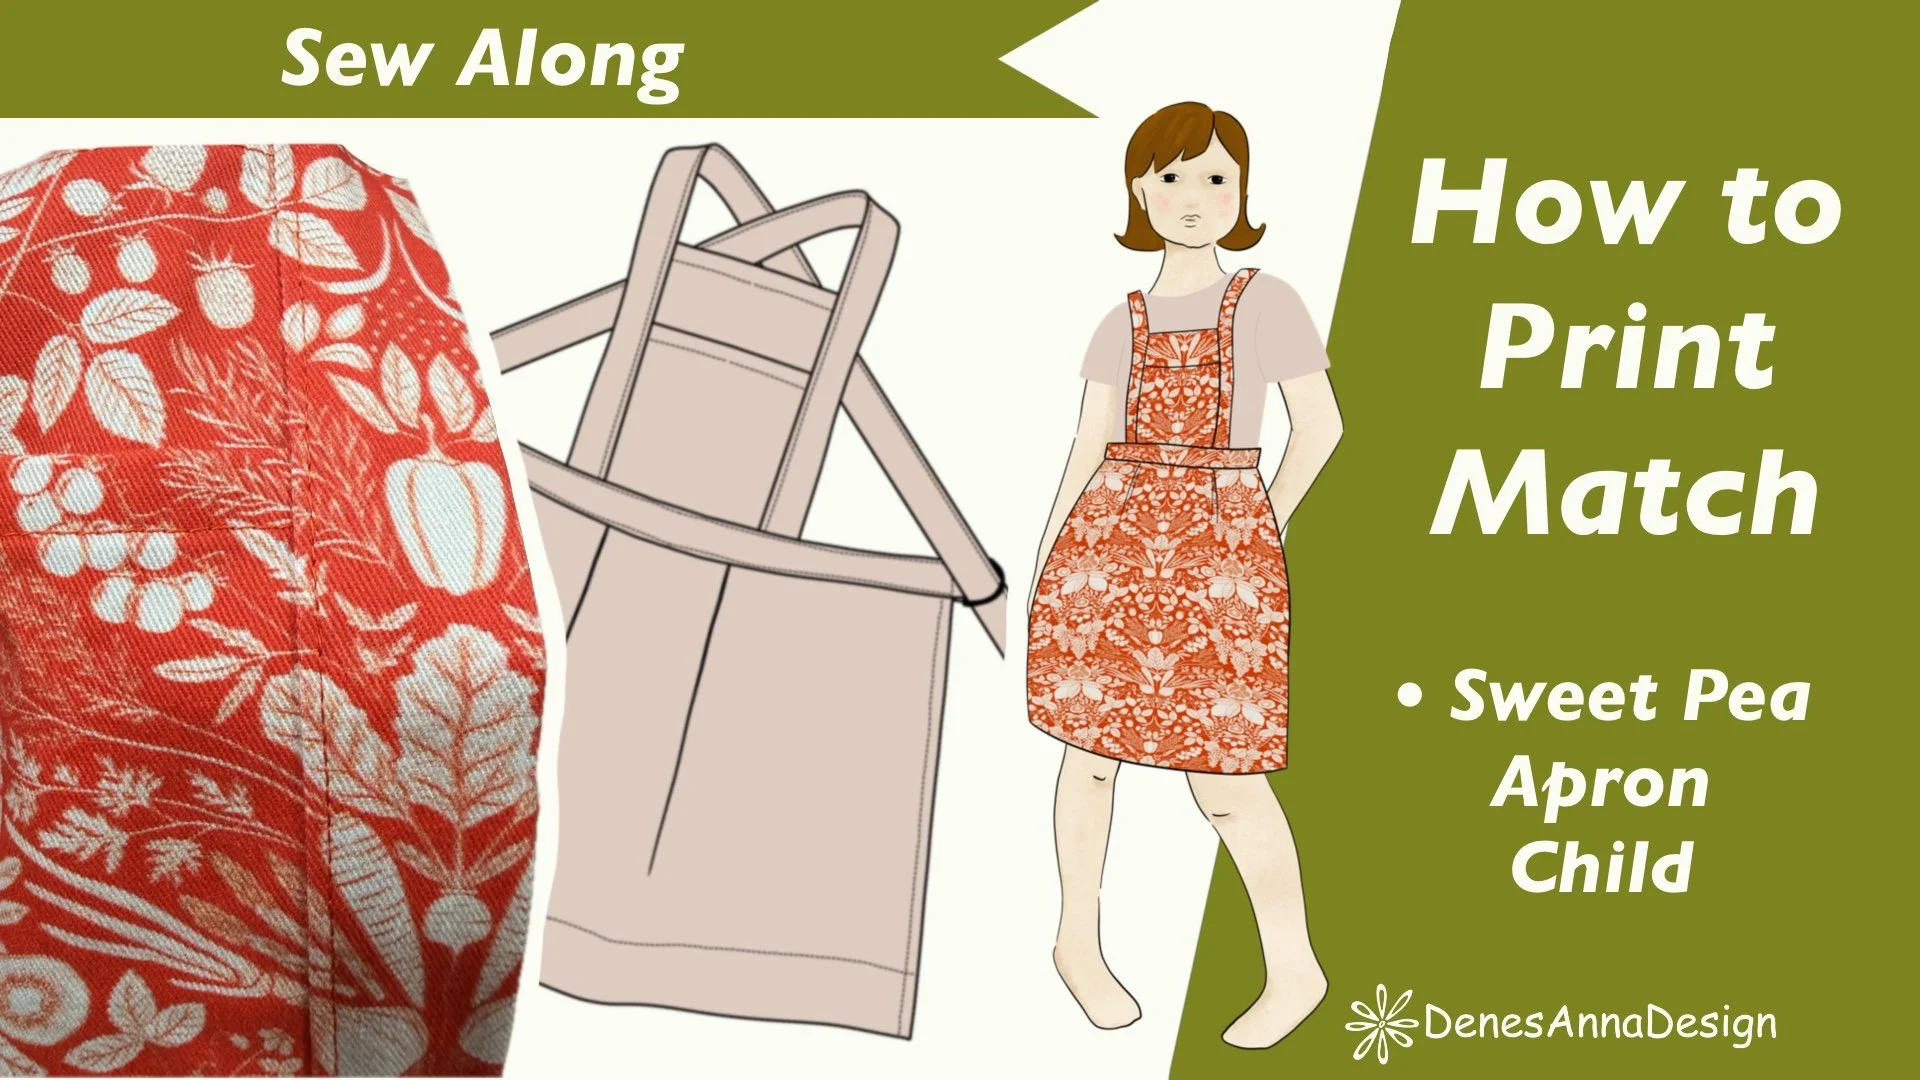
In this tutorial, I show you how to print-match your fabric.
I will show you some advanced cutting on how to place your pattern pieces on the fabric so that when everything is sewn together, the pattern flows beautifully across the seams in continuous lines.
The Sweet Pea Apron: Step-by-Step Construction Guide
By working with contrasting fabrics, we can save a lot of time by batching our steps by thread color. For my apron, I began with the dark thread for the main body, and then switched to the orange thread for the contrast pieces.
Phase 1: Main Body Construction (Dark Thread)
1. At the Ironing Board: Prep & Pressing
Before hitting the sewing machine, we need to prep our dark pieces at the iron.
Towel Hang Tab & Top: Press the towel hang tab into shape. Then, press the double-folded top edge of the front panel.
Skirt Pleats: Press your skirt pleats into place according to the pattern markings.
Skirt Hems: Fold and press the side seams in by 2 cm. For the bottom hem, press a generous 5 cm hem up, using measuring tape for accuracy.
2. First Round of Stitching
Move to the sewing machine with your dark thread loaded:
Edge-stitch the towel hang tab.
Edge-stitch the double-folded top edge of the front panel.
Edge-stitch the double-folded side seams of the skirt panel.
3. Bulk-Free Bottom Hem
To achieve a beautifully clean, professional finish on your 5 cm bottom hem without awkward bulk at the corners:
Unfold the hem slightly and cut away the seam allowance inside the corner of that 5 cm fold line.
Fold the raw edge in by 1 cm again to form a new, slightly angled seam allowance, and snip out a small triangle shape right at the fold line. Re-fold your hem and edge-stitch it in place.
4. Securing the Pleats & Tab
Baste the skirt pleats in place by stitching 0.5 cm from the raw edge.
Baste the towel hang tab into position, also stitching at 0.5 cm from the edge.
Phase 2: Contrast Details (Switch to Orange Thread)
5. Prepping the Straps & Pocket
Switch your machine and bobbin to the orange contrast thread.
Straps & Ties: Join your neck strap and back tie pieces together. Head to the ironing board, press the seam open, then fold the entire strap and tie piece in half lengthwise and press.
Pocket: Press the top edge of the front pocket down and edge-stitch it.
Attach Pocket: Position the pocket onto the front panel. Stitch around the sides and bottom at 0.5 cm from the edge to secure it in place.
6. Attaching the Straps (The Sandwich Method)
Sandwich the top front panel into the strap pieces on both the right and left sides.
Sew: Stitch the strap to the front panel using a 1 cm seam allowance.
Press & Tuck: Head back to the iron. Press the seam allowance toward the straps. On the backside of the strap, fold the raw edge under by 1 cm, bringing it down so it just covers your front stitch line by about 1 mm. Pin it securely.
Prep the Rest of the Ties: Continuing past the front top panel, fold in both raw edges of the remaining strap/tie pieces by 1 cm all the way to the ends. Press and pin both sides.
7. Topstitching the Straps & Ties
Back at the machine, edge-stitch from the front side, catching that folded backside edge perfectly.
The Corners: Before reaching the very end of the tie, fold the raw end in by 1 cm and clip the corners to reduce bulk. When you reach the corner, keep your needle down, pivot the fabric, and stitch the end of the tie closed. Repeat for both sides.
8. The Waistband & Skirt Assembly
Waistband Sandwich: Sandwich the bottom of your front top panel between the front and back waistband pieces. Stitch using a 1 cm seam allowance.
Press: Move to the iron and press the waistband down into place.
Attach the Skirt: Pin the skirt to the front waistband, making sure to match your notches. Stitch with a 1 cm seam allowance.
Finishing the Waistband: Go back to the iron. Press the waistband seam up. On the back waistband piece, fold the raw edge under by 1 cm, ensuring it covers your front seam line by 1 mm. Pin it in place from the front.
Final Waistband Stitch: From the front side of the apron, edge-stitch across the waistband to secure everything neatly.
9. Adding the D-Rings
To finish your apron, take the end of your waistband, loop it through your D-rings, double-fold the raw edge under to hide it, and stitch it down firmly.
Your Sweet Pea Apron is officially complete!
Show Off Your Sweet Pea Apron!
Thank you so much for reading along and joining me on this creative journey! Designing the Sweet Pea Apron and sewing it has been such a joyful experience, and I am so incredibly grateful for your support of my independent design shop.
Whether you made an adult version or a mini version for the kids, I would absolutely love to see your finished aprons! Seeing my patterns come to life in your beautiful choice of fabrics is the best part of what I do. If you decide to share your work, please use the hashtag #createwithdenesannadesign—it would totally make my day to see it! :)
Thank you again for being part of this sewing community. Happy sewing!