Printing and assembling the pattern
Printing your PDF pattern
Denes Anna Design PDF sewing patterns are compatible with both A4 and Letter paper; please select the format your printer uses.
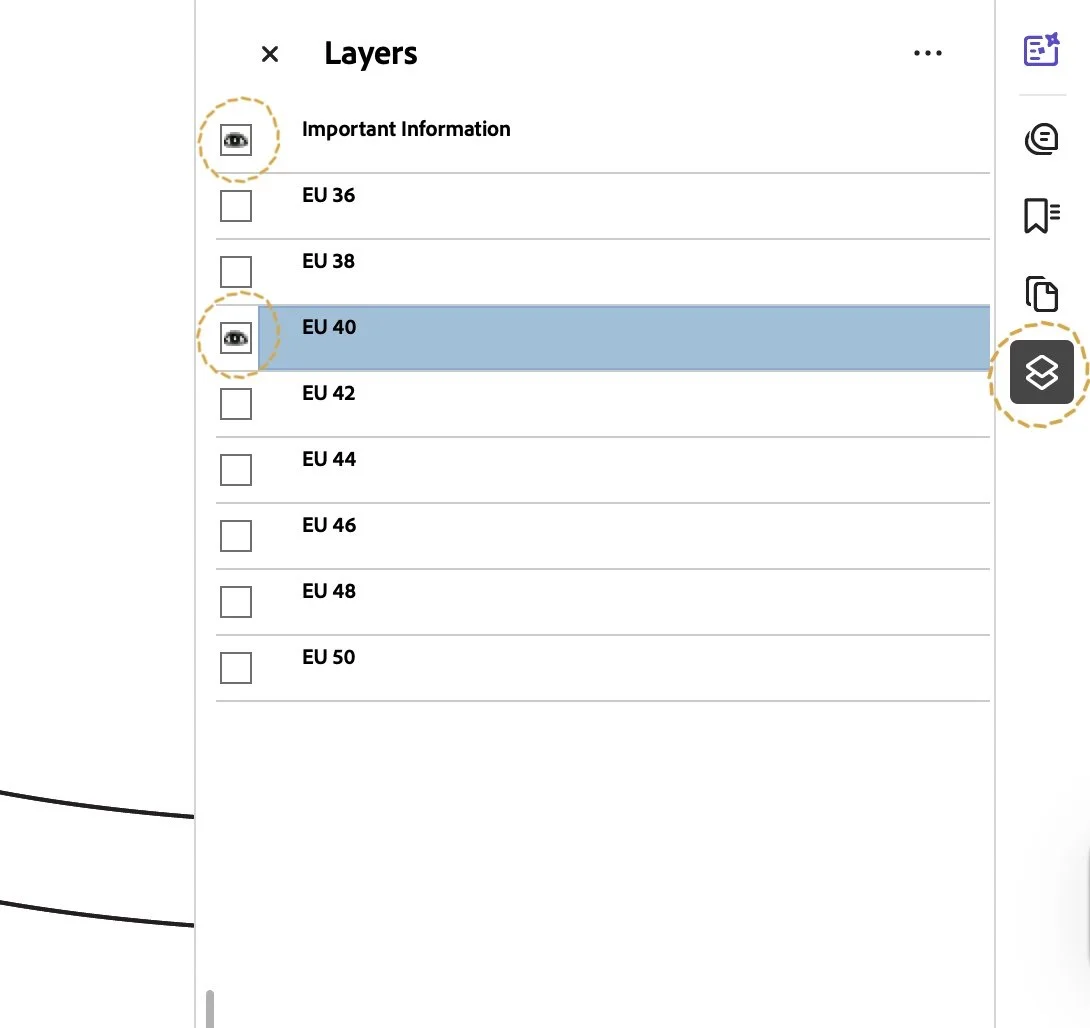
Denes Anna Design PDF sewing patterns are layered, allowing you to toggle and print only your specific size. If you fall between sizes, you can select multiple sizes to make adjustments easier.
If you don't have it already, please download the free Adobe Acrobat Reader to your desktop to access the layer features.
You can download it at their official website here: free Adobe Acrobat Reader
Open your file with Adobe Acrobat Reader.
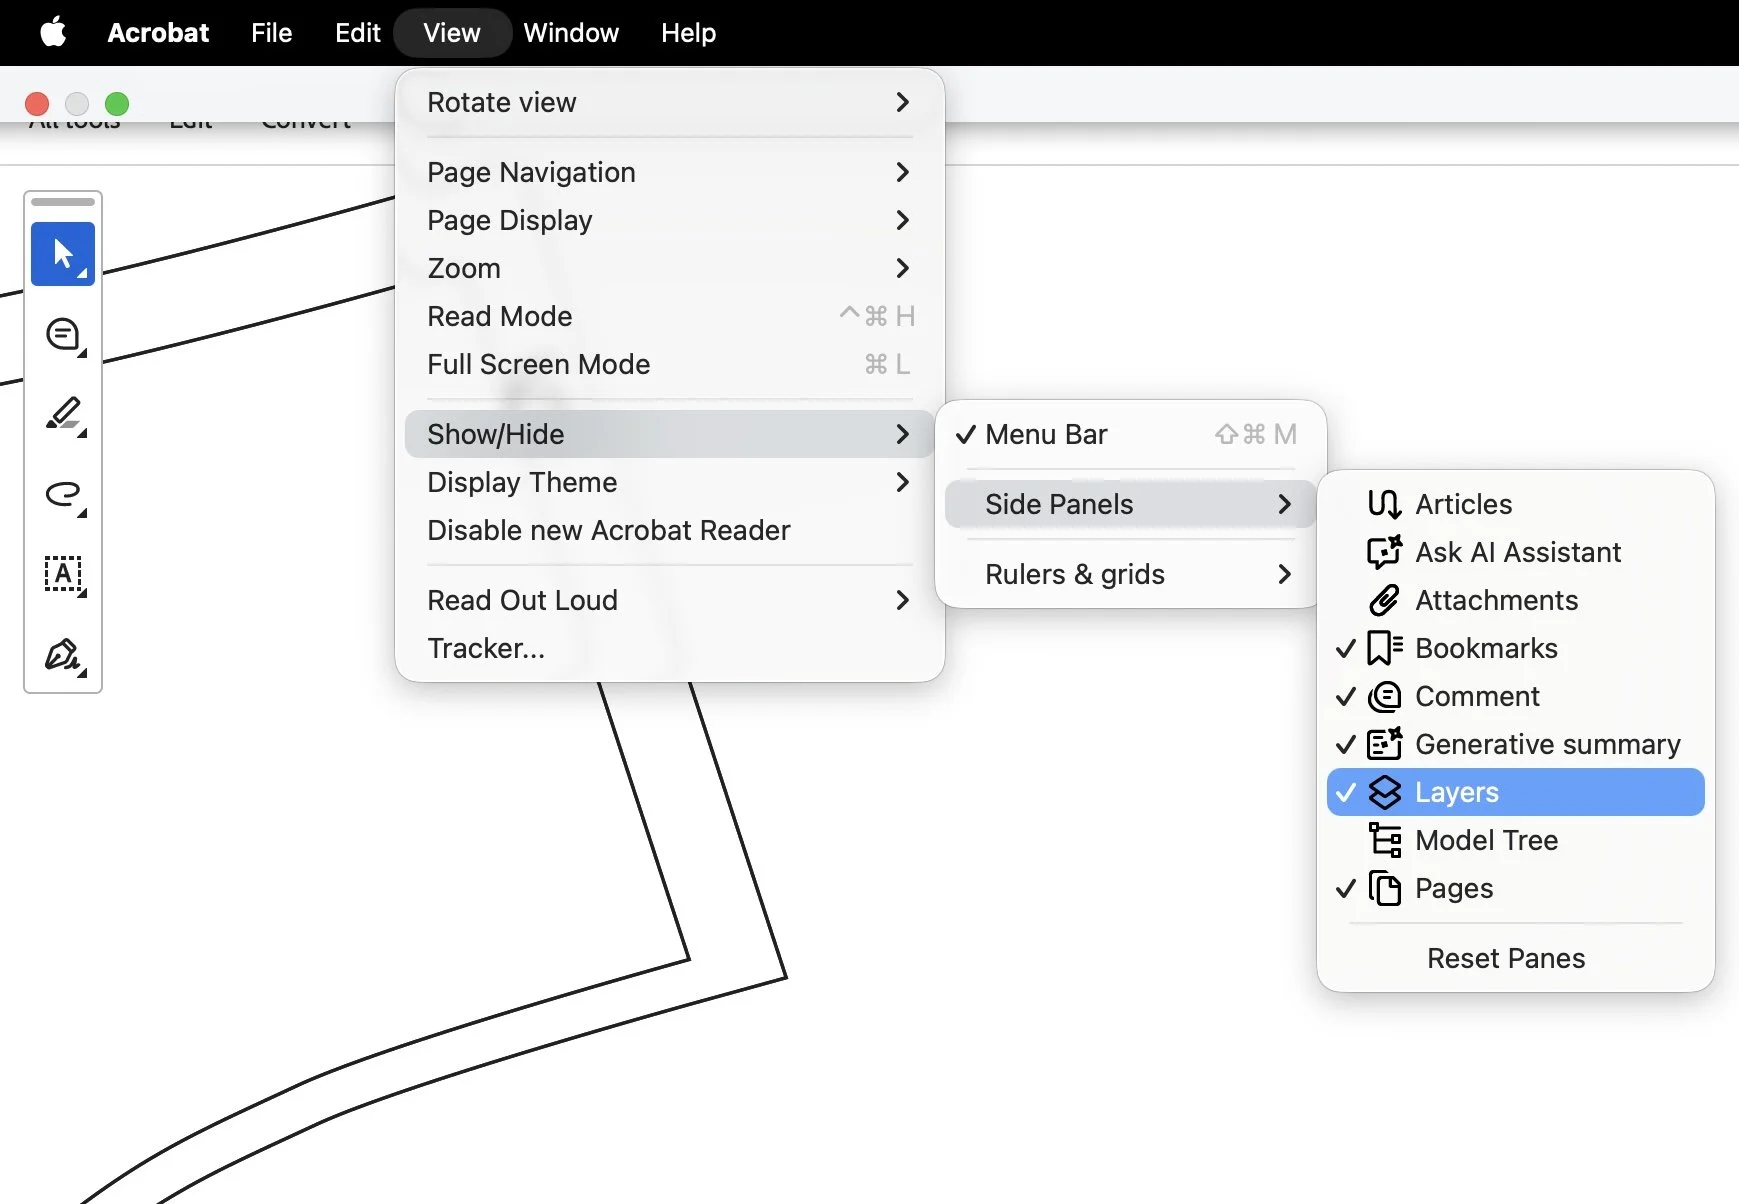
If you don’t see the layers icon on the vertical toolbar, go to View > Show/Hide > Side Panels > Layers.
Toggle off the sizes you don’t wish to print (the eye icon), but ensure the 'Important Information' layer remains visible, as it contains essential pattern notes.
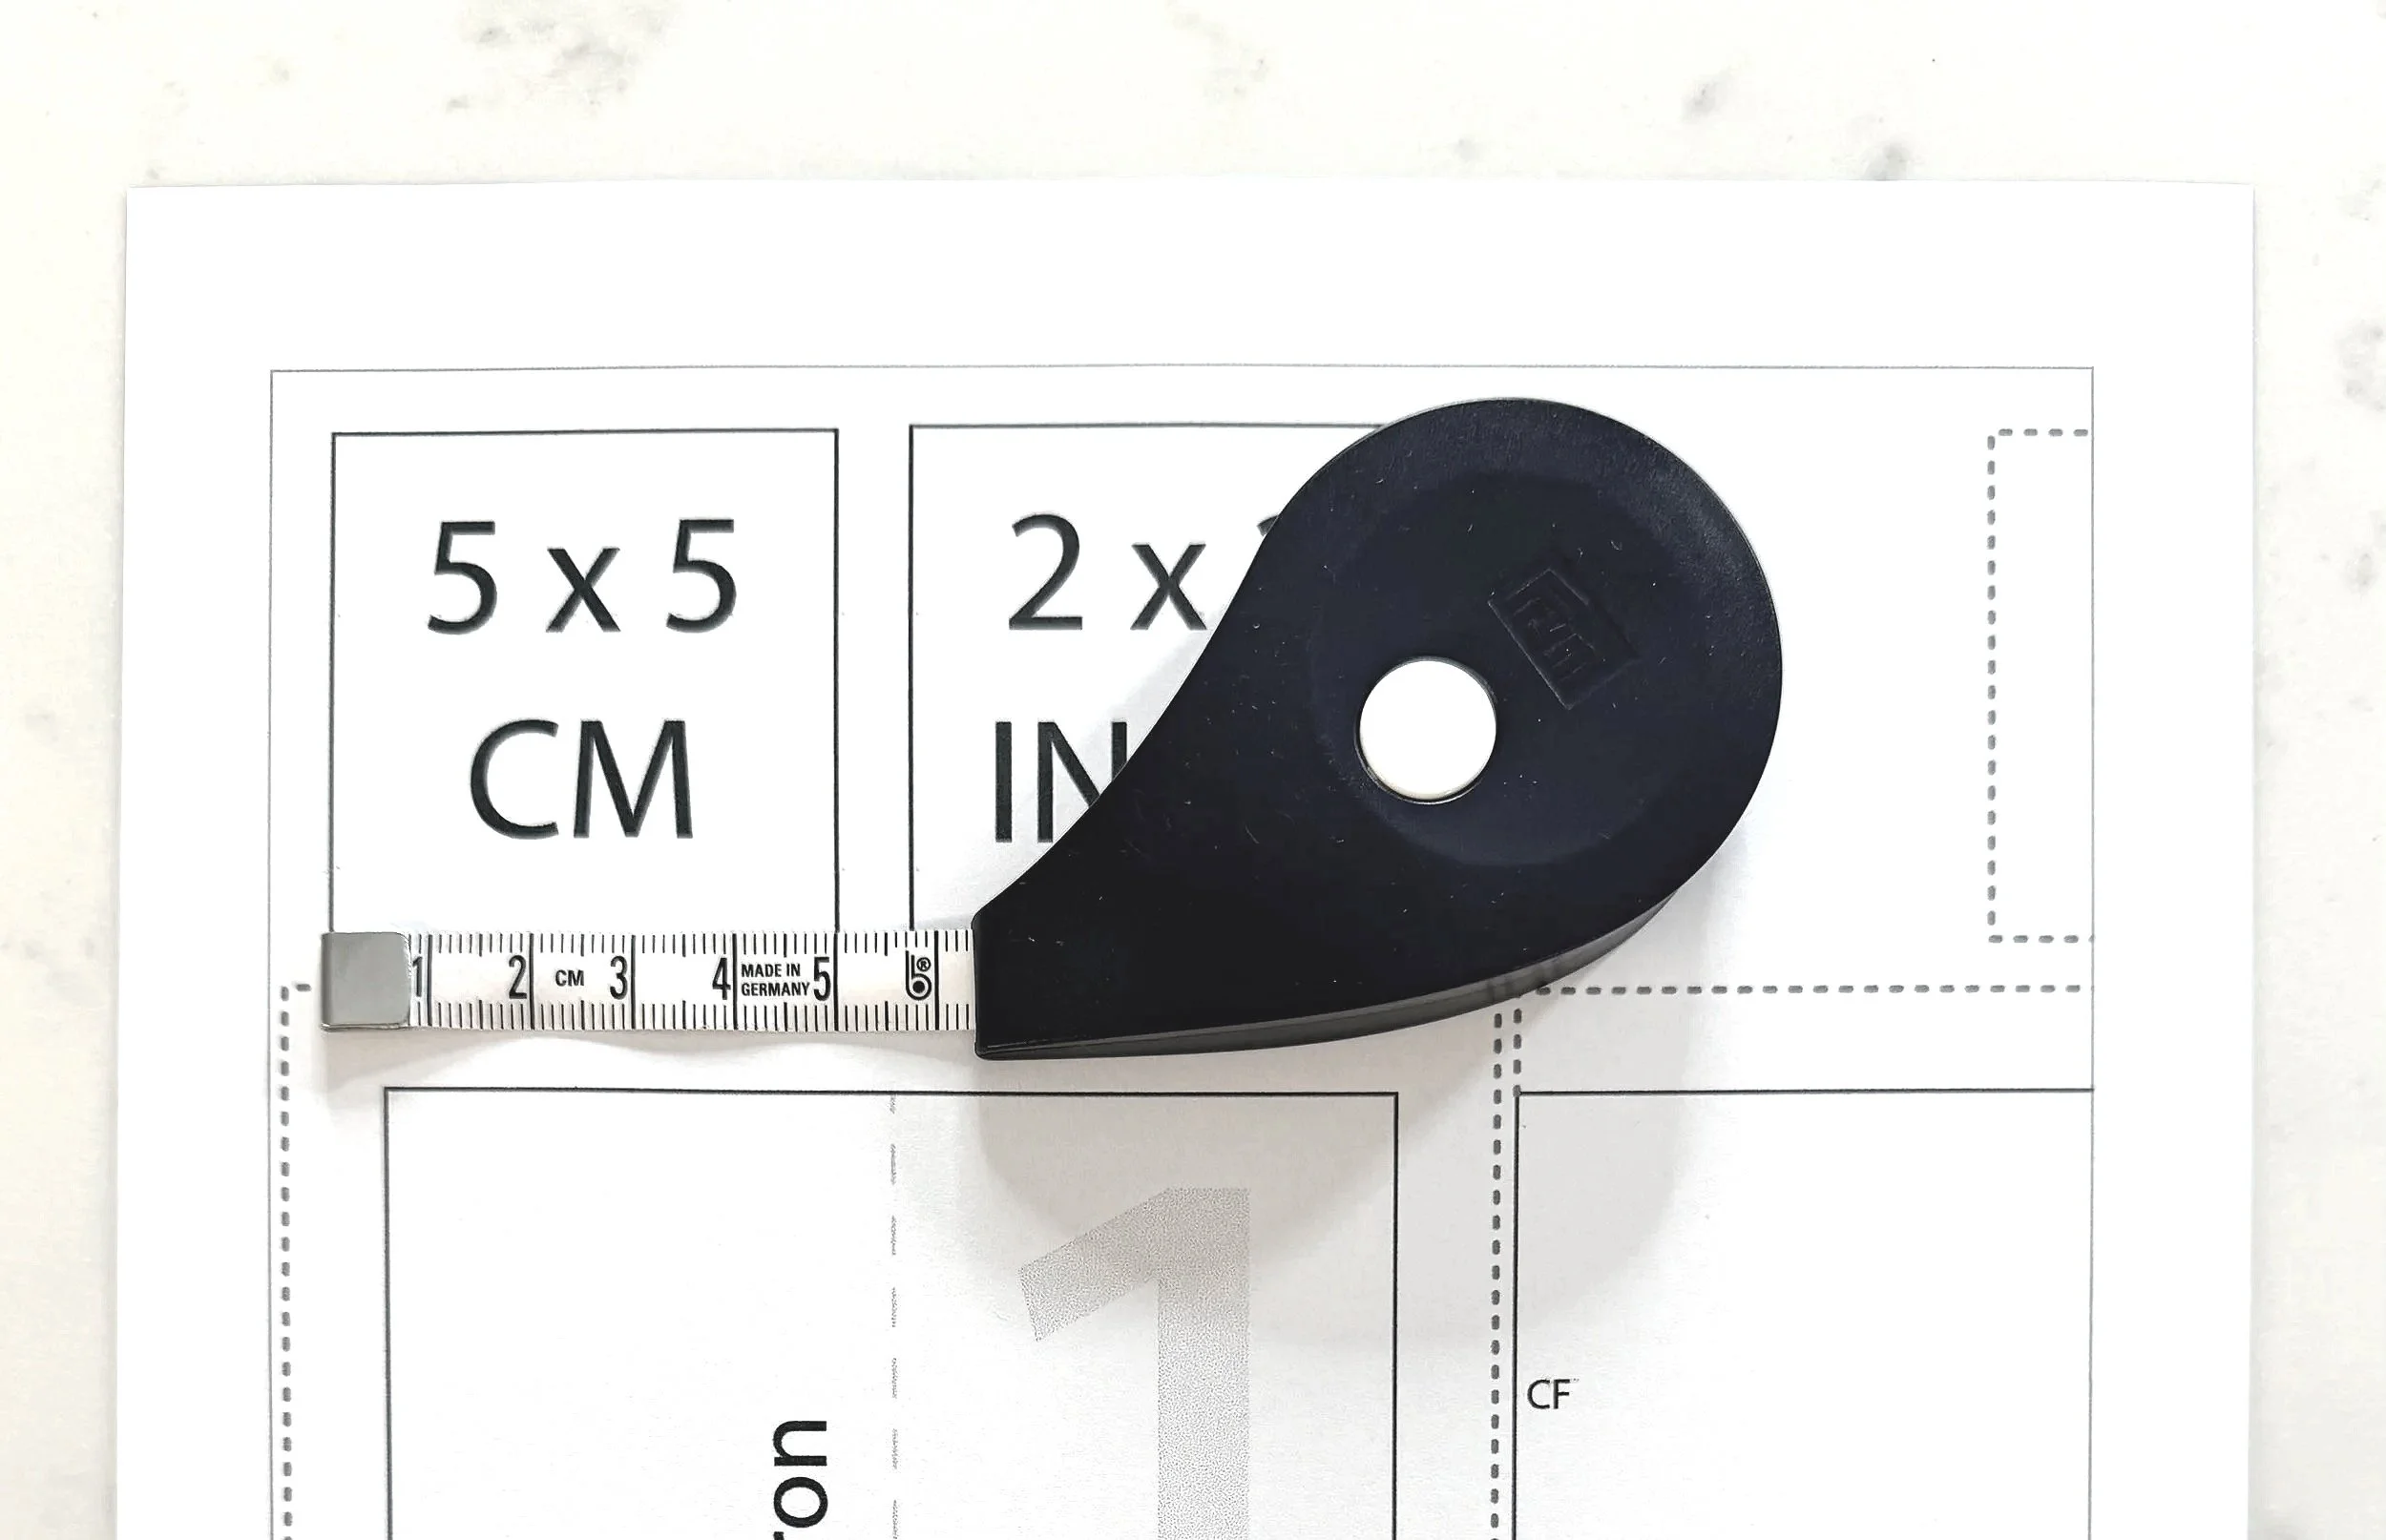
Important: Set your printer scale to 100%.
Ensure the 'Print on both sides' option is disabled.
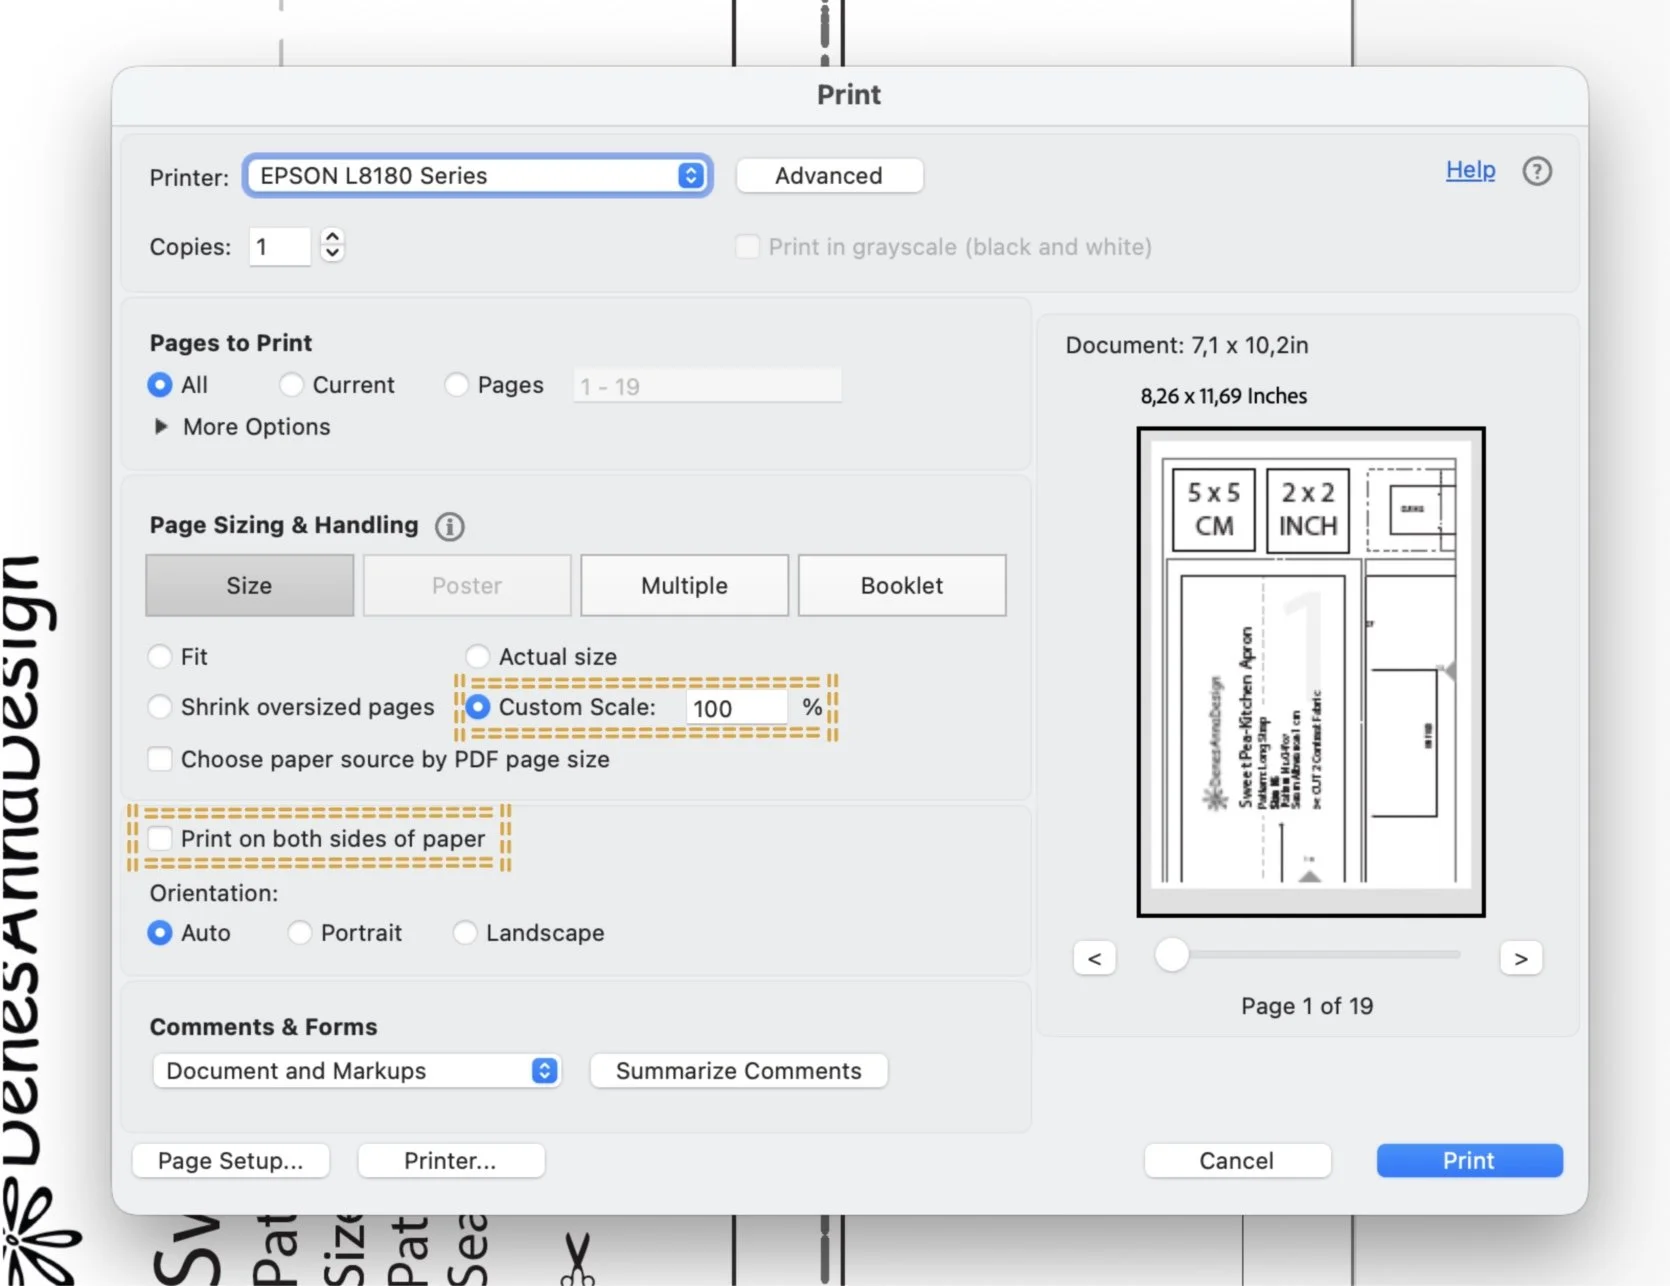
Print only the first page. Measure the test square 5x5 cm or 2x2 inch to ensure it is accurate. If the scale is correct, proceed to print the rest of the pattern.
You are welcome to check out the video tutorial on how to print and assemble your PDF sewing pattern.
Assembling the pattern
Once you have printed your pattern, refer to the layout map as a guide for assembly.
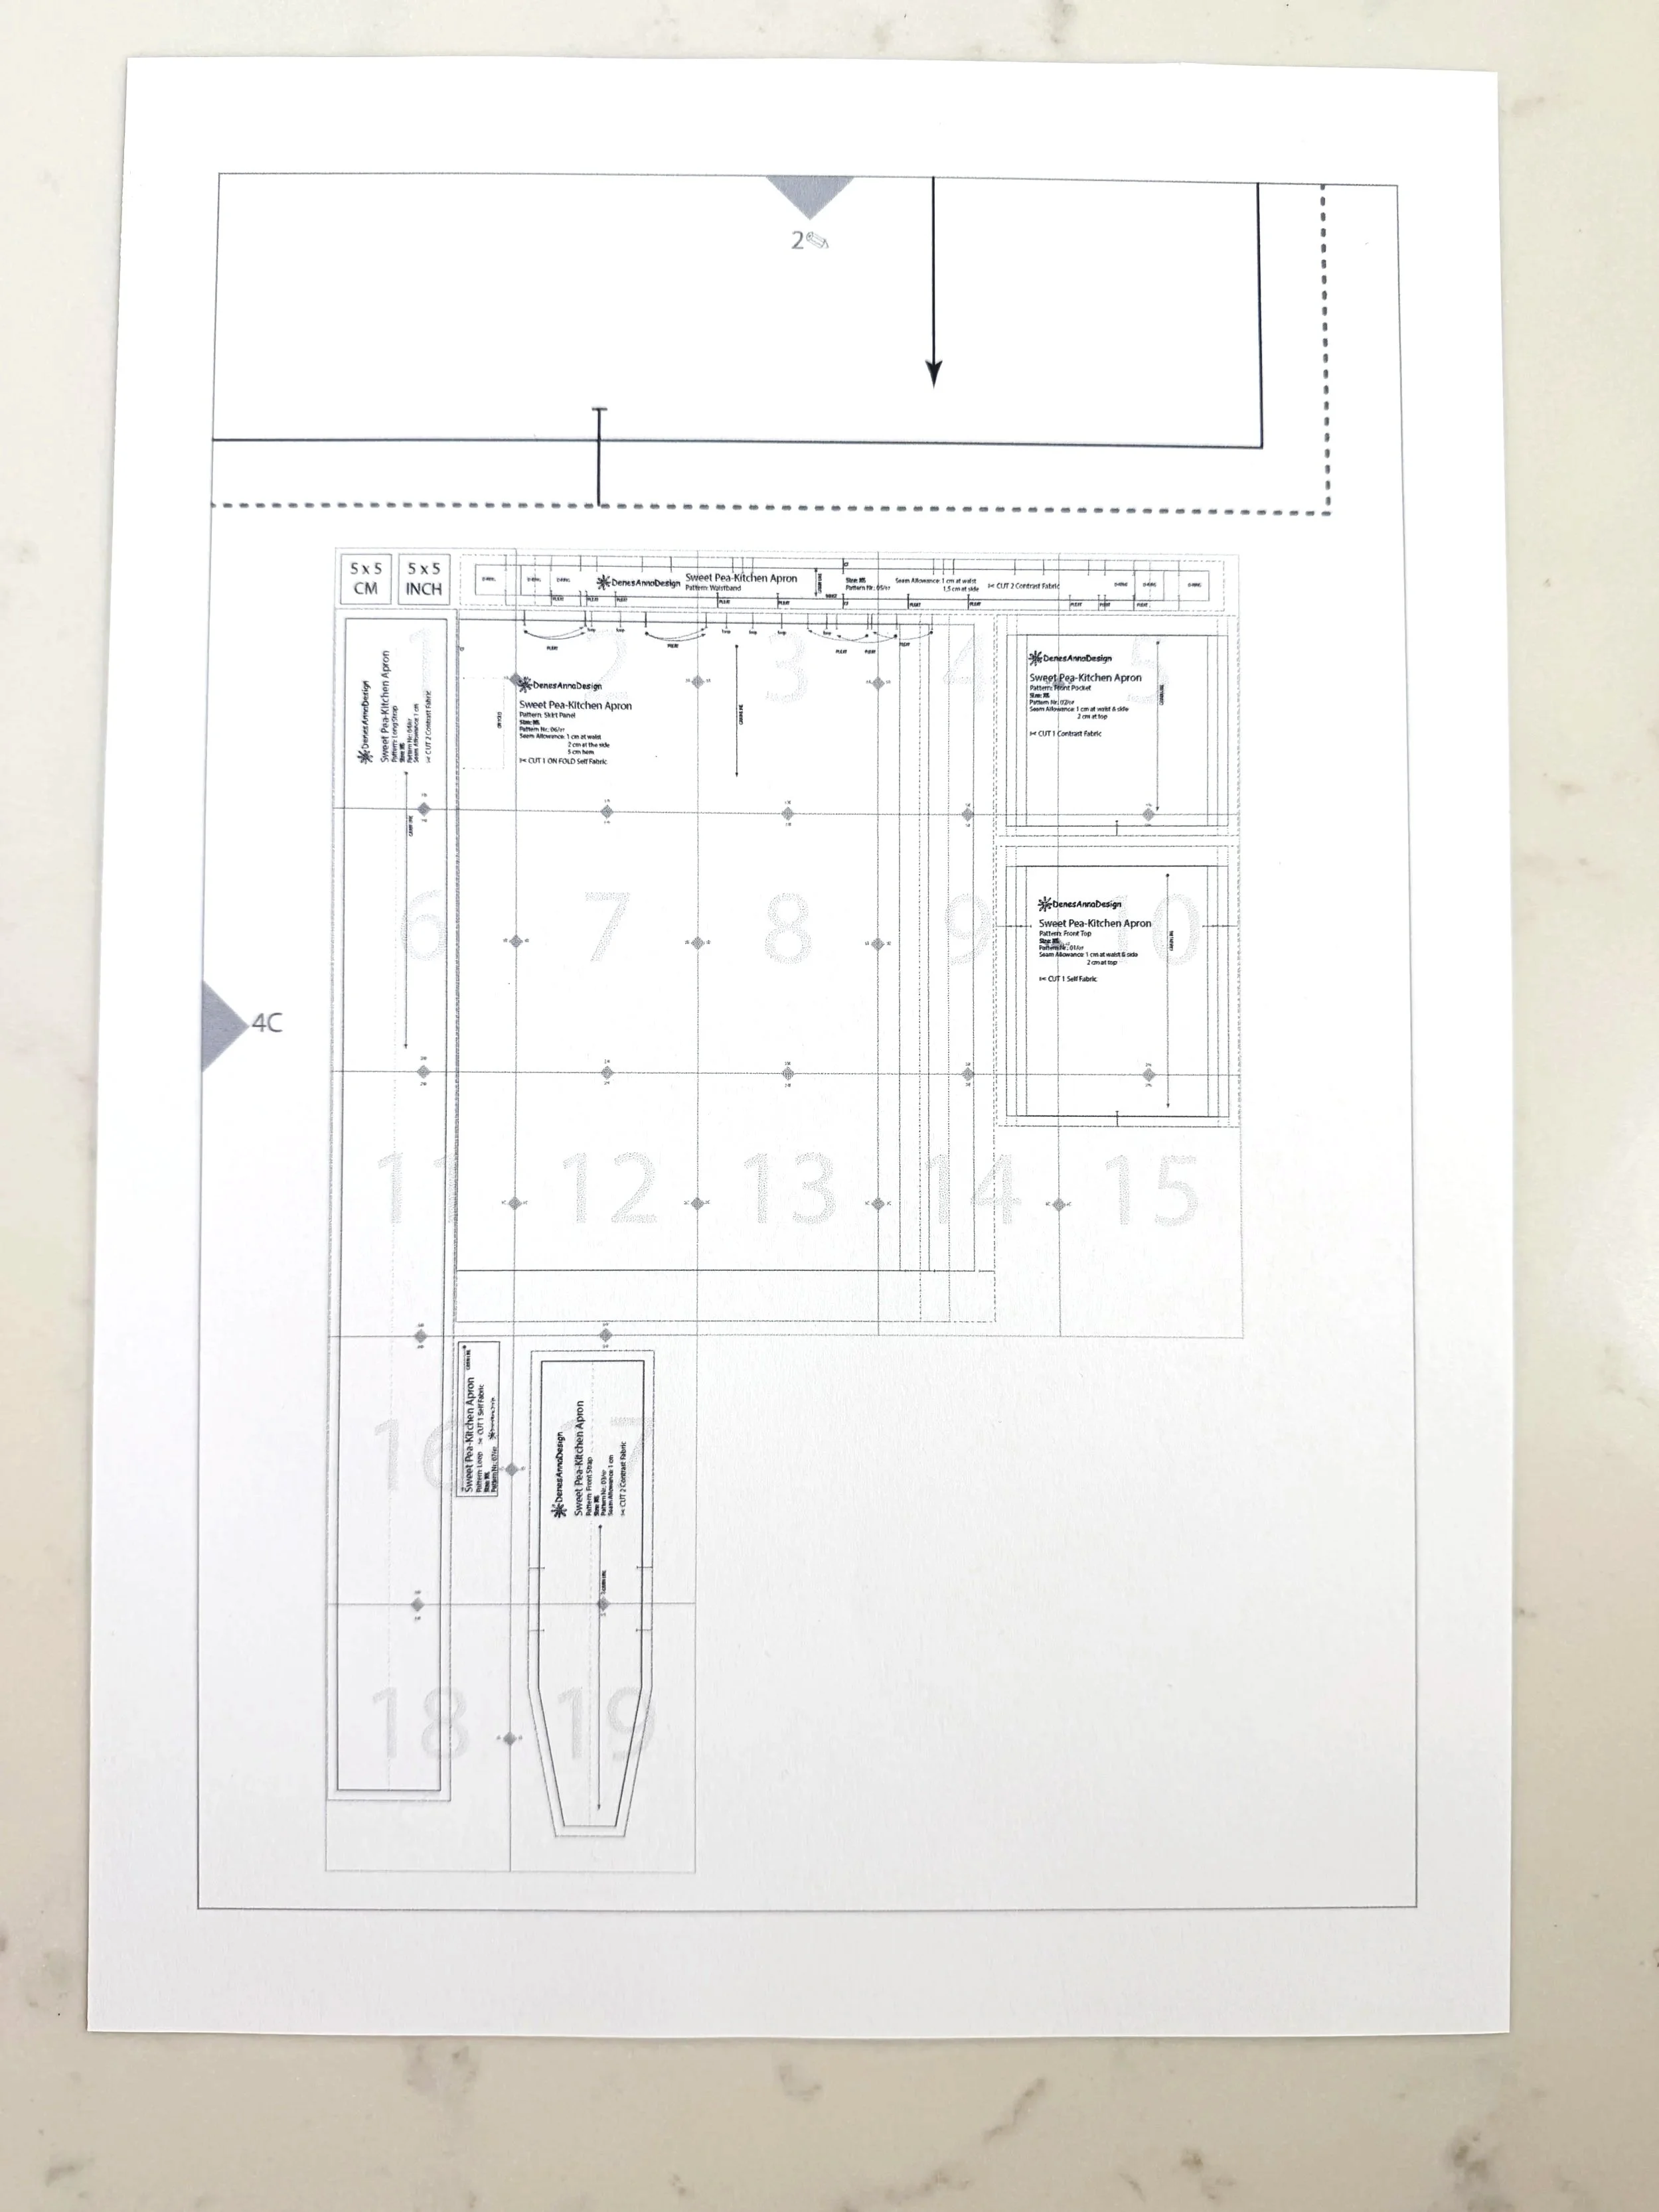
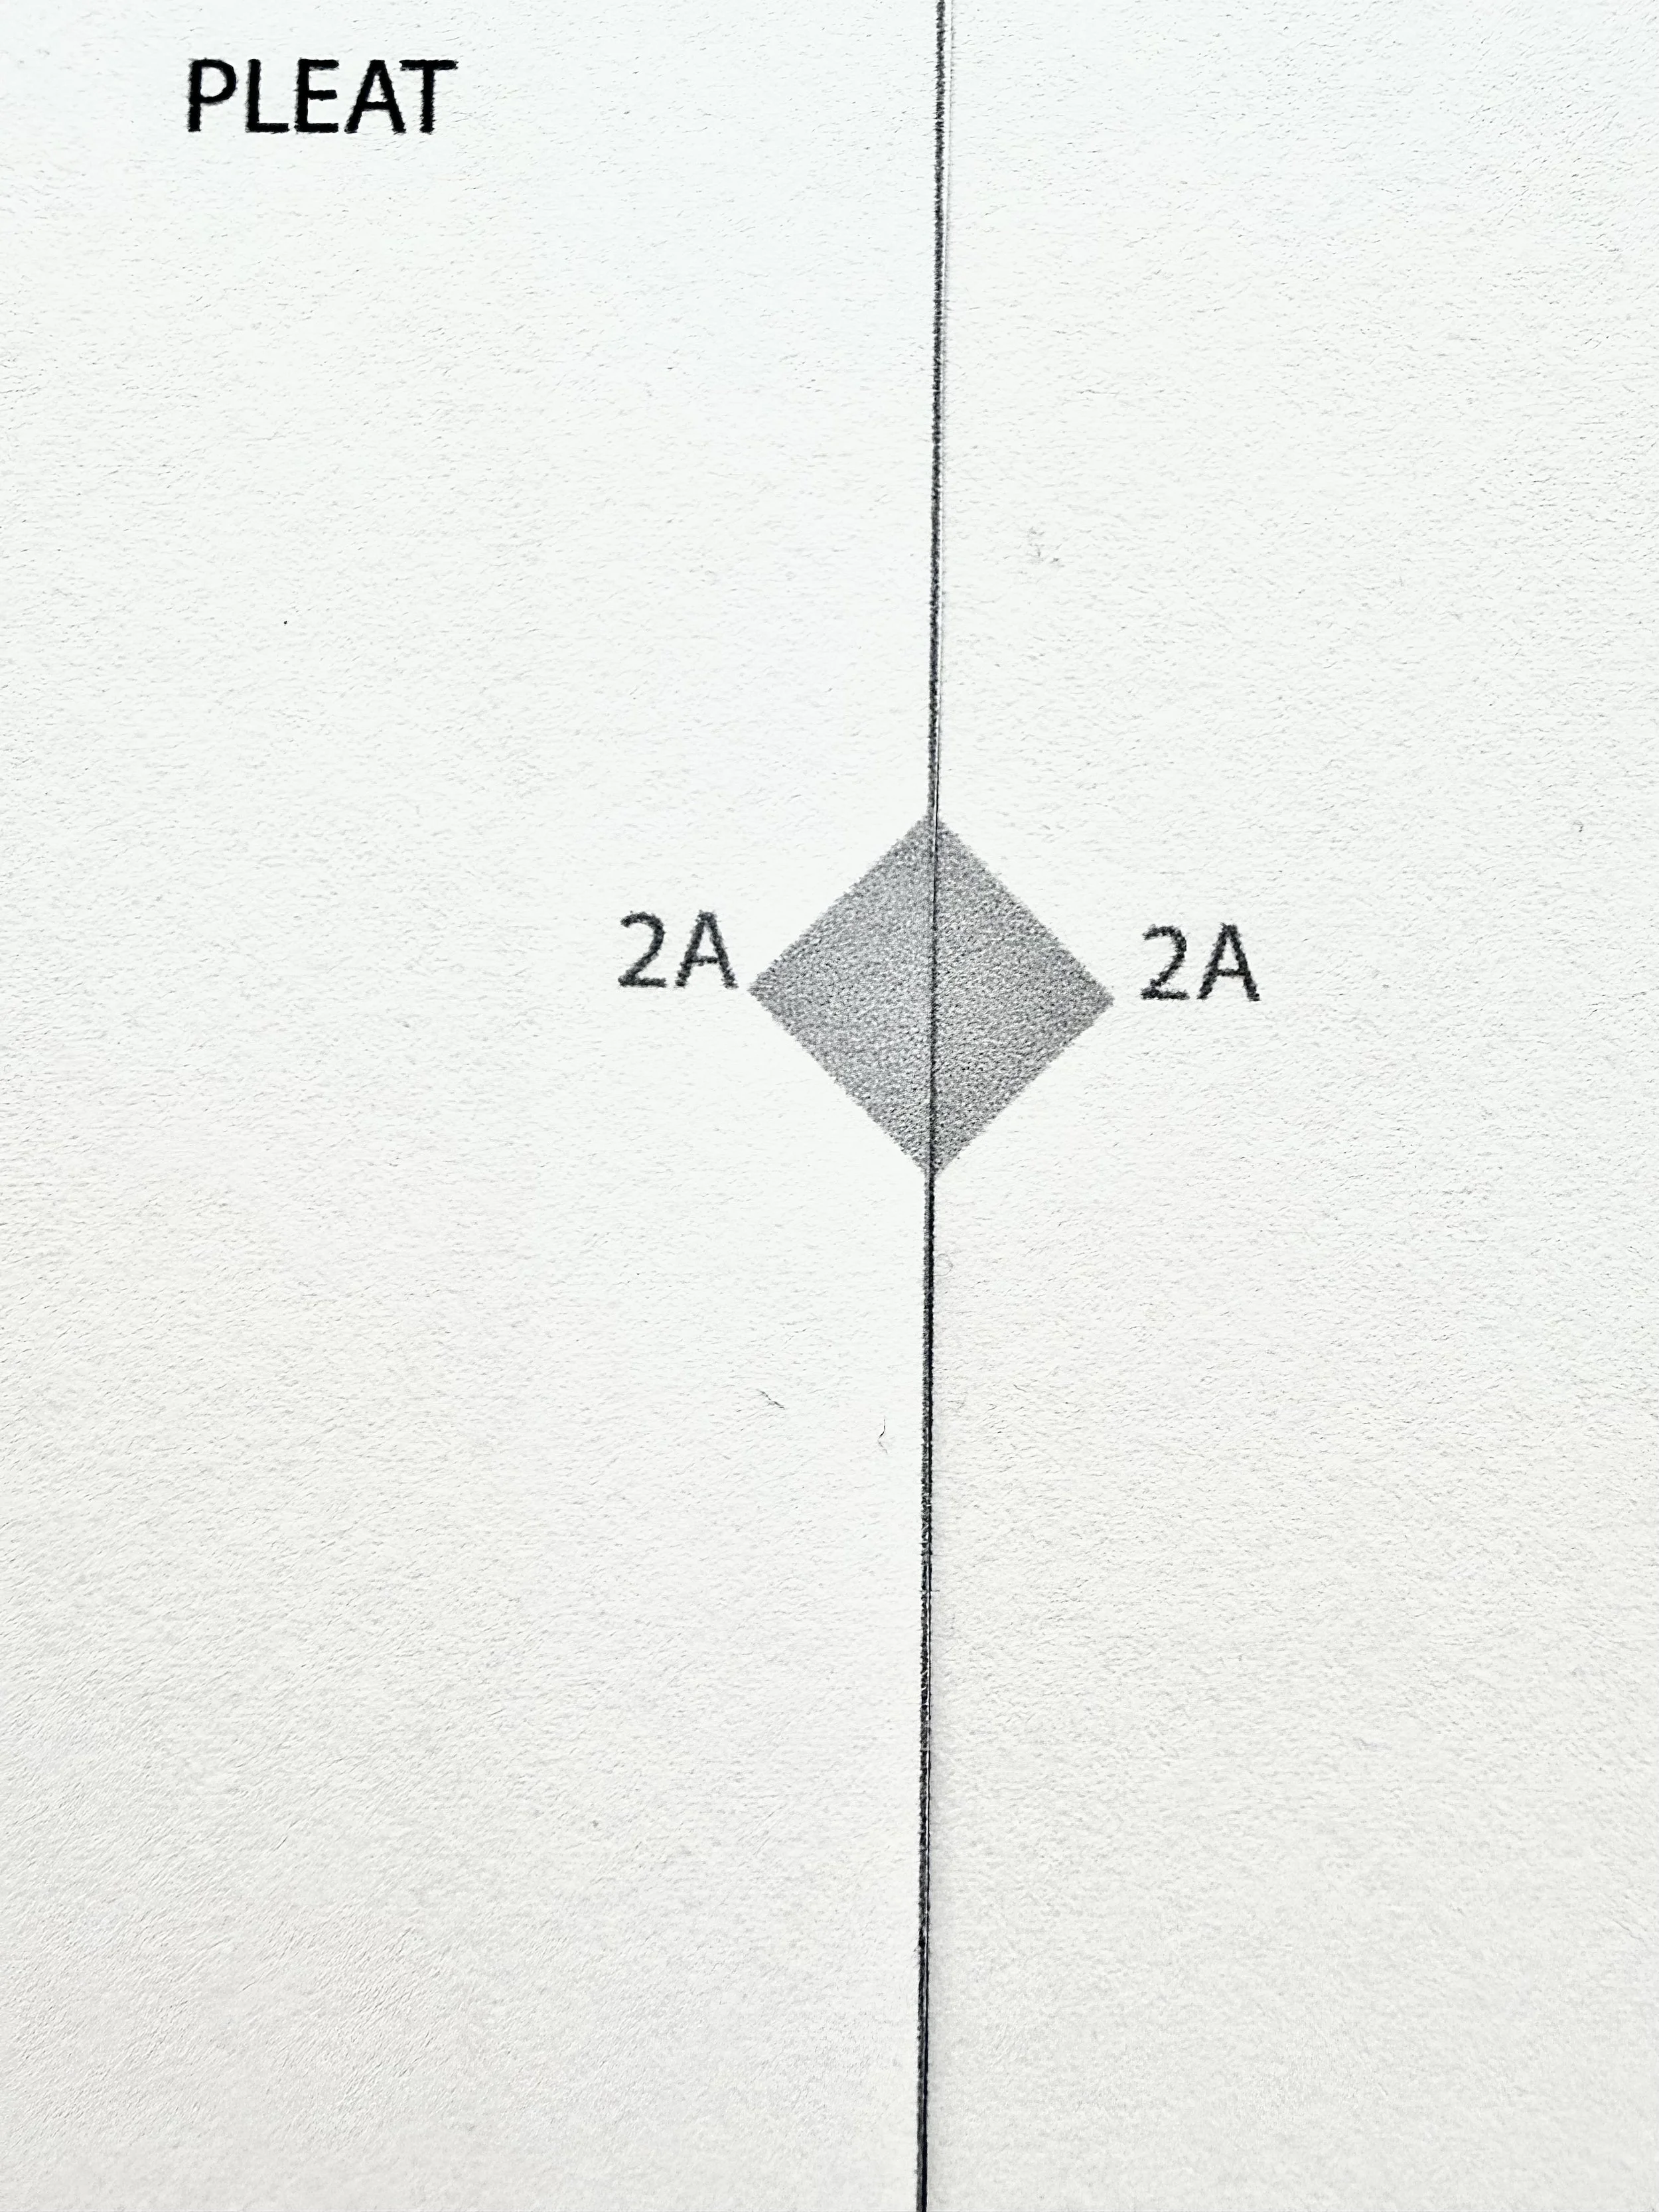
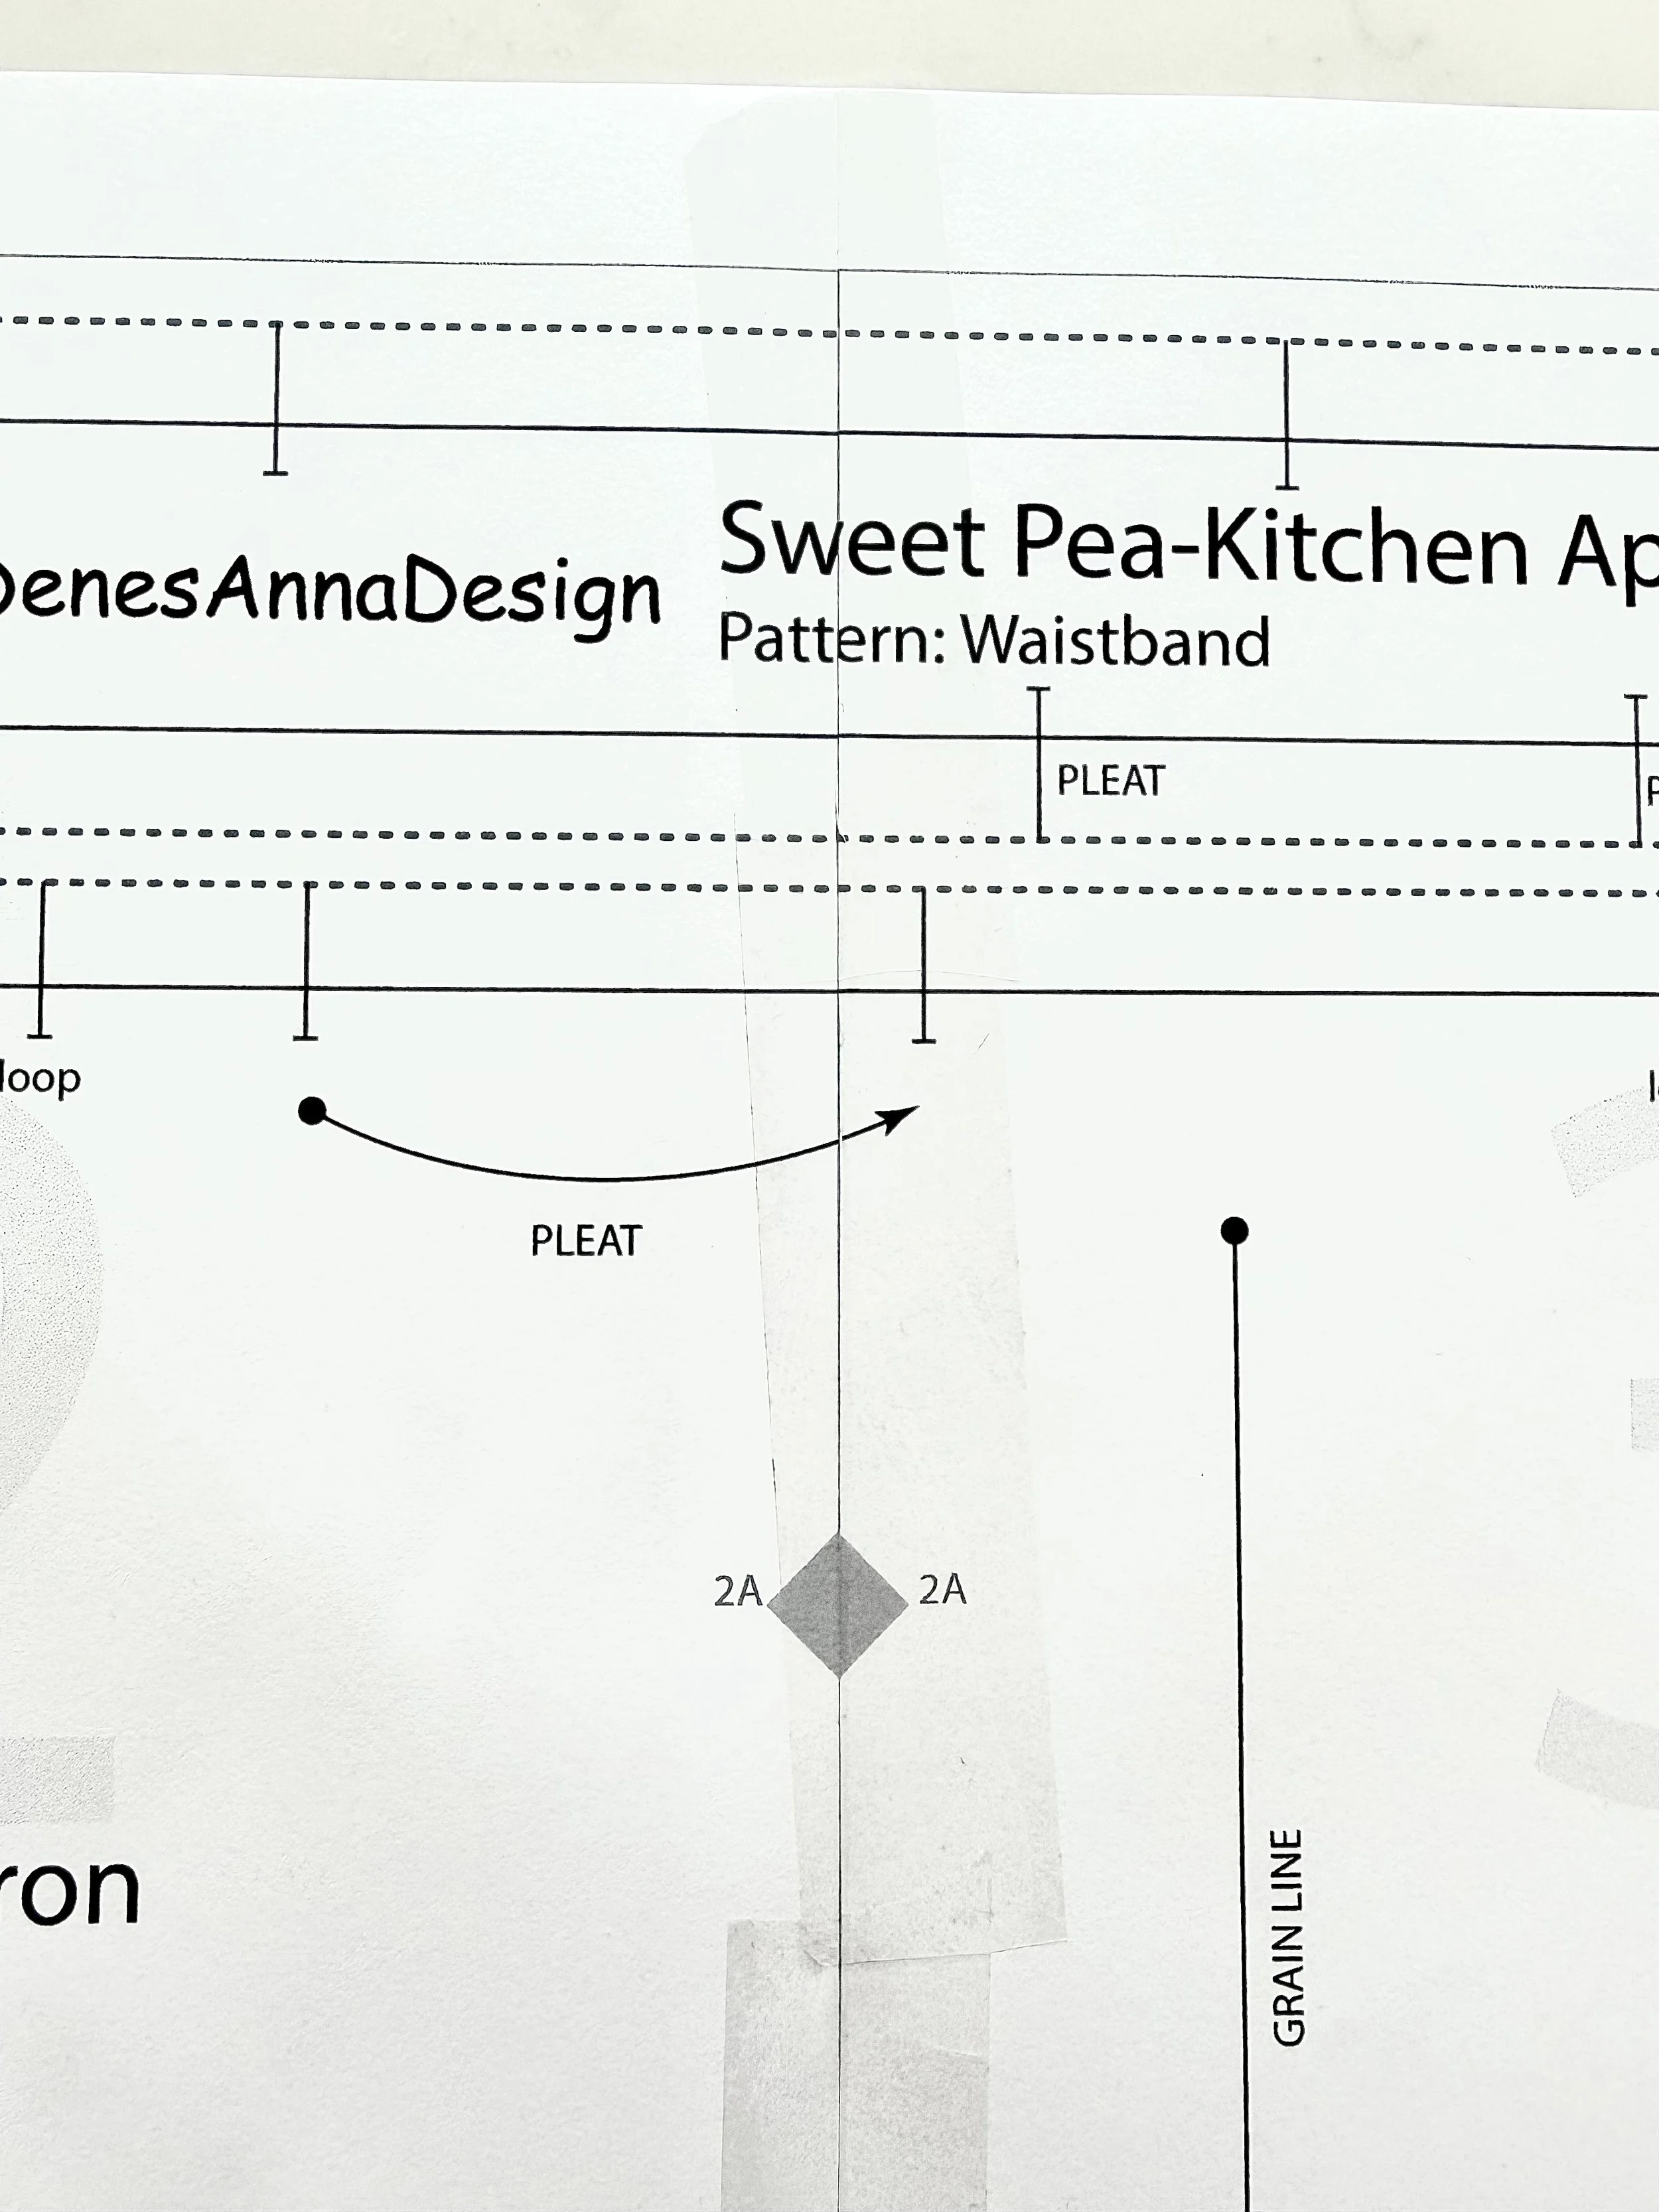
Lay the pages on a large, flat surface, following the map and the marks on each sheet. You will find triangles with numbers and letters to help you align the rows, and triangles with numbers and symbols to help you align the columns. Each page also features large, light numbers to make matching and assembly even easier.
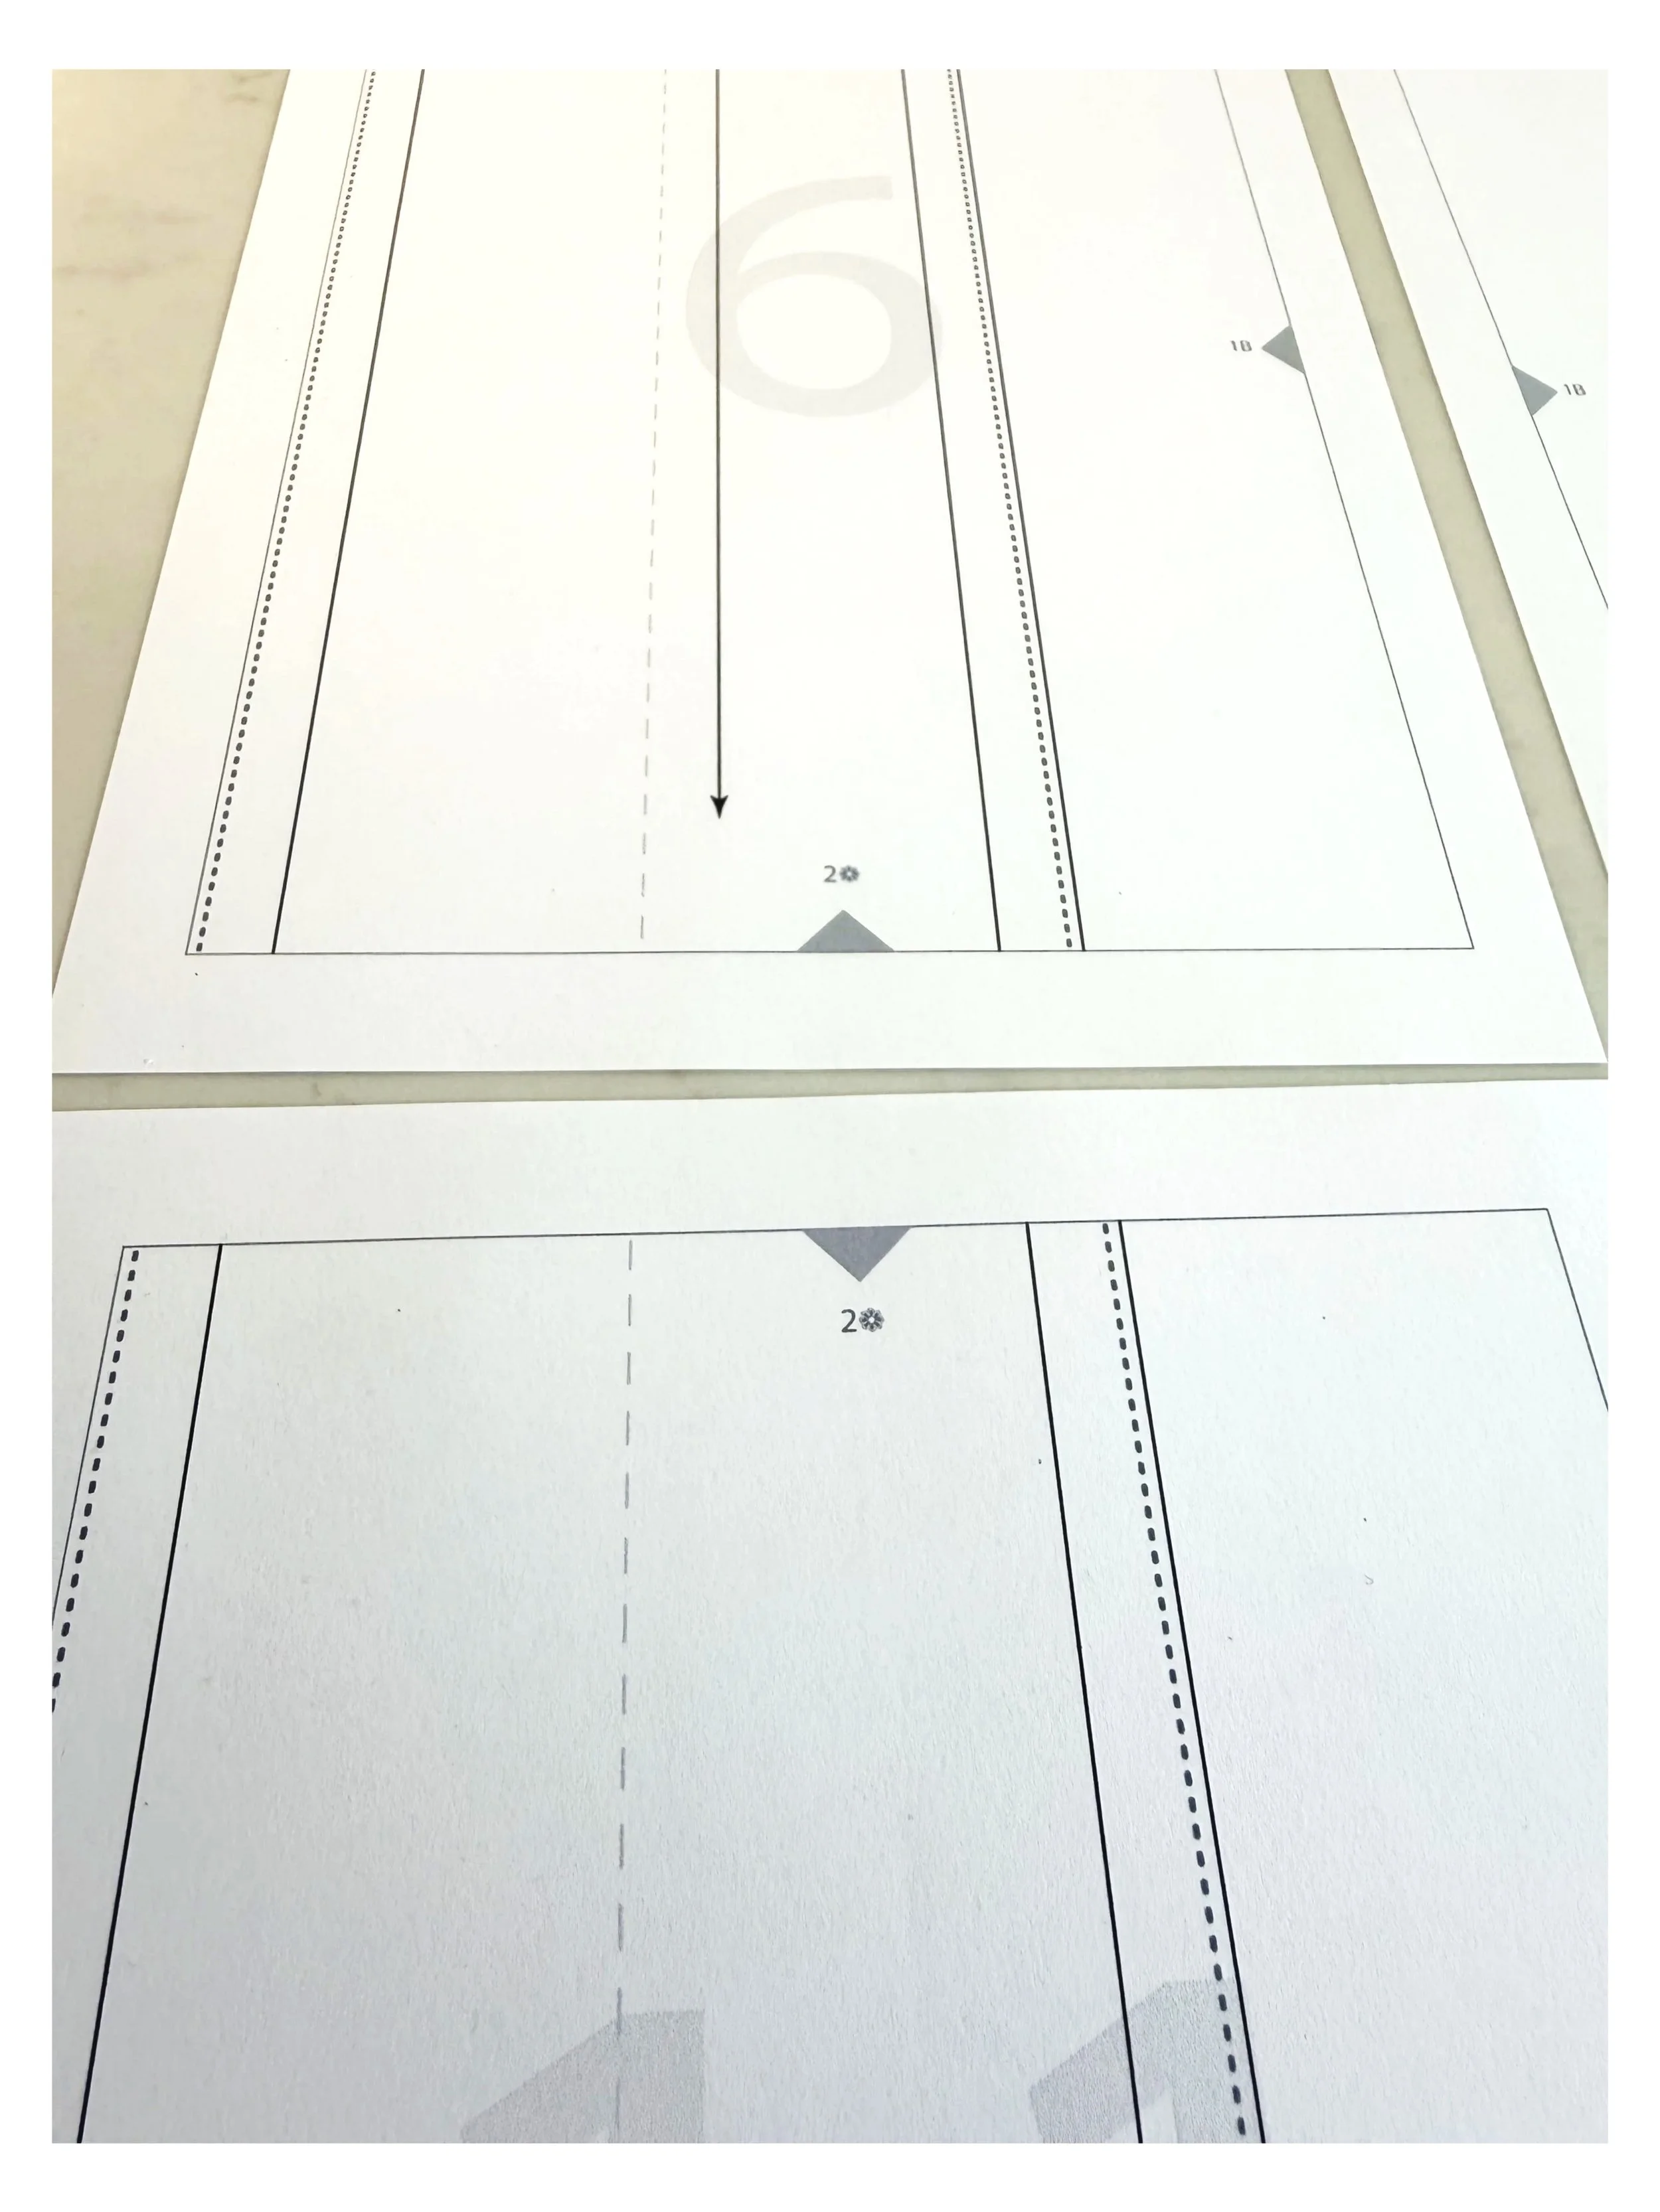
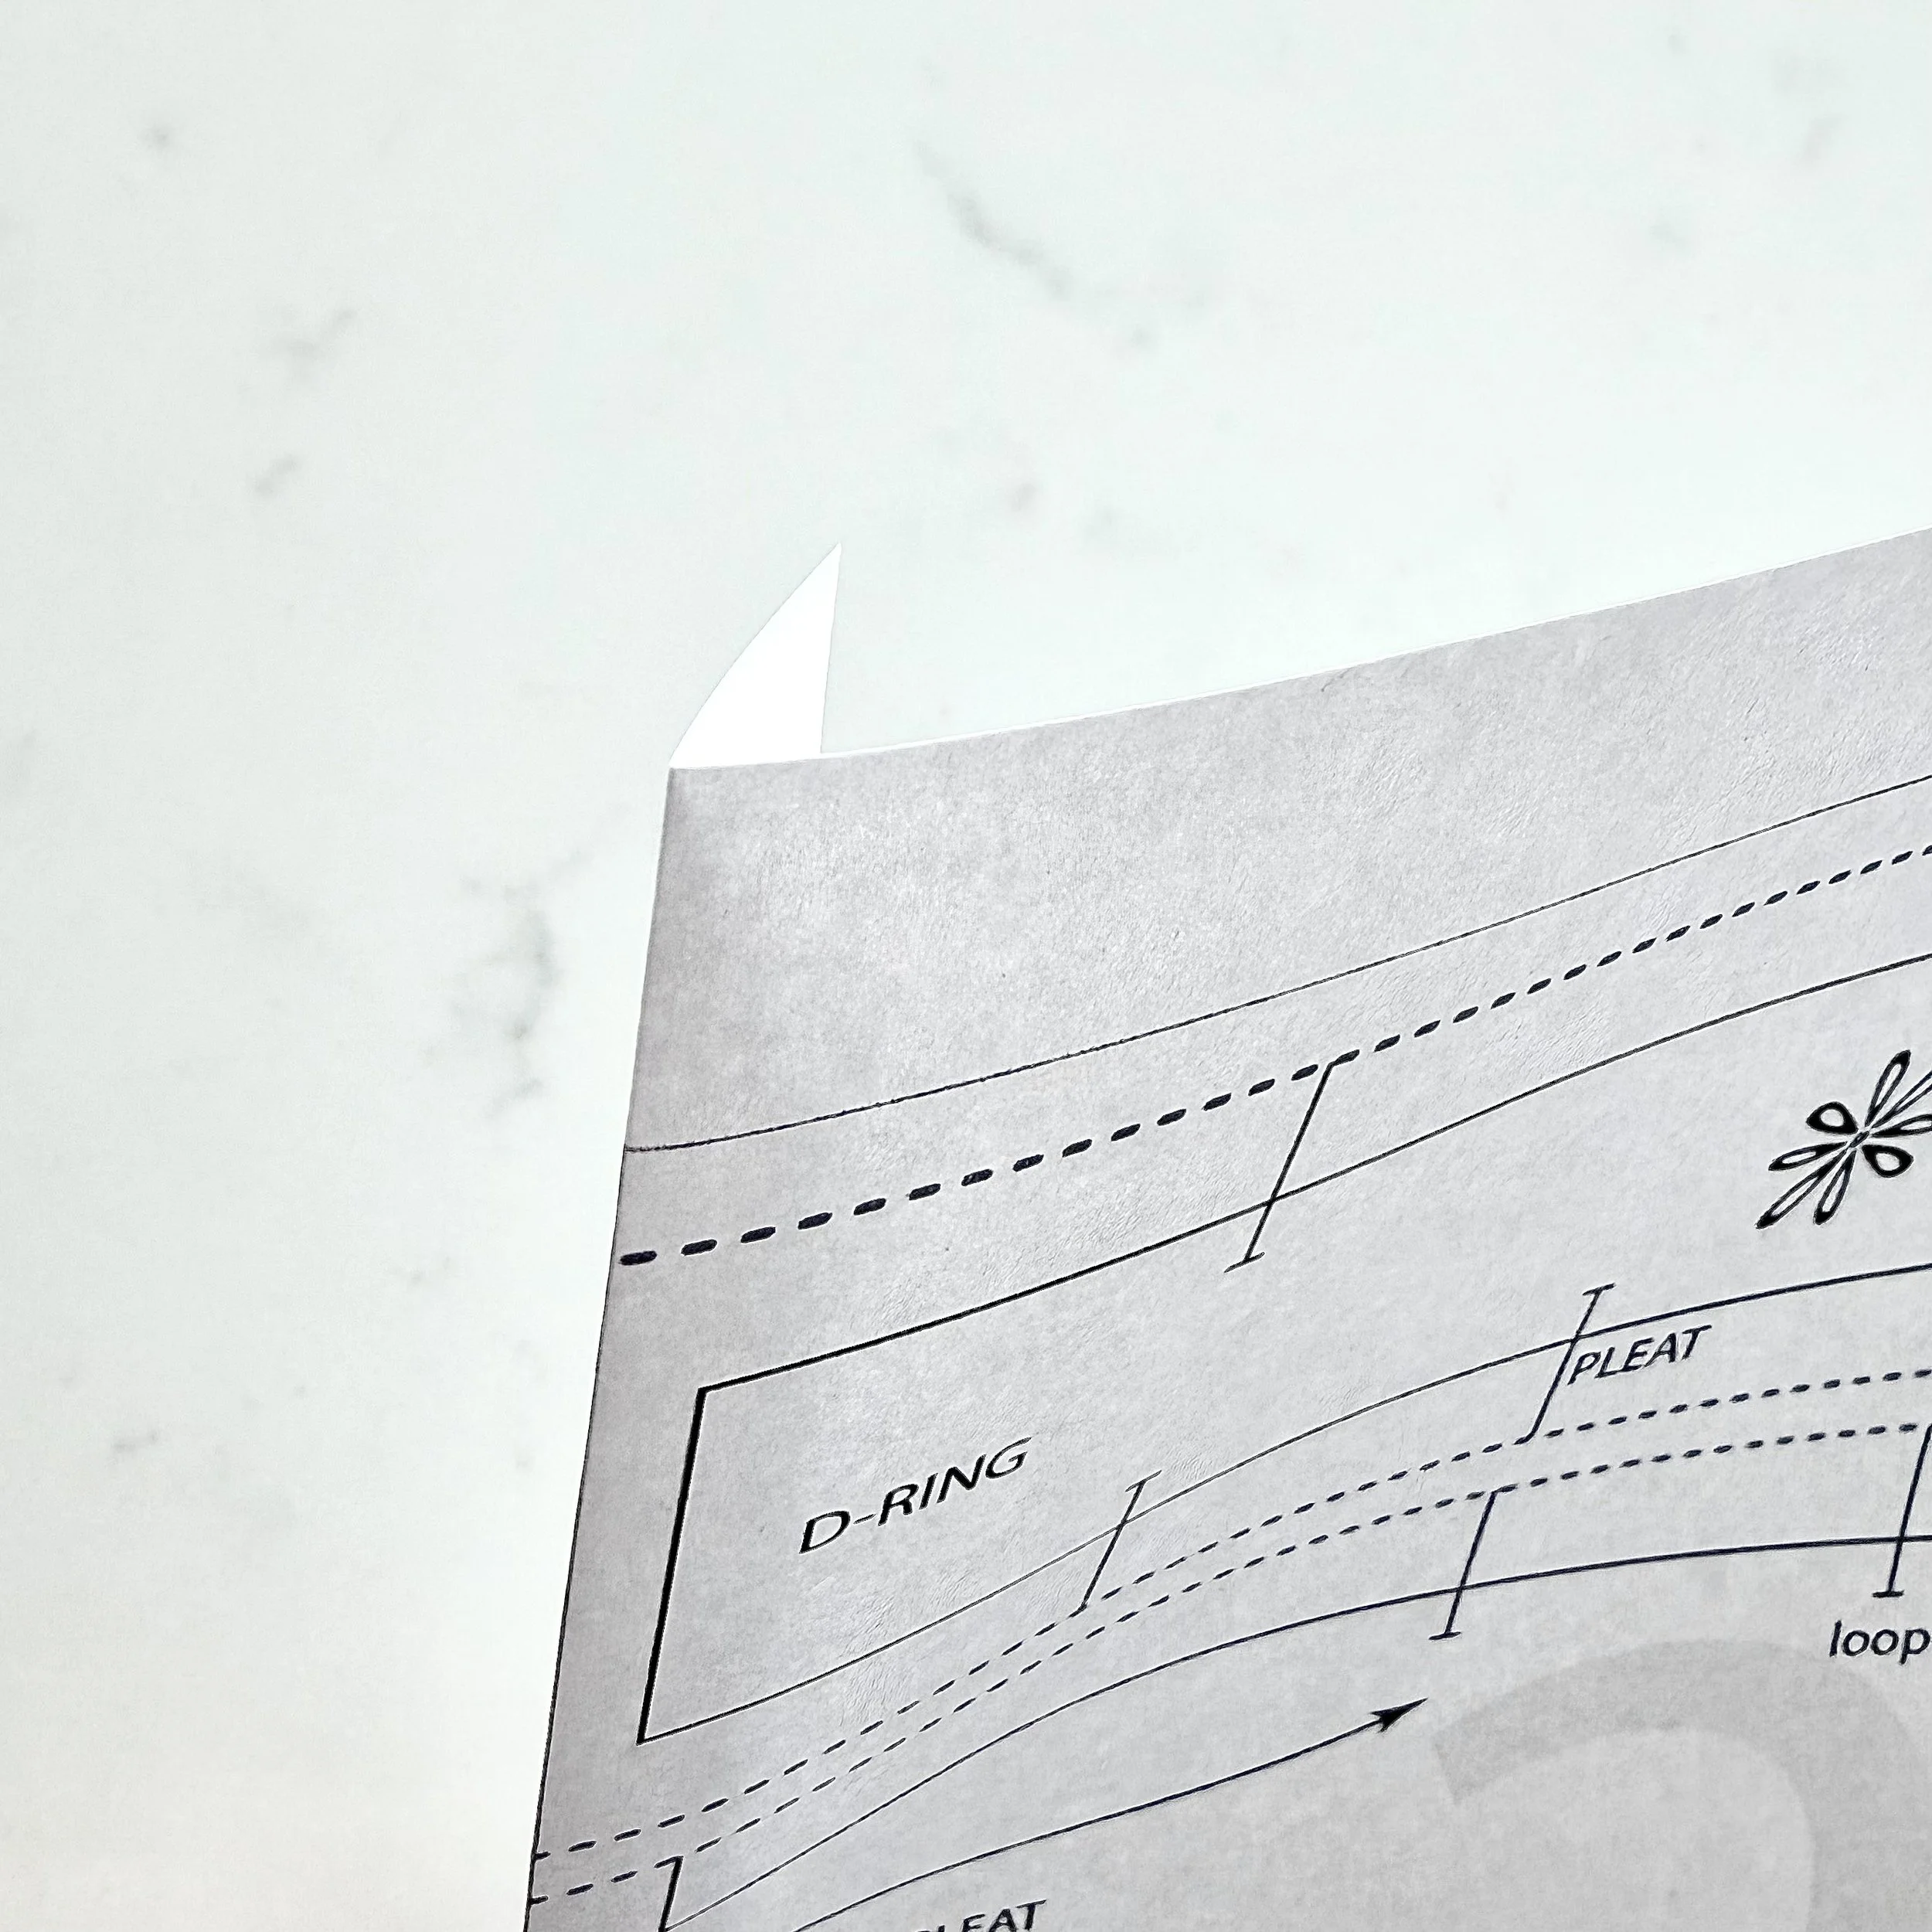
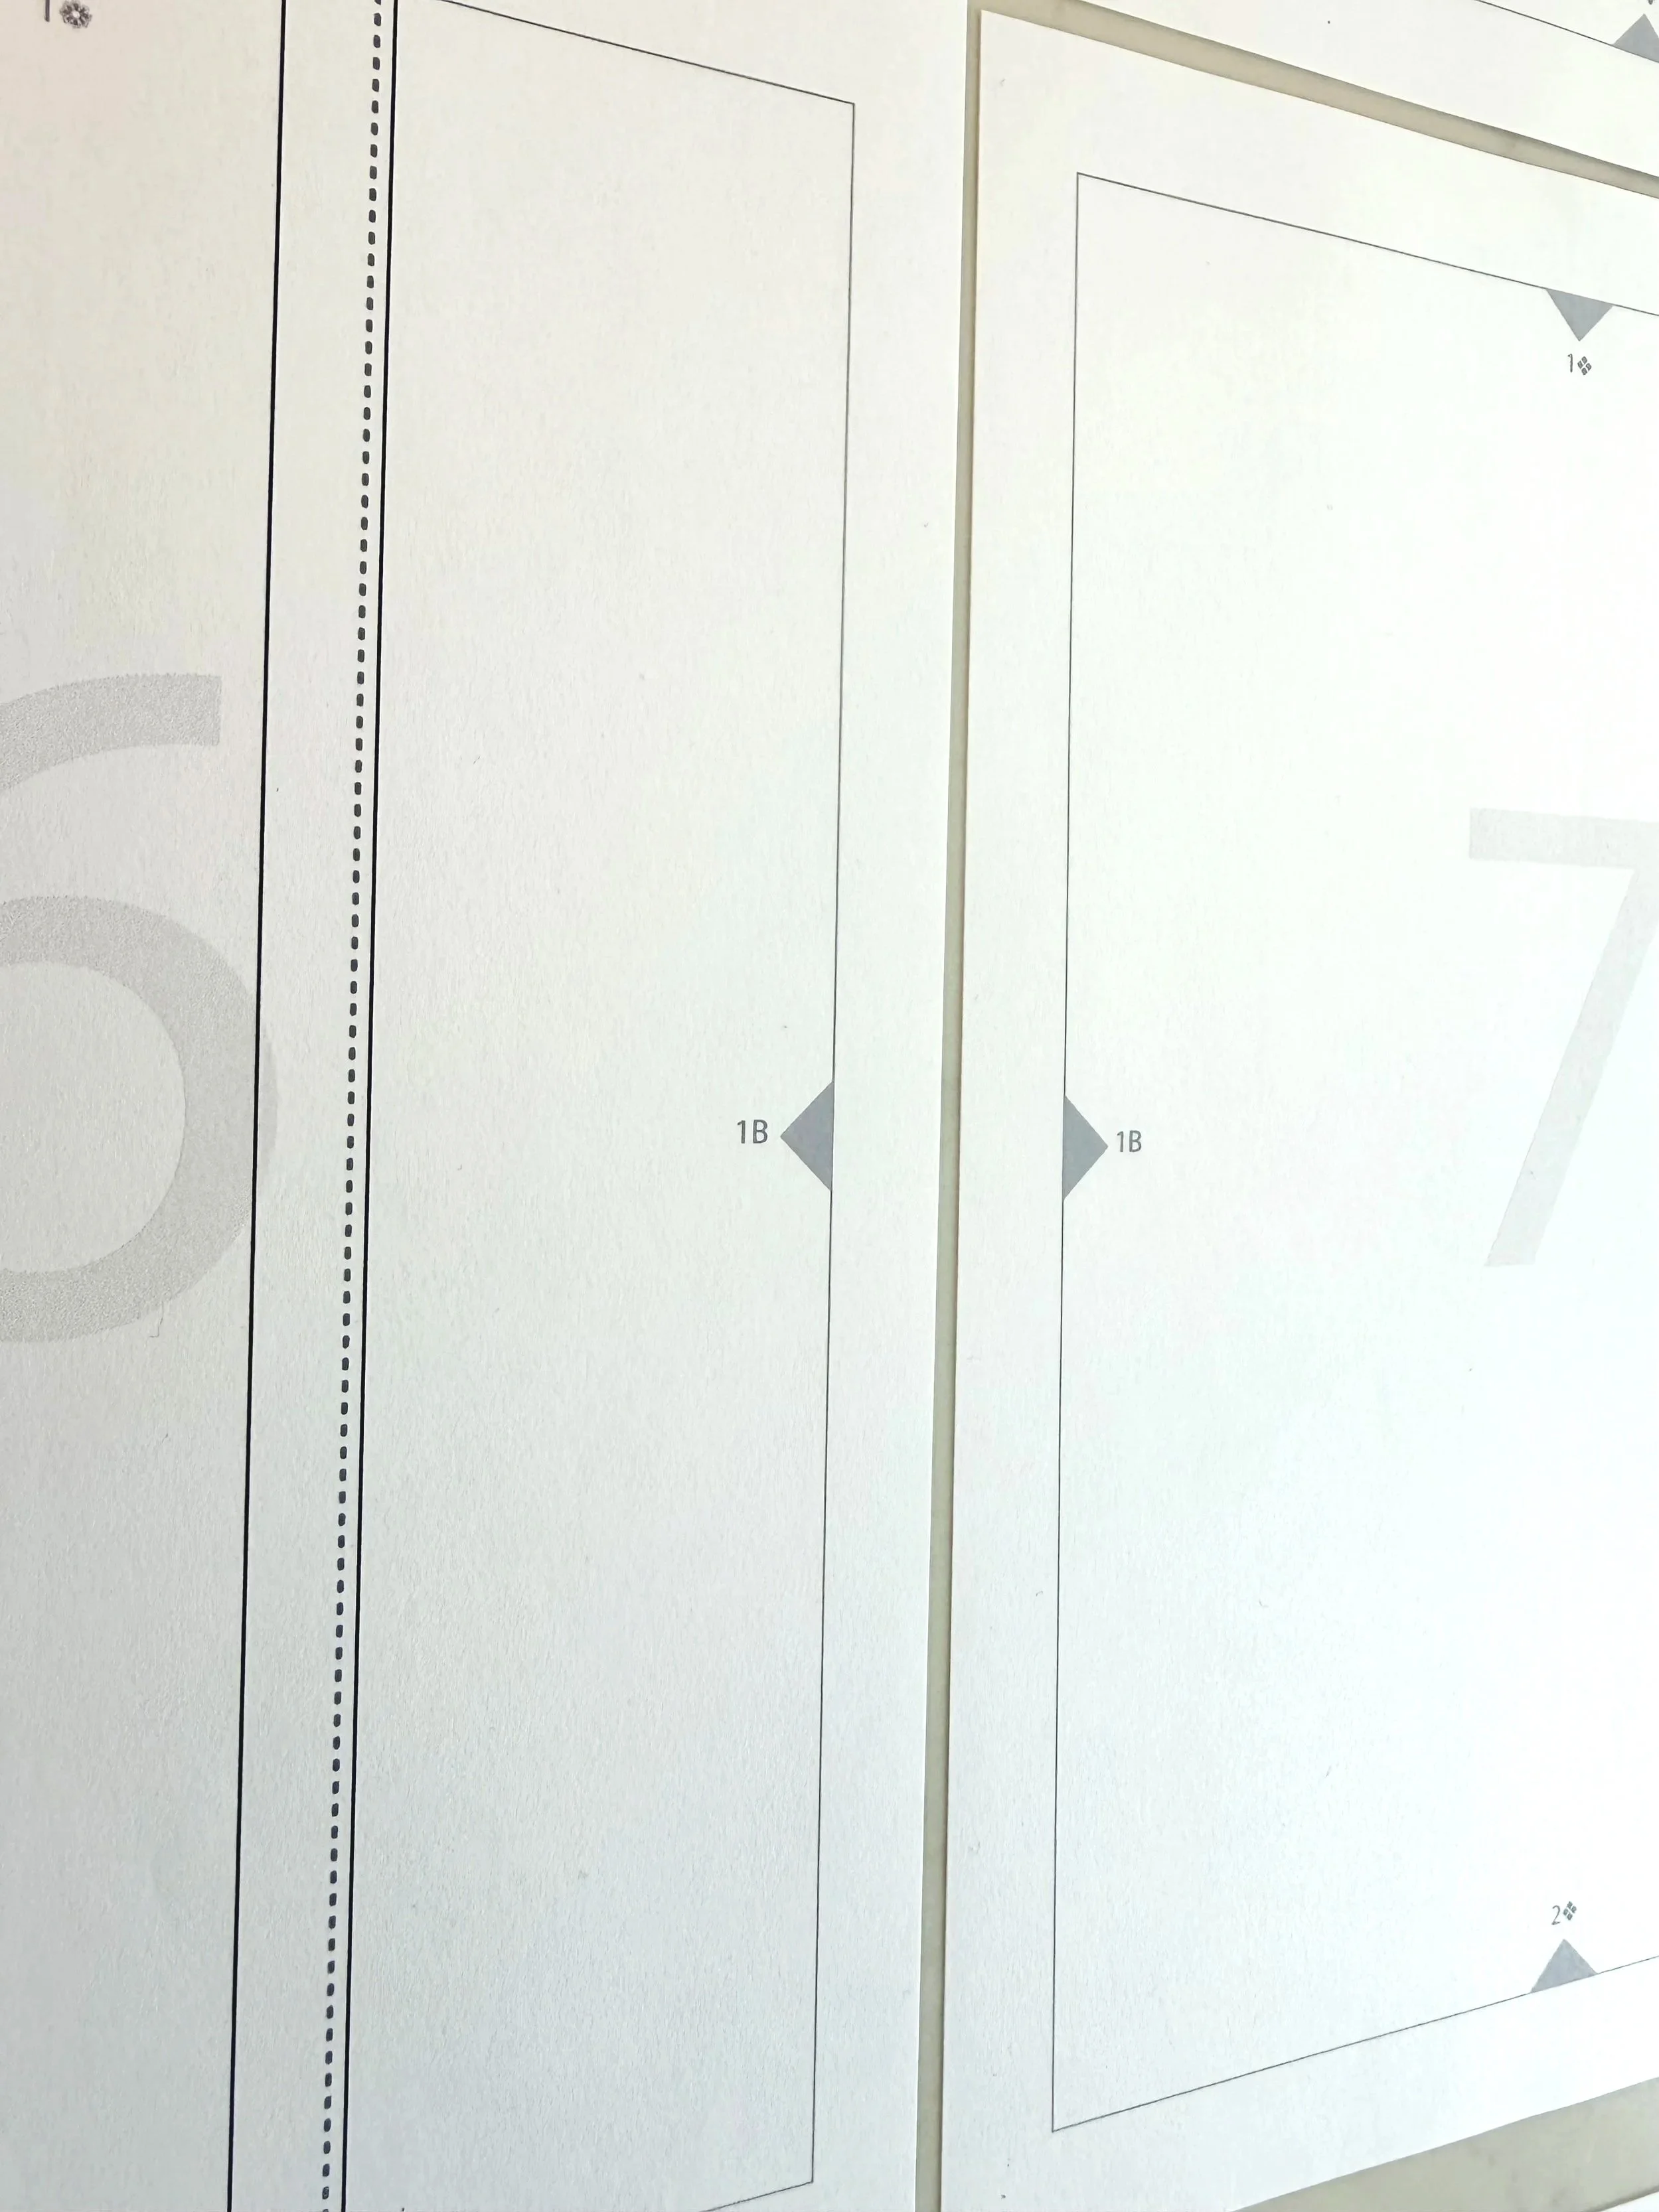
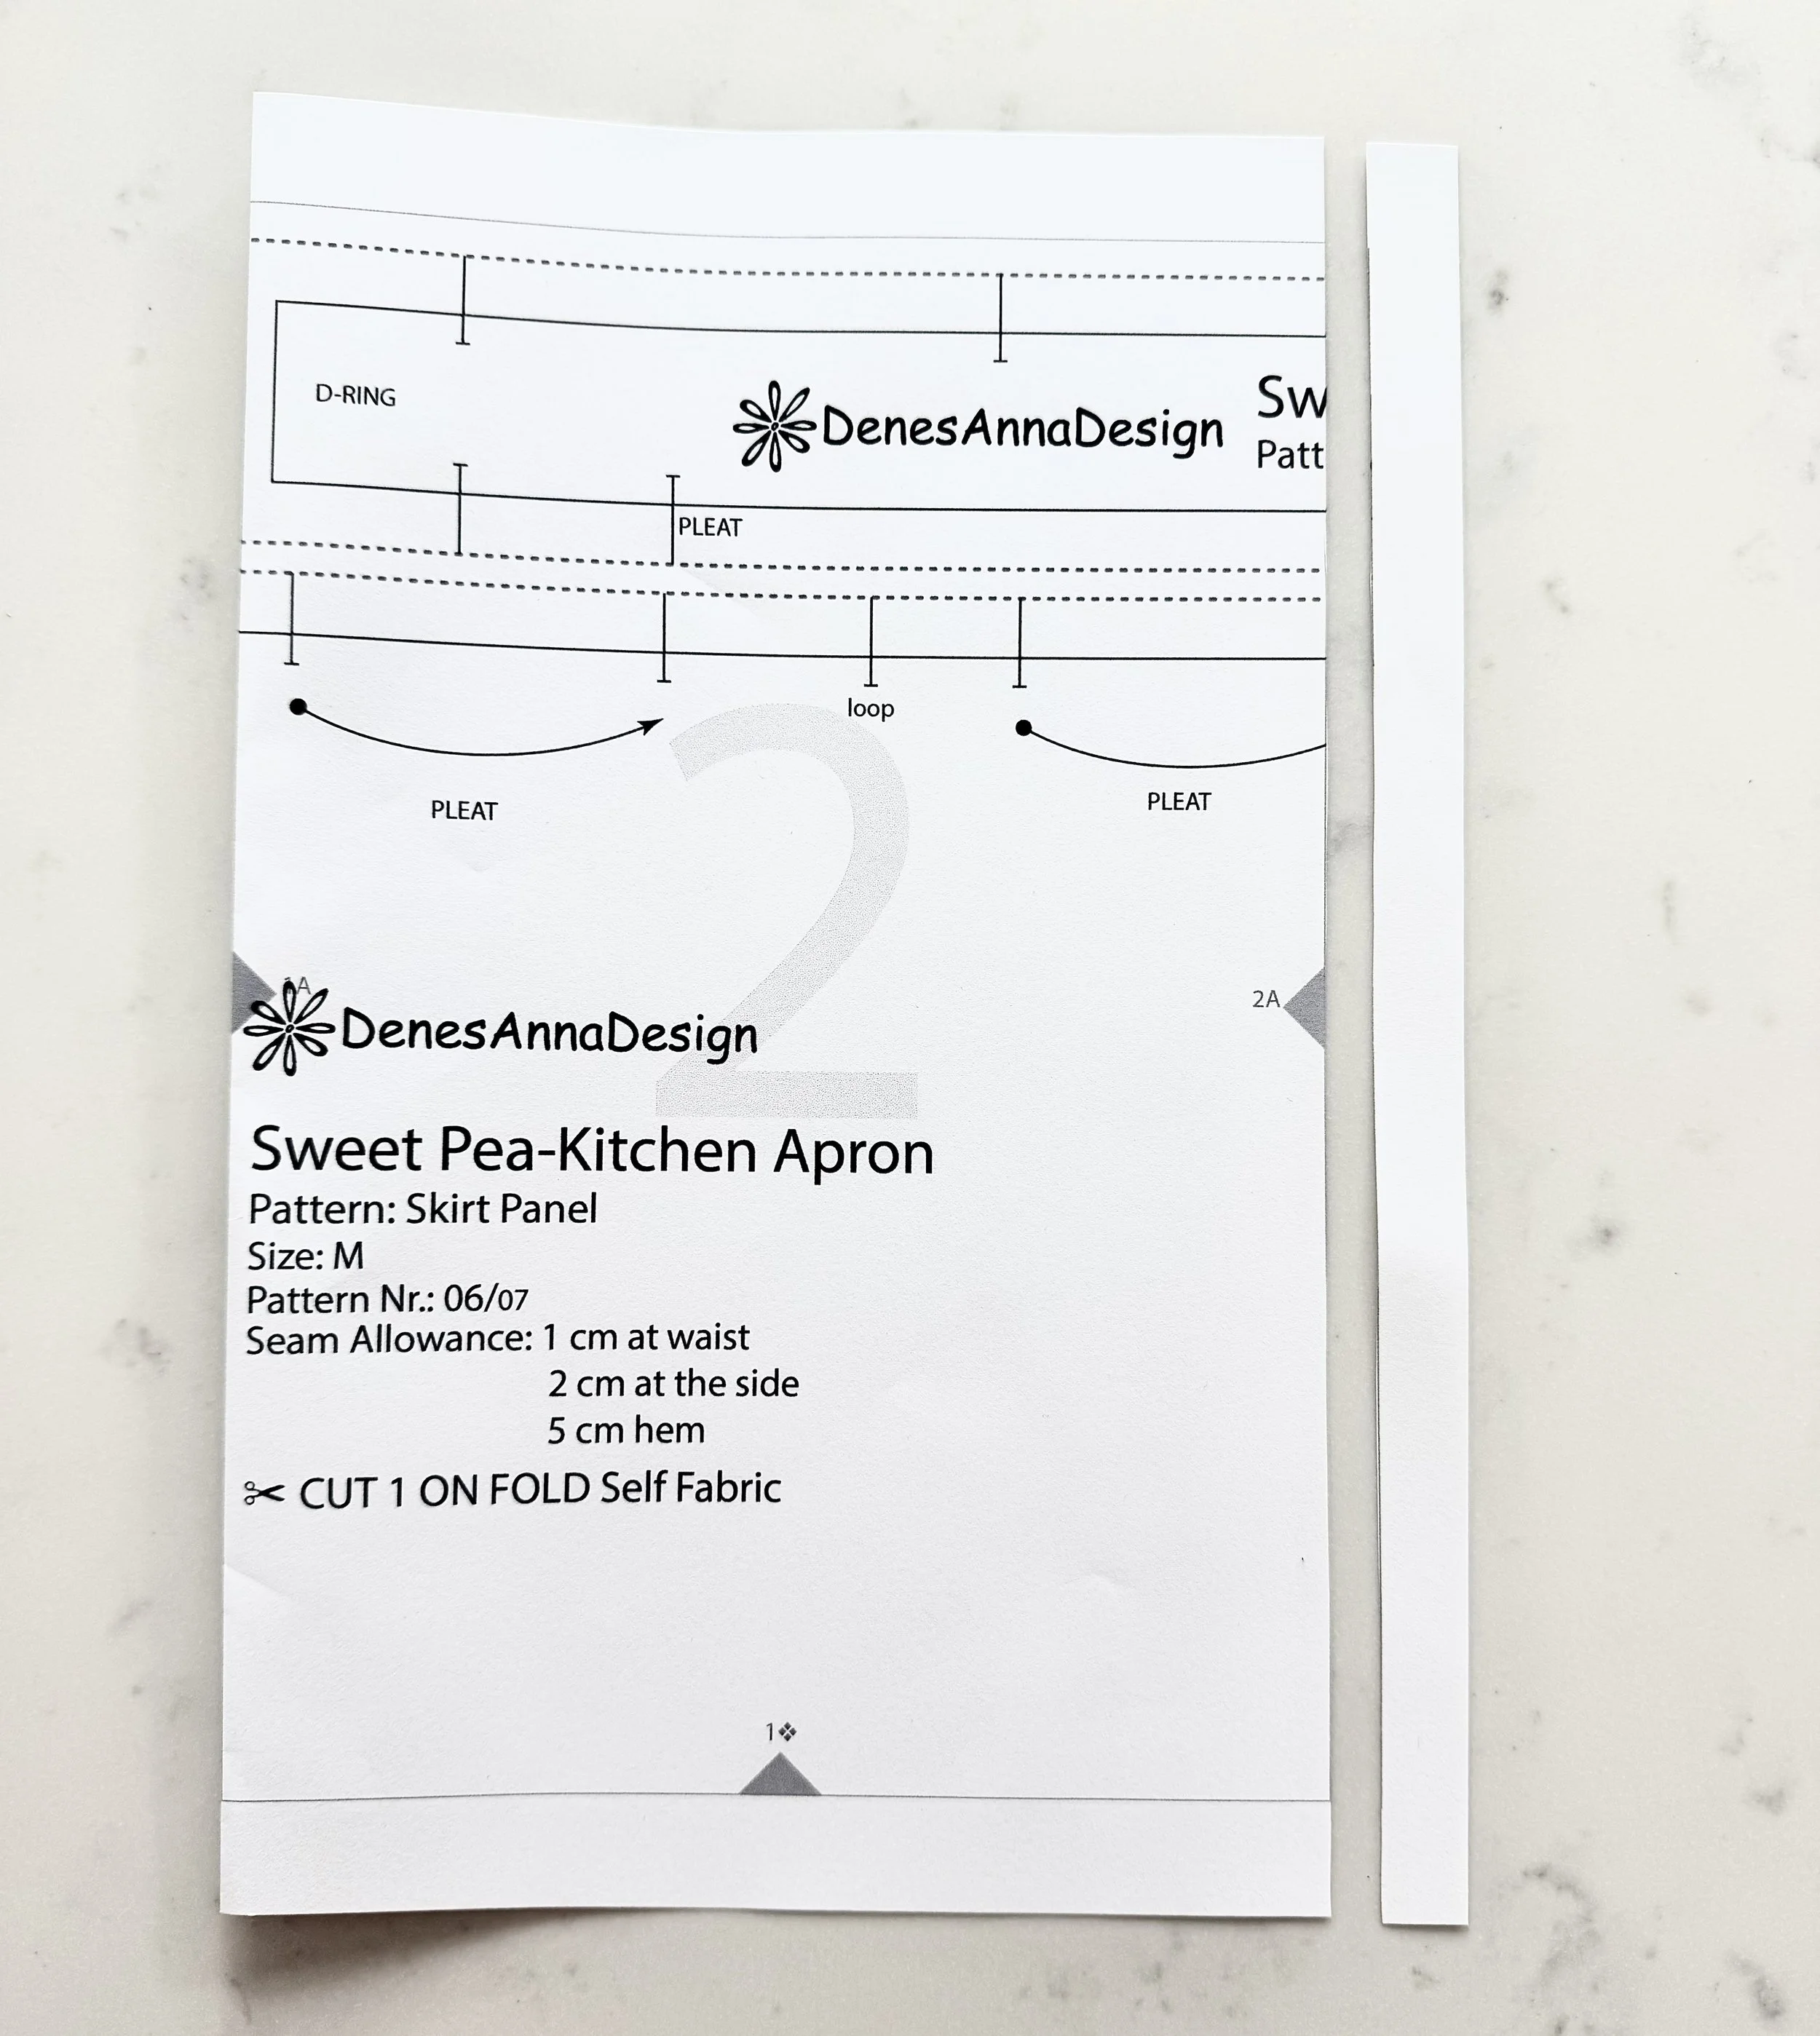
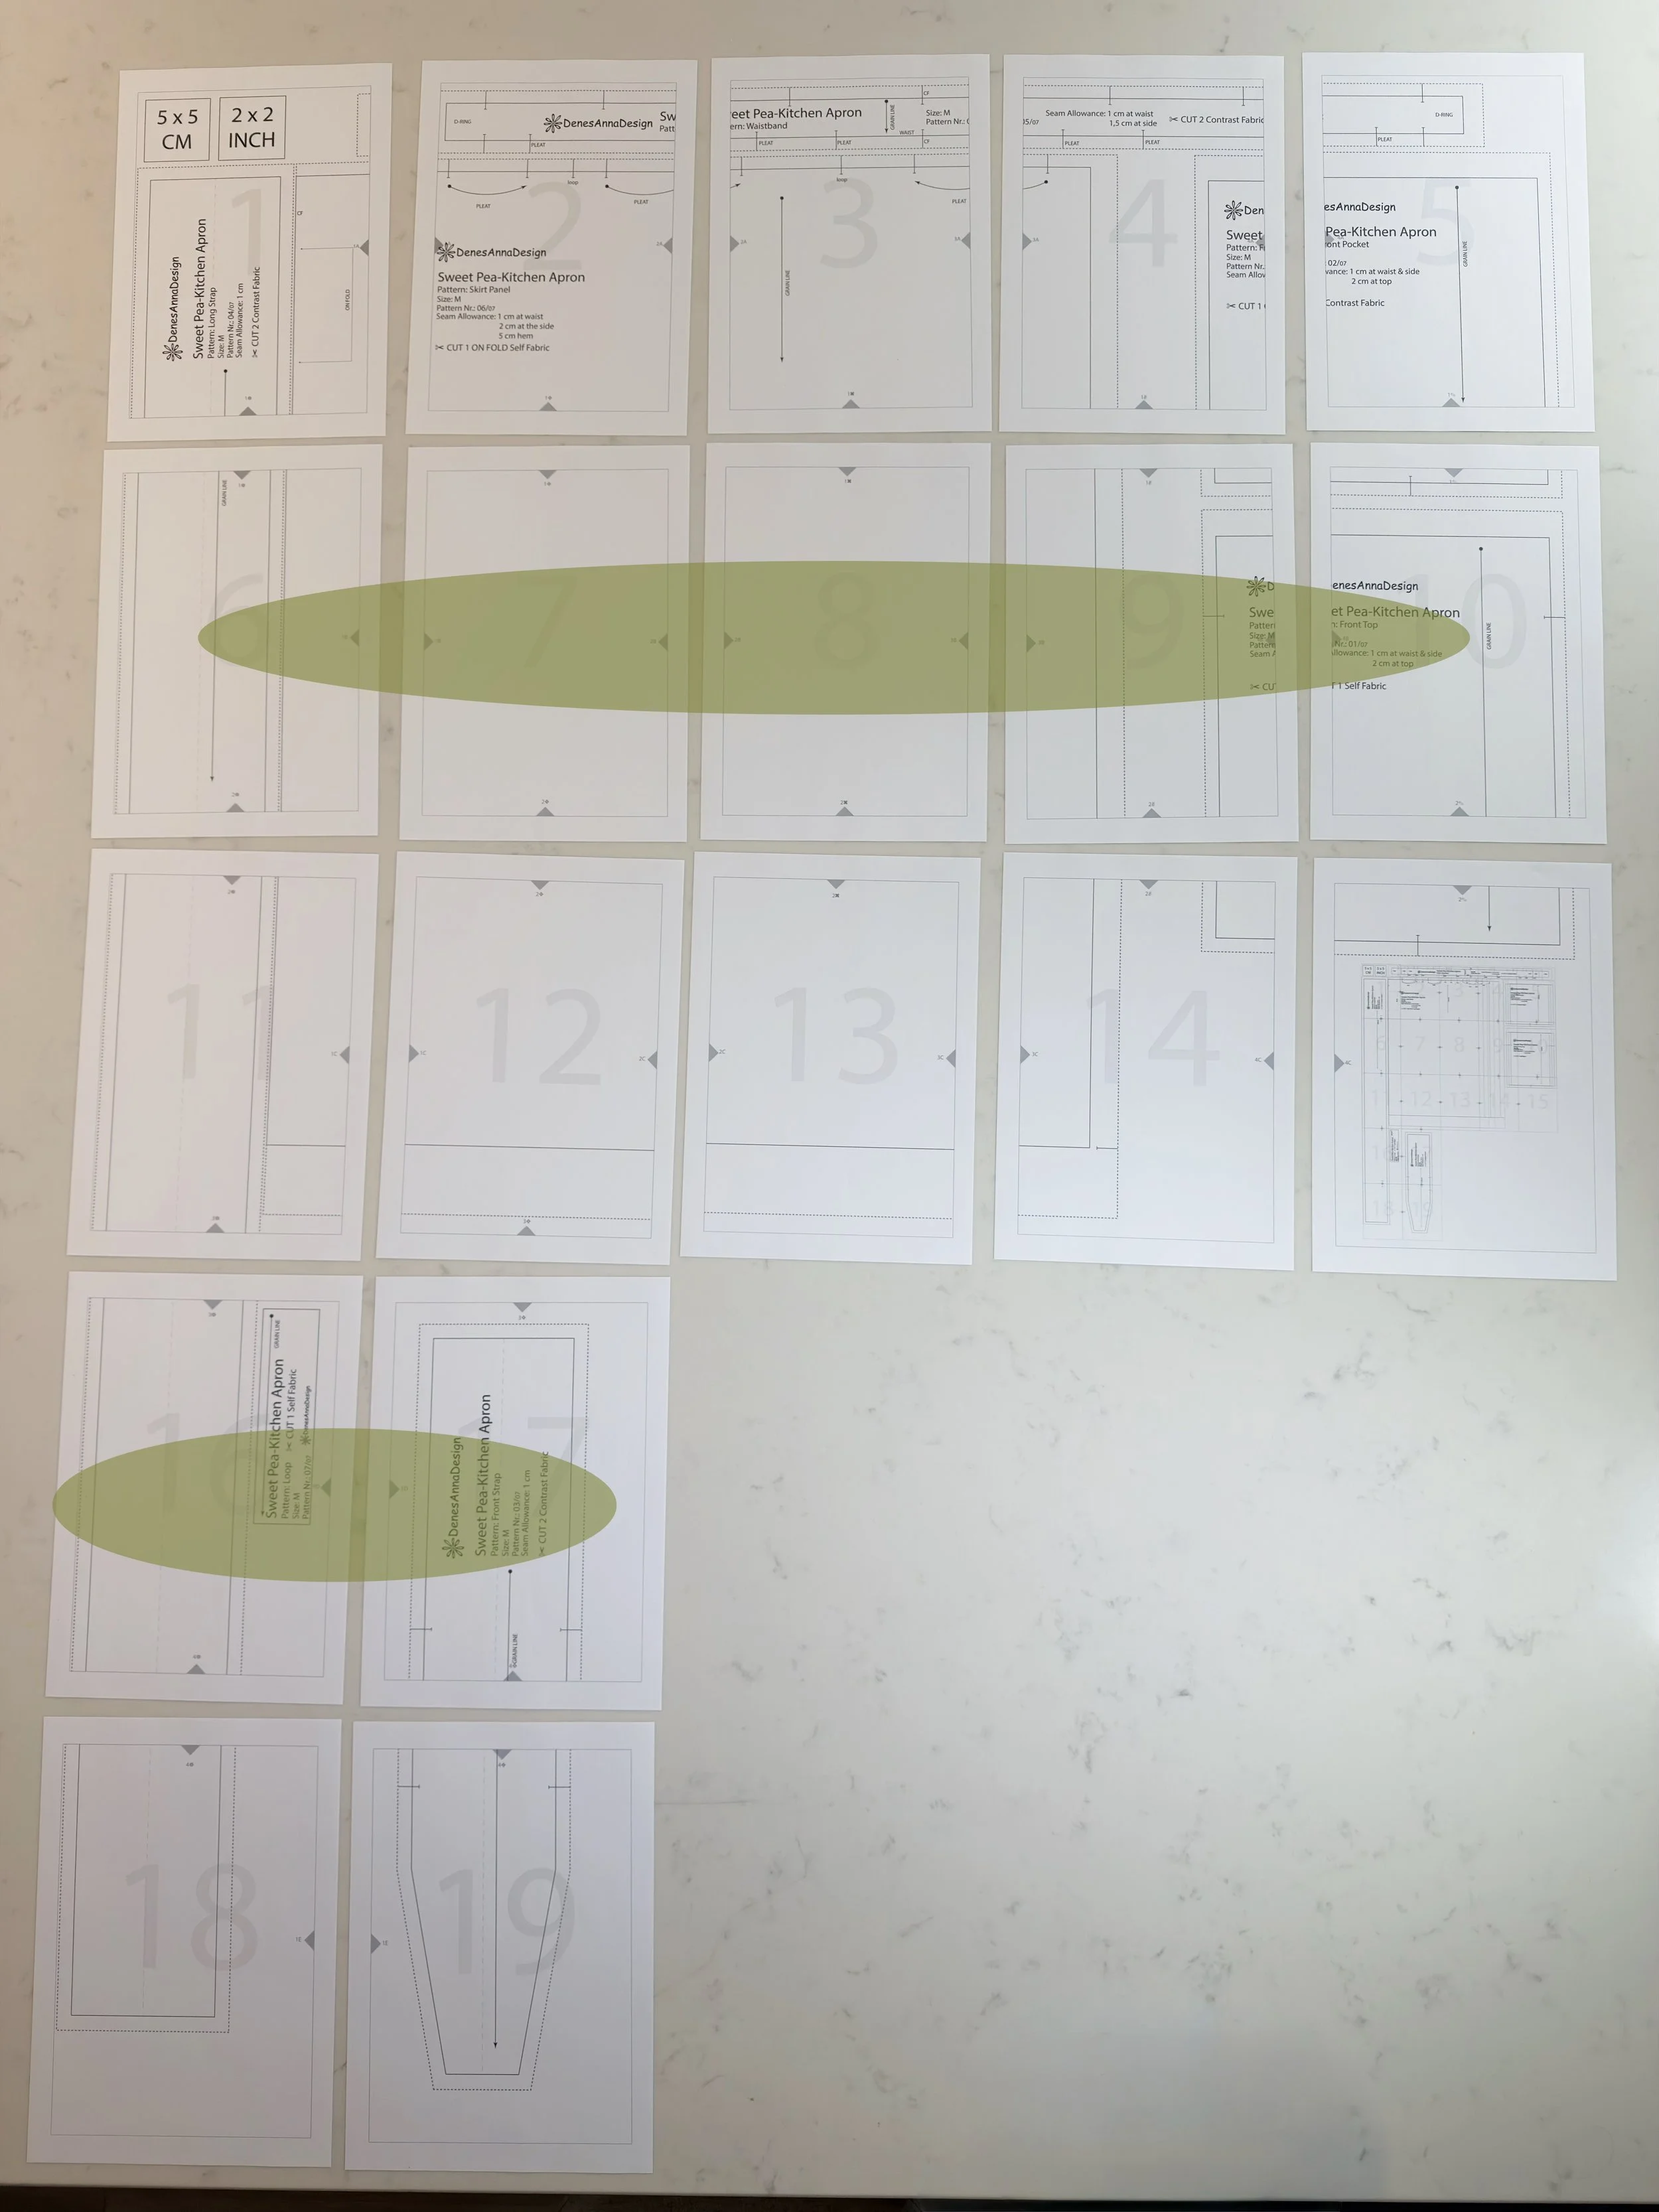
Assemble the rows first. You only need to trim both vertical edges on every second sheet. Starting with the second sheet, either fold the vertical edges or trim them using scissors or a rotary cutter on a cutting mat. Overlap the pages to align the lines and triangles into diamond shapes, then secure them with clear tape.

Follow the same process to complete the rest of the rows.
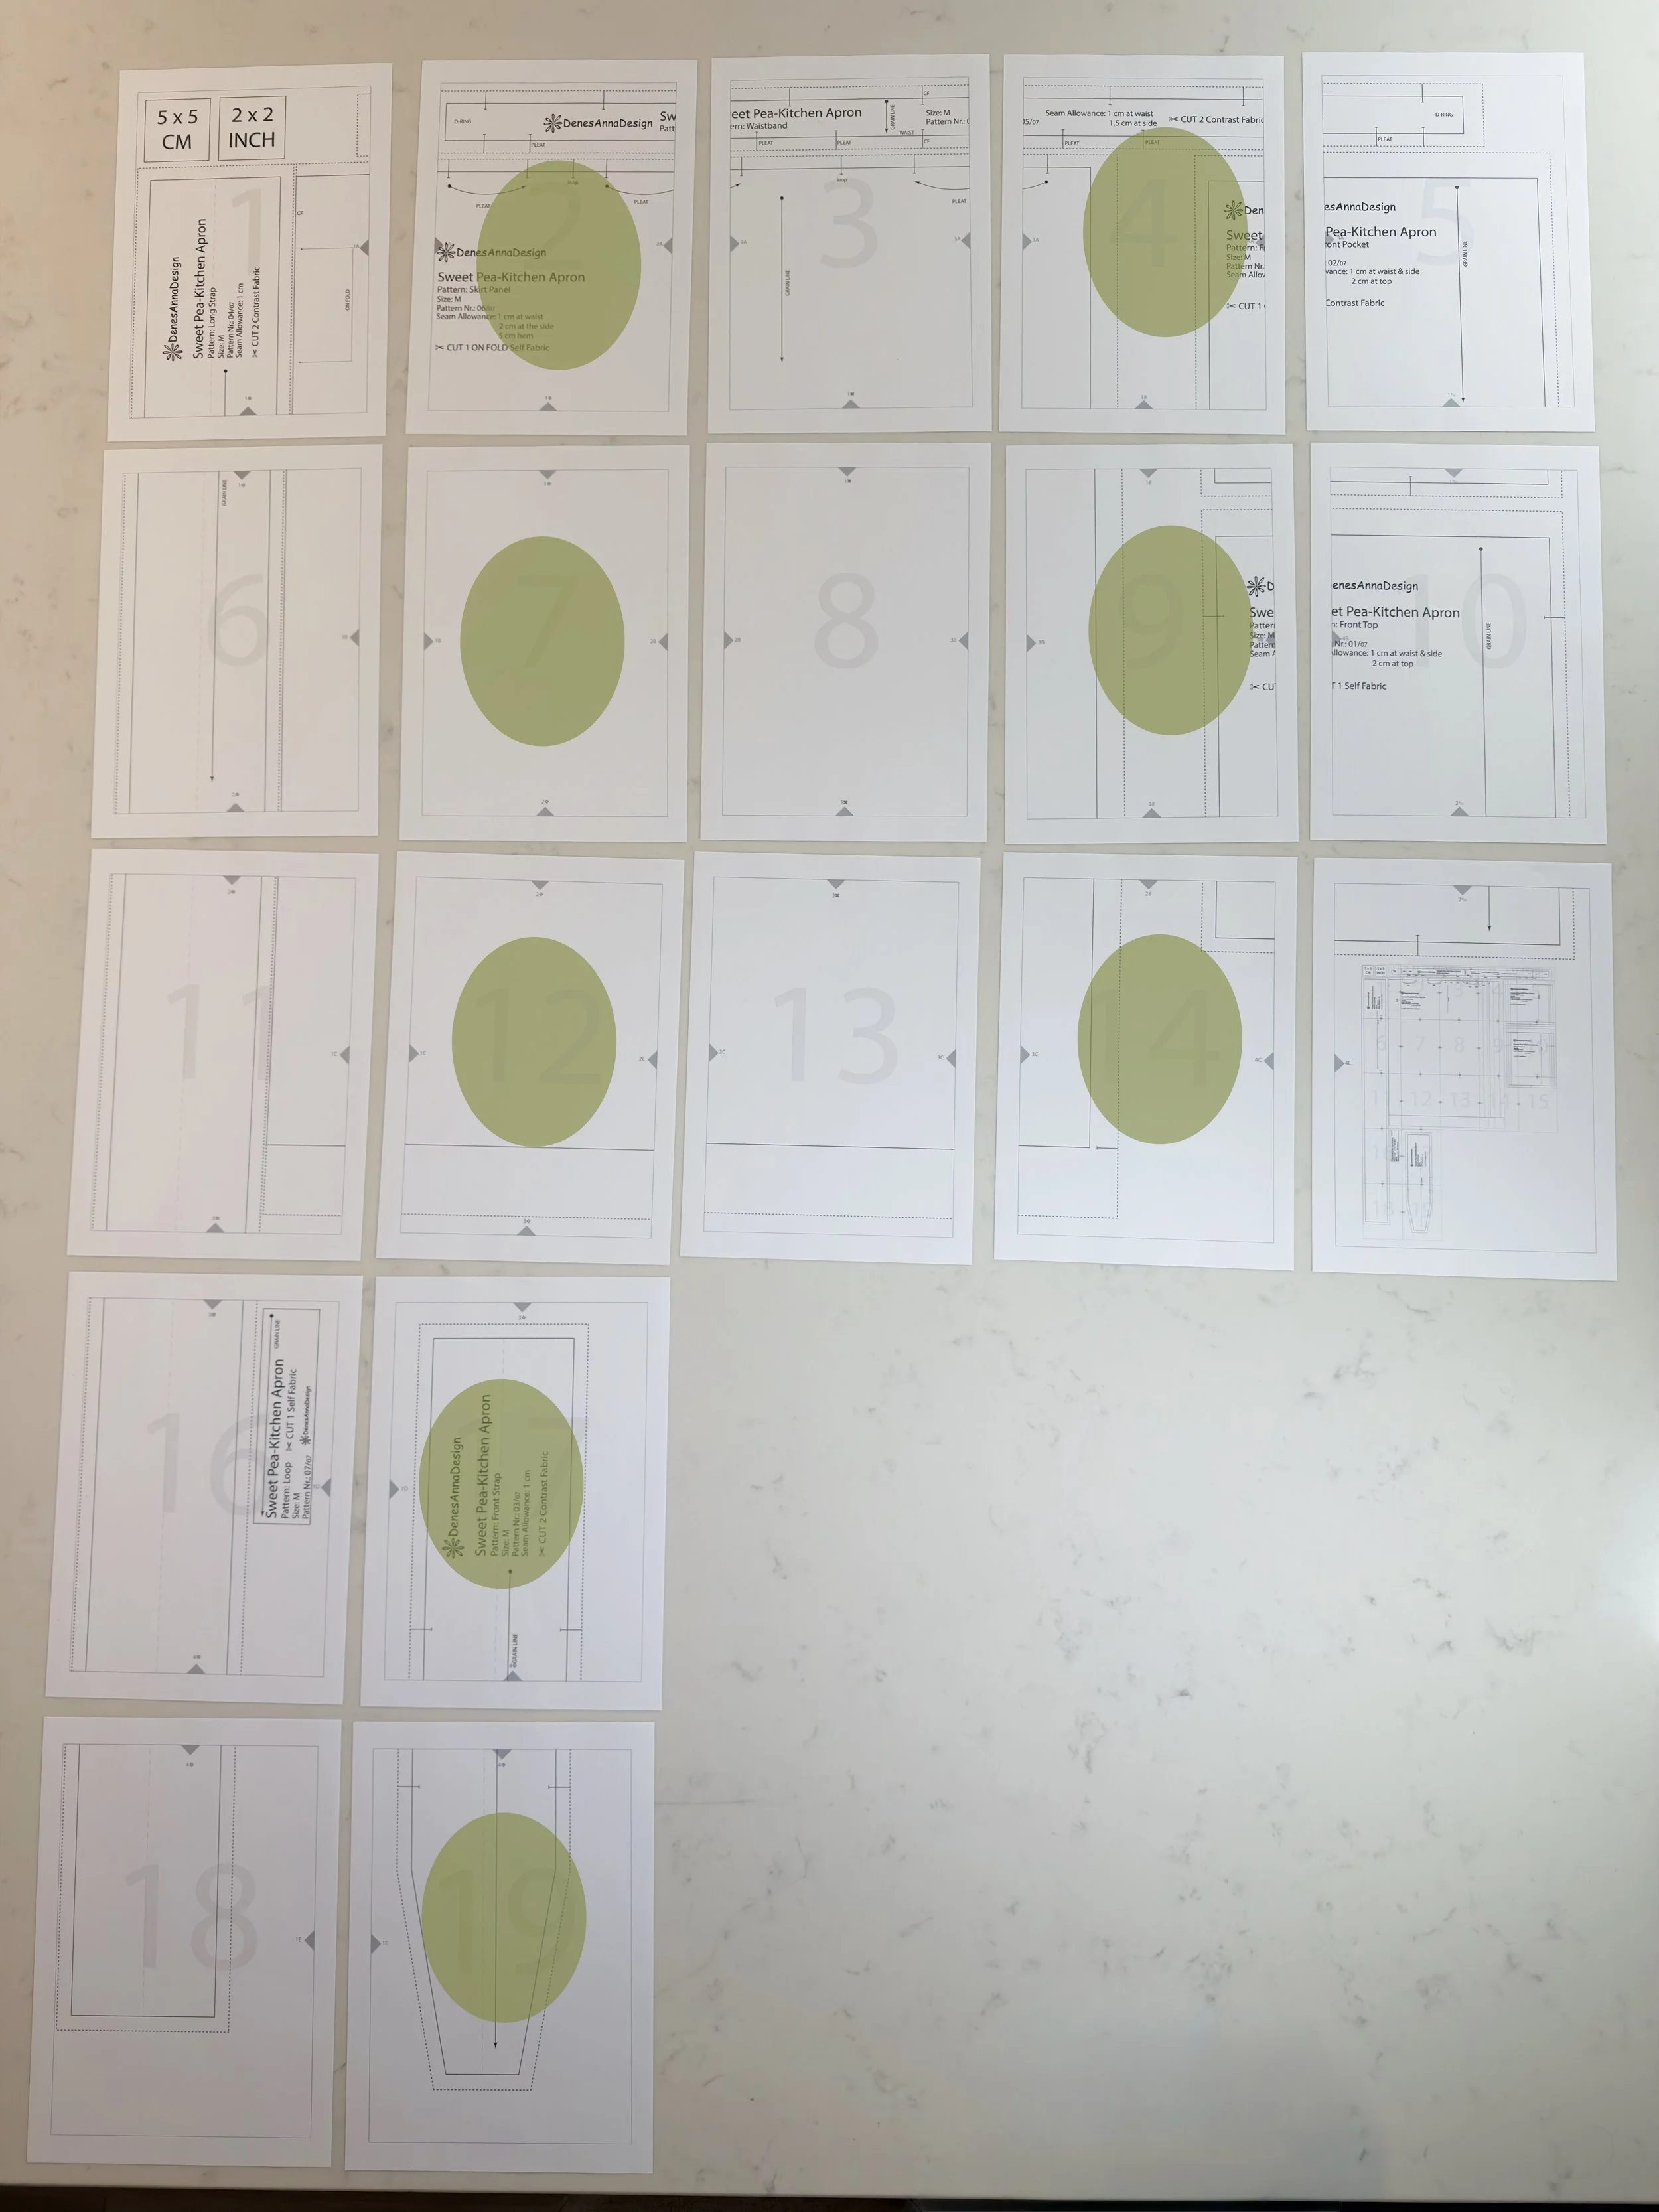
Once your rows are joined, start with the second row and trim the two horizontal margins. Overlap the rows, matching the lines and triangles to form diamond shapes. Secure them with clear tape and repeat this process for every other row until your pattern is fully assembled.
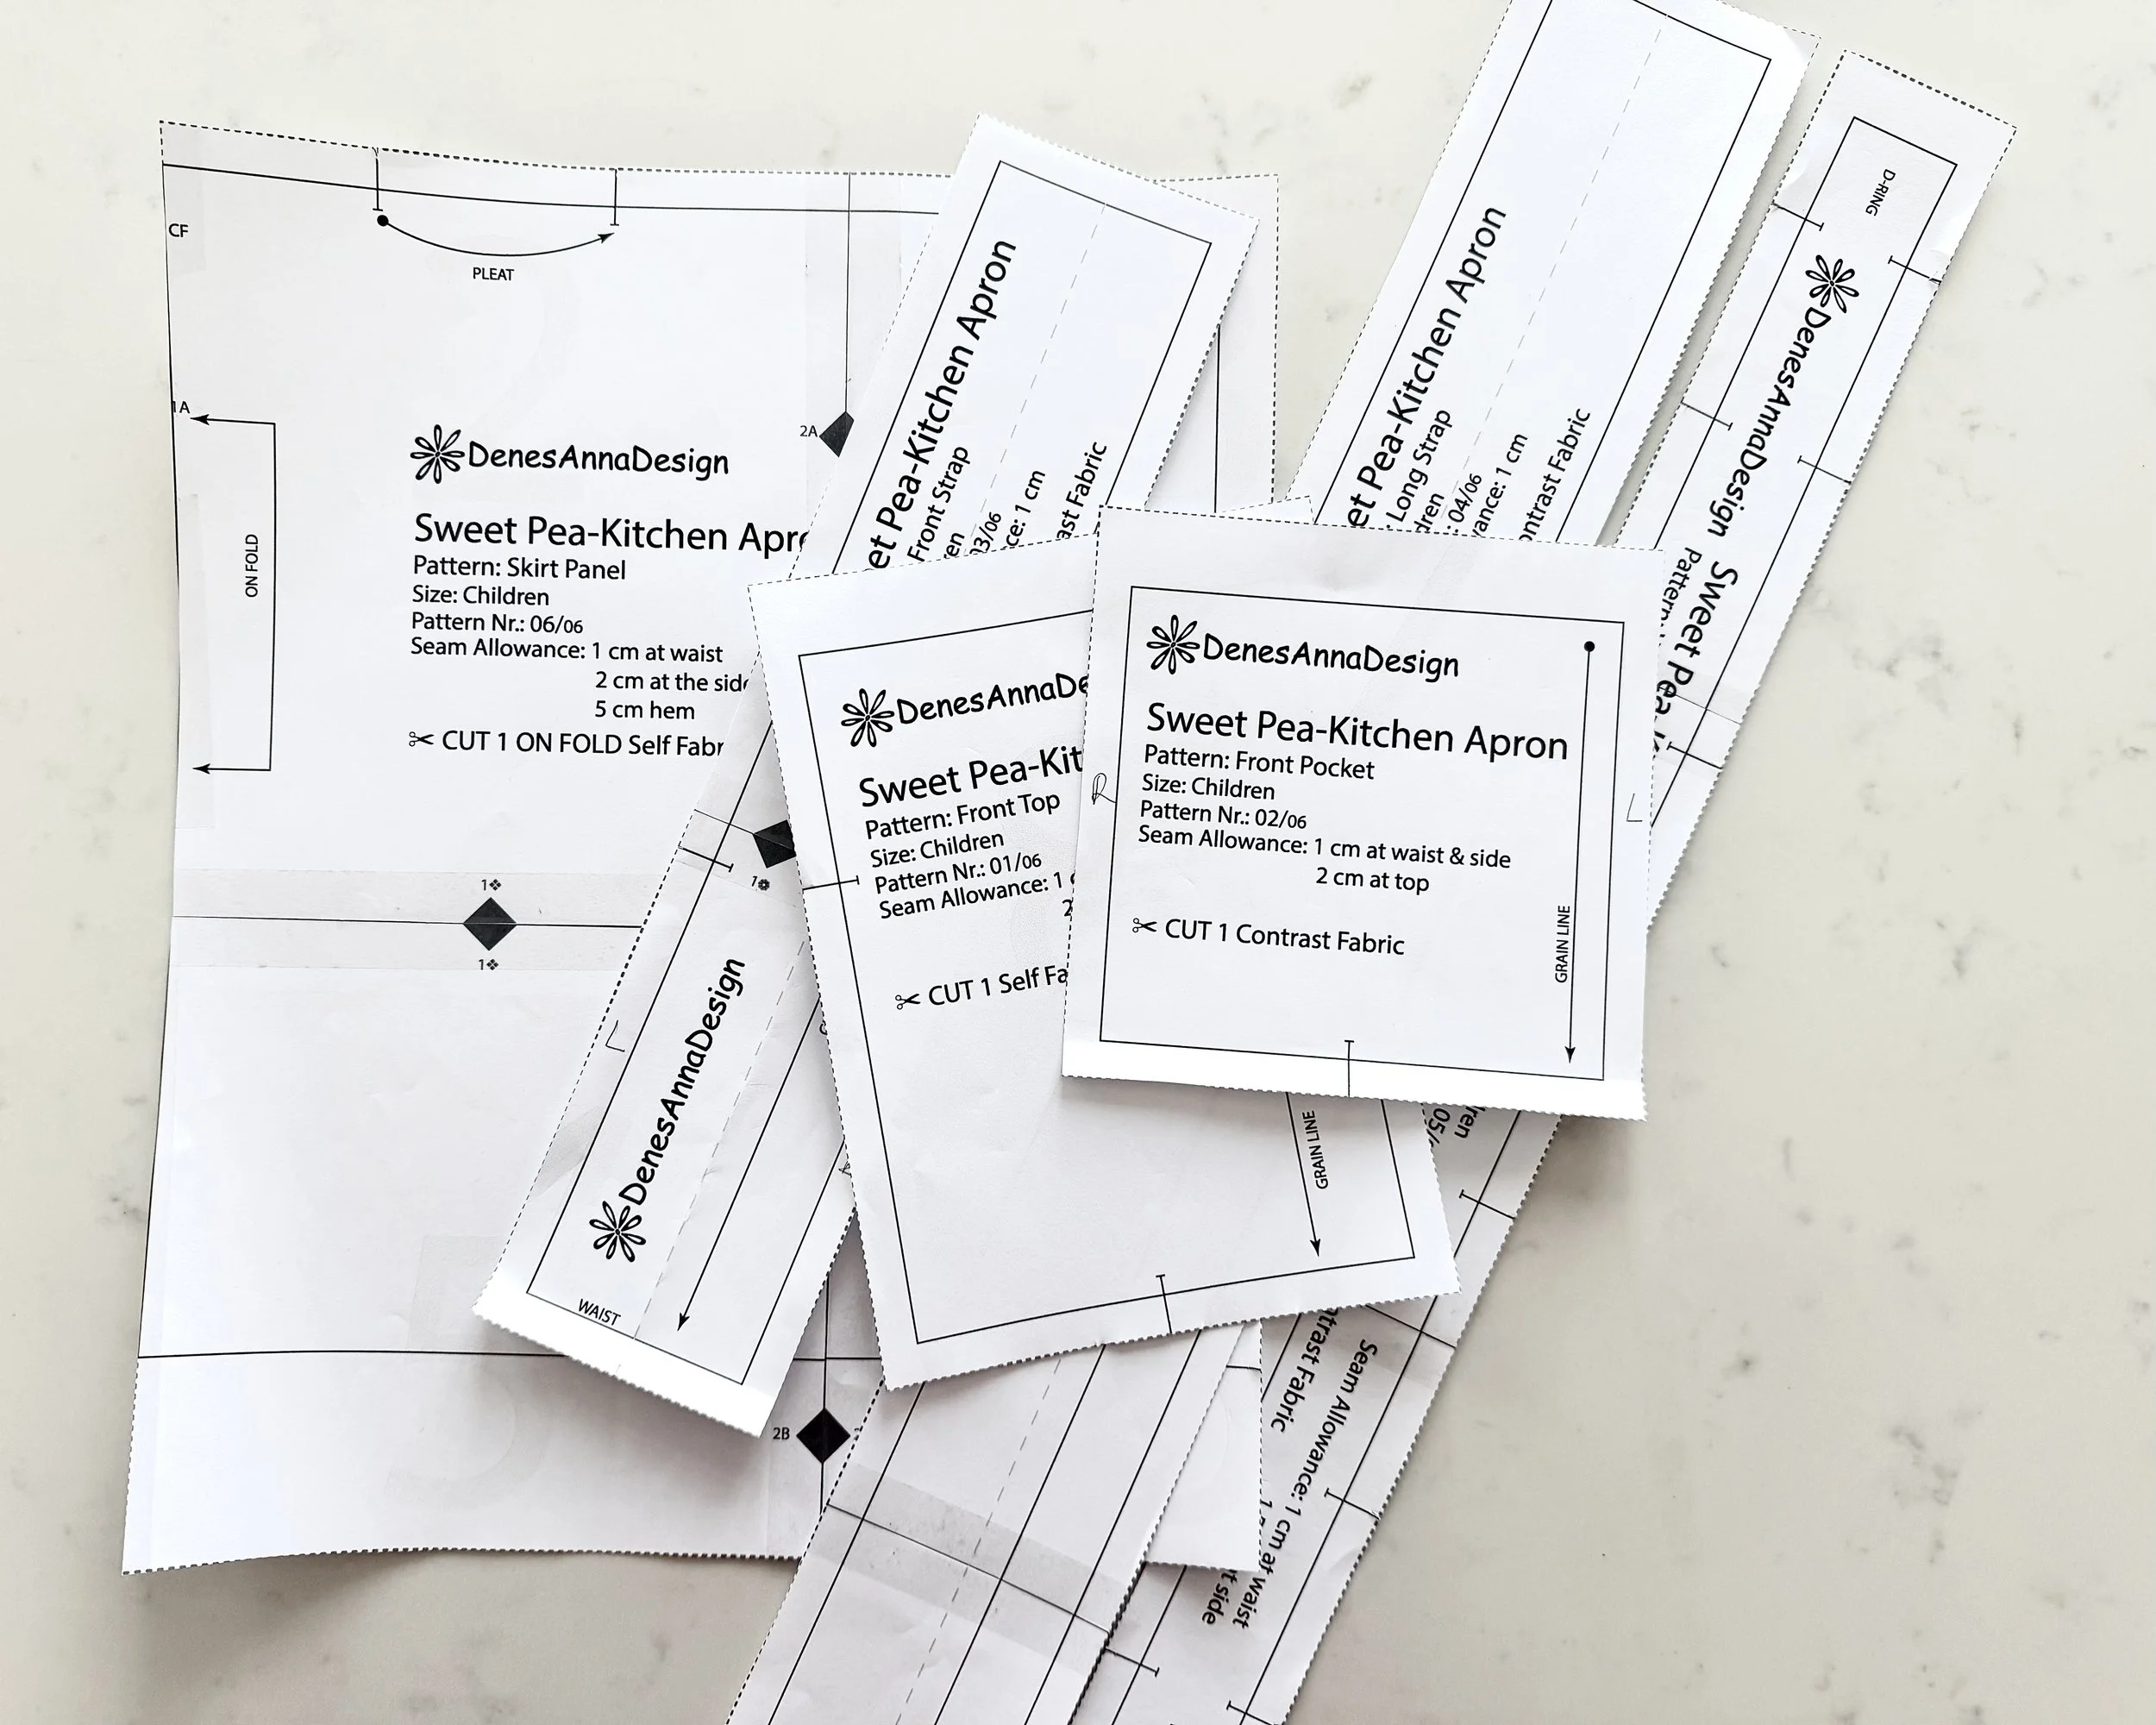
Once assembled, carefully cut out each individual pattern piece along the dotted lines.
Congratulations! Your pattern is now ready for endless projects. :) Don't forget to sew a sample first to make sure the fit is just right for you.